90th IDPG Projects
IMPORTANT:
Proceed at your own risk. We're not responsible for you blowing yourself or your gun up.

Blank Adapting the Colt M1911
Updated 3/16/2010

Chris Guska


Blank adapting the 1911 and variants-

Supplies Needed:

Machinists vise
Cutting oil
Propane or MAP gas torch

1911 barrel, preferably used and worn out
Bench Grinder
Emory paper
Scotchbrite pad

Electric Drill
Tap wrench
½ inch national coarse thread tap  ( ½ inch 13 threads per inch)
27/64ths Drill bit
½ inch national coarse thread cup point set screws ( ½ inch 13 threads per inch)
5/32nds Drill bit
.180” #15 Drill
.170” #18 Drill
.166" #19 Drill
.159” #21 Drill
.150” #25 Drill (.152” hole)
.140” #28 Drill
.129” #30 Drill
IF YOU ARE USING JOE SWANSON'S BLANKS - THESE SIZES ARE MUCH TOO SMALL. CONTACT JOE SWANSON FOR THE CORRECT SIZE DRILL BITS.
Allen wrench or bit driver to fit your set screw

PermaBlue
Dishsoap
Toothbrush/Scotchbrite pad
Water
Q-tips or gun patches


Procedure 1 – Drilling and Tapping the barrel

Supplies Needed:
1911 barrel
Electric Drill
27/64ths Drill Bit
Tap wrench
½ inch national coarse thread tap 
½ inch national coarse thread set screw
Allen wrench
Cutting oil

    • Firmly secure 1911 barrel in jaws of machinists vise, using wood blocks or other non marring material.  Take care as to not over tighten the vise as to cause damage, deformation or marring to the barrel. 
    • Advance 27/64ths drill into bore approximately 1 inch to 1.5 inches, taking care to not hog the barrel while drilling.  A drill press, vise and set of parallels can be used as a preferred method.  Cutting oil is to be used during this process.
    • Clear the bore of metal chips prior to threading.
    • Advance the tap into the bore by hand (using tap wrench)  taking care as to maintain the tap true to the bore.  Occasionally reverse the tap to break any chips as they form.  Use cutting oil liberally to flush chips and lubricate the tap during this process.  Advance the tap approximately ¾ inch to 1 inch into the bore. 
    • Clean threads and barrel.  Test fit set screw to ensure proper fit and that the set screw bottoms out slightly below the muzzle.

Procedure 2 – Removing locking lugs and tapering barrel hood.

Supplies Needed:
1911 barrel
Bench grinder
Barrel bushing
Emory paper

1.)  Carefully grind away locking lugs on the bench grinder. Material is to be removed from the locking lugs down to barrel diameter.  Taper chamber hood to barrel.

2.) Test fit barrel bushing on barrel.  Barrel may have expanded after being drilled and tapped.  If the barrel bushing does not easily slide on, use emery paper to remove material from barrel diameter until a suitable fit is achieved.

Procedure 3 – Finishing

Supplies Needed:
1911 barrel
Emory Paper
Cutting oil
Scotchbrite pad
PermaBlue bluing
Dishsoap
Toothbrush
Gun patches or Q-tips

    • Smooth all rough surfaces with emory paper and cutting oil.  Pay special attention to chamber hood taper and front 2 inches of barrel.
    • Degrease thoroughly with dishsoap and water.  
    • Polish all surfaces of barrel with Scotchbrite pad
    • Degrease the barrel again with dishsoap and water, use a toothbrush to scrub the barrel. Do not touch the barrel with your bare hands or anything oily after degreasing.
    • Apply PermaBlue with q-tips or gun patches, allowing the solution to sit on the barrel for 30 – 45 seconds from first application.  Rinse barrel under water after application.
    • If the finish is spotty or not complete, repeat steps 4 and 5 until the desired finish is attained.
    • Coat the freshly blued barrel with cutting oil.  Wipe excess oil off with patches or paper towel.

Procedure 4: Drilling set screws

Supplies Needed:
Propane or MAP gas torch
½ inch national coarse thread set screws
5/32nds Drill bit.
180” #15 Drill
.170” #18 Drill
.166" #19 Drill
.159” #21 Drill
.150” #25 Drill (.152” hole)
.140” #28 Drill
.129” #30 Drill
IF YOU ARE USING JOE SWANSON'S BLANKS - THESE SIZES ARE MUCH TOO SMALL. CONTACT JOE SWANSON FOR THE CORRECT SIZE DRILL BITS.
Allen wrench or bit driver to fit your set screw

  1. Heat set screws on heat resistant / fireproof surface until the tips are reddish orange in color to soften them, if the set screws are hardened. 
  2. Secure set screw in vise, using blocks of wood so that the threads are not marred or deformed. 
  3. Center drill the set screws (preferably using a drill press to prevent hogging of apertures) with the drill bits specified.  Start with the largest sizes first.
  4. Create a means of marking or otherwise identifying the set screws.  A block of wood with holes drilled and threaded in, then labeled, or commercial off the shelf pill containers.


Procedure 5: Testing / Troubleshooting

Be sure that your 1911 functions properly with live ammo, with your non-drilled and tapped barrel.  If your gun has problems with live ammo, don’t expect it to work with blanks either.

Install your 1911 barrel, with the barrel link installed.  Install the LARGEST APETURE set screw in your barrel.  Test fire.    If the blank fails to cycle the slide, install the next smaller size aperture.  Repeat. 

If the 1911 jams on the blank, or the slide jams, remove the barrel link and repeat above. 

If your recoil spring is heavily used / old, it may cycle with a larger aperture (154) than the recommended (150).  Always use the largest aperture that will consistently cycle your 1911 to reduce wear/stress.

There are two types of 1911 blanks.

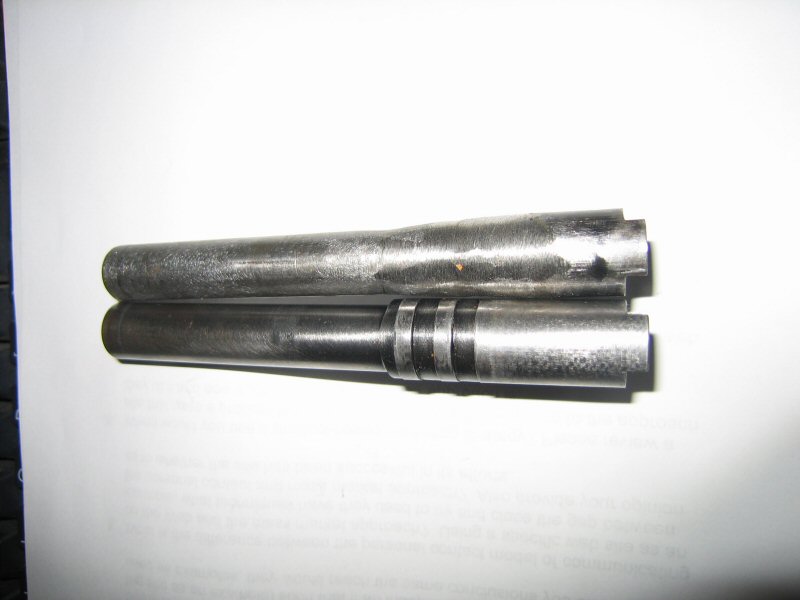
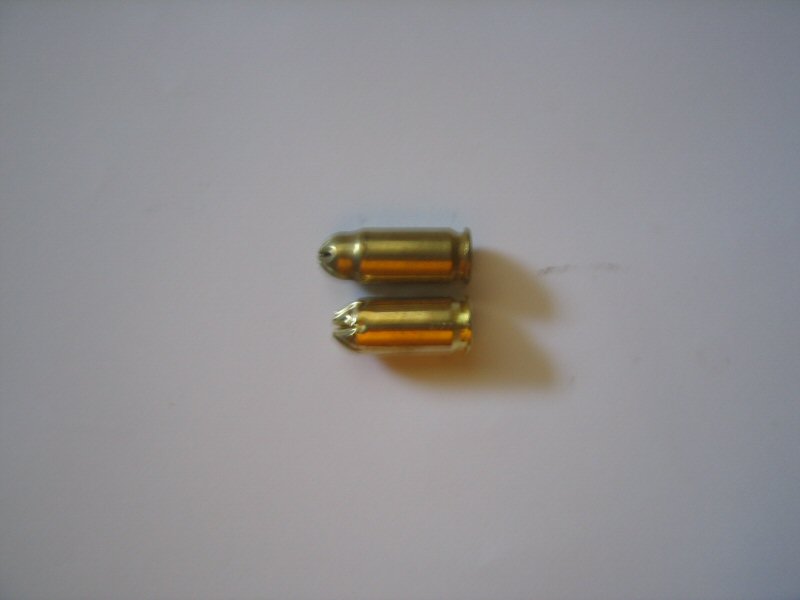
One blank is slightly longer, with a full length bullet crimp.  These blanks are commonly use for SMG blanks.  These blanks will eject in 1911s that have had their ejection ports modified by milling out the front of the ejection port.

The shorter blanks, will eject in all 1911s. No modifications are needed to the slide.

Notes:

I am currently using Atlantic Wall Blanks’ 45 auto pistol blanks.  I met up with Rob (AtlanticWallBlanks) at Camden and was able to field test the blanks for him. 

The blanks he supplied me all appeared consistently formed, crimped and clean upon inspection.  All of the primers were properly seated.  The bag of 50 contained 50 blanks.  Rob also gave me a handful more blanks to test out to see if they worked. 

The blanks headspaced properly in my barrel, (the shoulder was properly formed and the right length).  I fired 14 rounds (2 magazines), one slow fire, one rapid fire in my 1942 Colt 1911a1 (885XXX) with a ww2 production GI magazine (R).  All rounds fired consistently,  ejecting and feeding consistently as well.  No stoppages, failure to feeds, failure to eject or stovepipe problems.  My 1911a1 runs well with live ammo, and I did not anticipate any problems running blanks. 

The blanks were not excessively loud, or excessively powerful.  I felt the volume to be appropriate for pistol blanks, and safe for use in pistols.

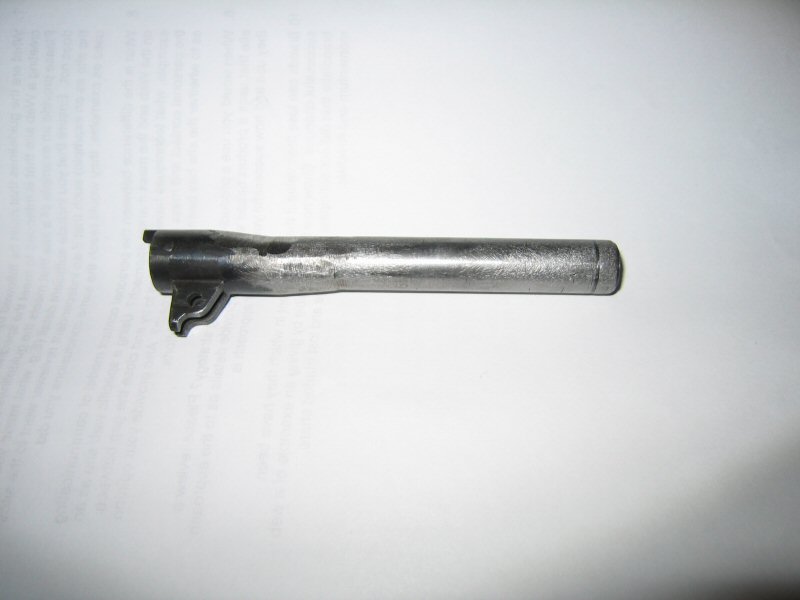
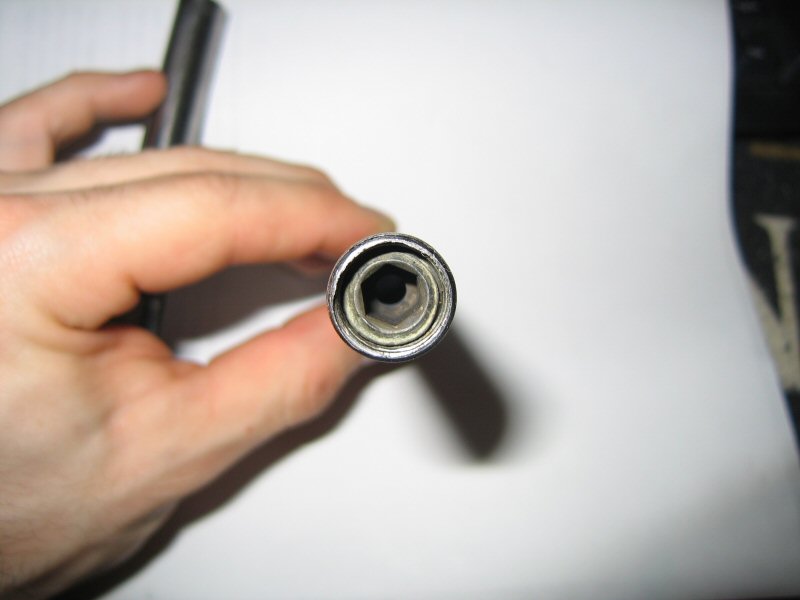
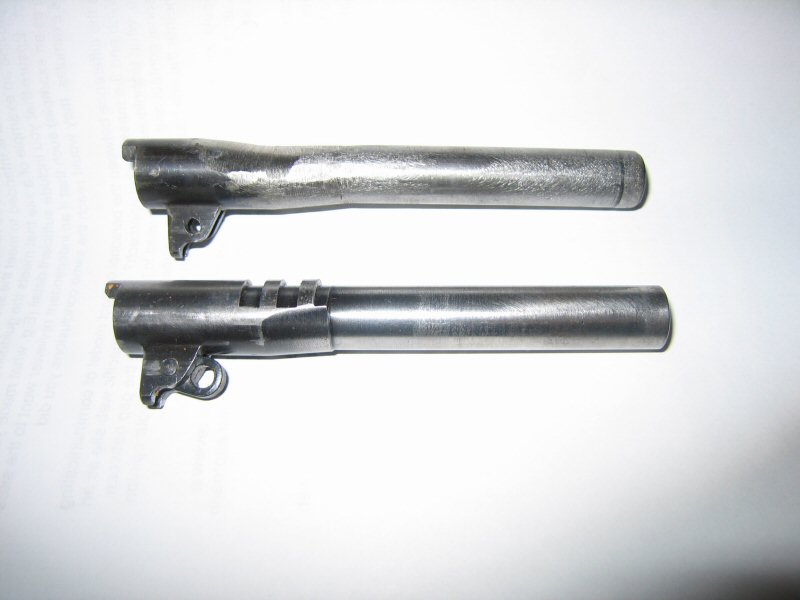
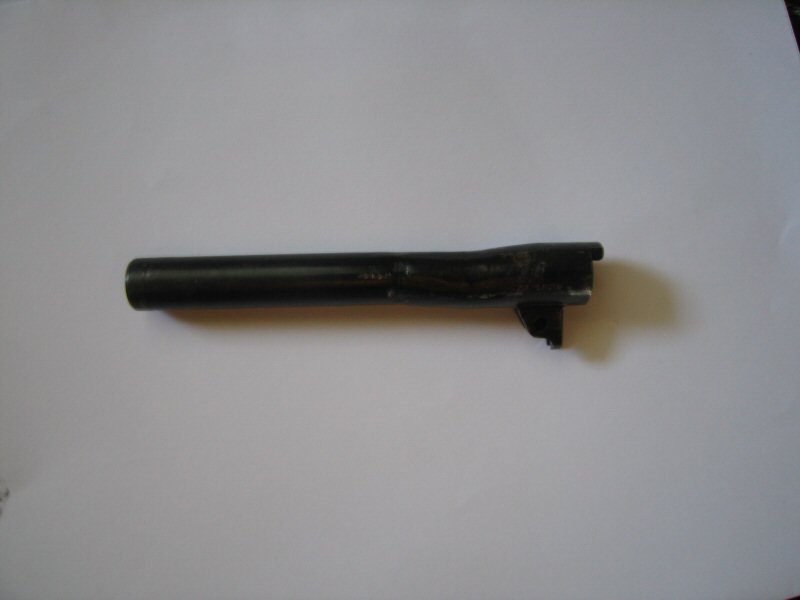
I was using the blank barrel pictured above, with a .154 set screw installed.  The recoil spring I was using has an unknown number of rounds on it, and I assume it to be weak. I fired the blanks without the barrel link installed.  Otherwise, the gun is stock, no further modifications or alterations needed.


About Us | Contact Us | ©2001 90th IDPG