Blank Firing Magazines
M19182 Browning Automatic RifleDate Written: August 3, 2012
Author: Chris Guska
Background:
There some myths out there regarding "how hard" it is to blank adapt a Browning Automatic Rifle. One of those myths is that the BAR will only run on "Full Length" blanks or "Short Blanks" with a special magazine.I wrote a rather lengthy narrative of my experiences regarding BAR magazines... but decided I'd spare you that for now and get to the business of it.
There are many ways to make "special magazines" adapted for blanks of your choice. Your options are only limited by your creativity. For the purposes of this article, I will present two methods.
The first method is what I did for a customer of mine to run the full length plastic 308 blanks that were on the market recently.
The second method is that described and recommended by Blanksguy, Richard Satterfield. I give him 100% credit for his method, photos, and expertise over the years. He has been happy to share the information with the reenacting community over the years, and it is simply re-published here, in what was originally a series of photo that I hosted for him in 2008.
Method 1 (Greaser):
Essentially what I did was to make a spacer for the front of the magazine, and used a modified 308 magazine follower and spring. I did not permanently modify the BAR magazine or any of its components. This way, the magazine can bet reverted back to its original condition quickly and easily.
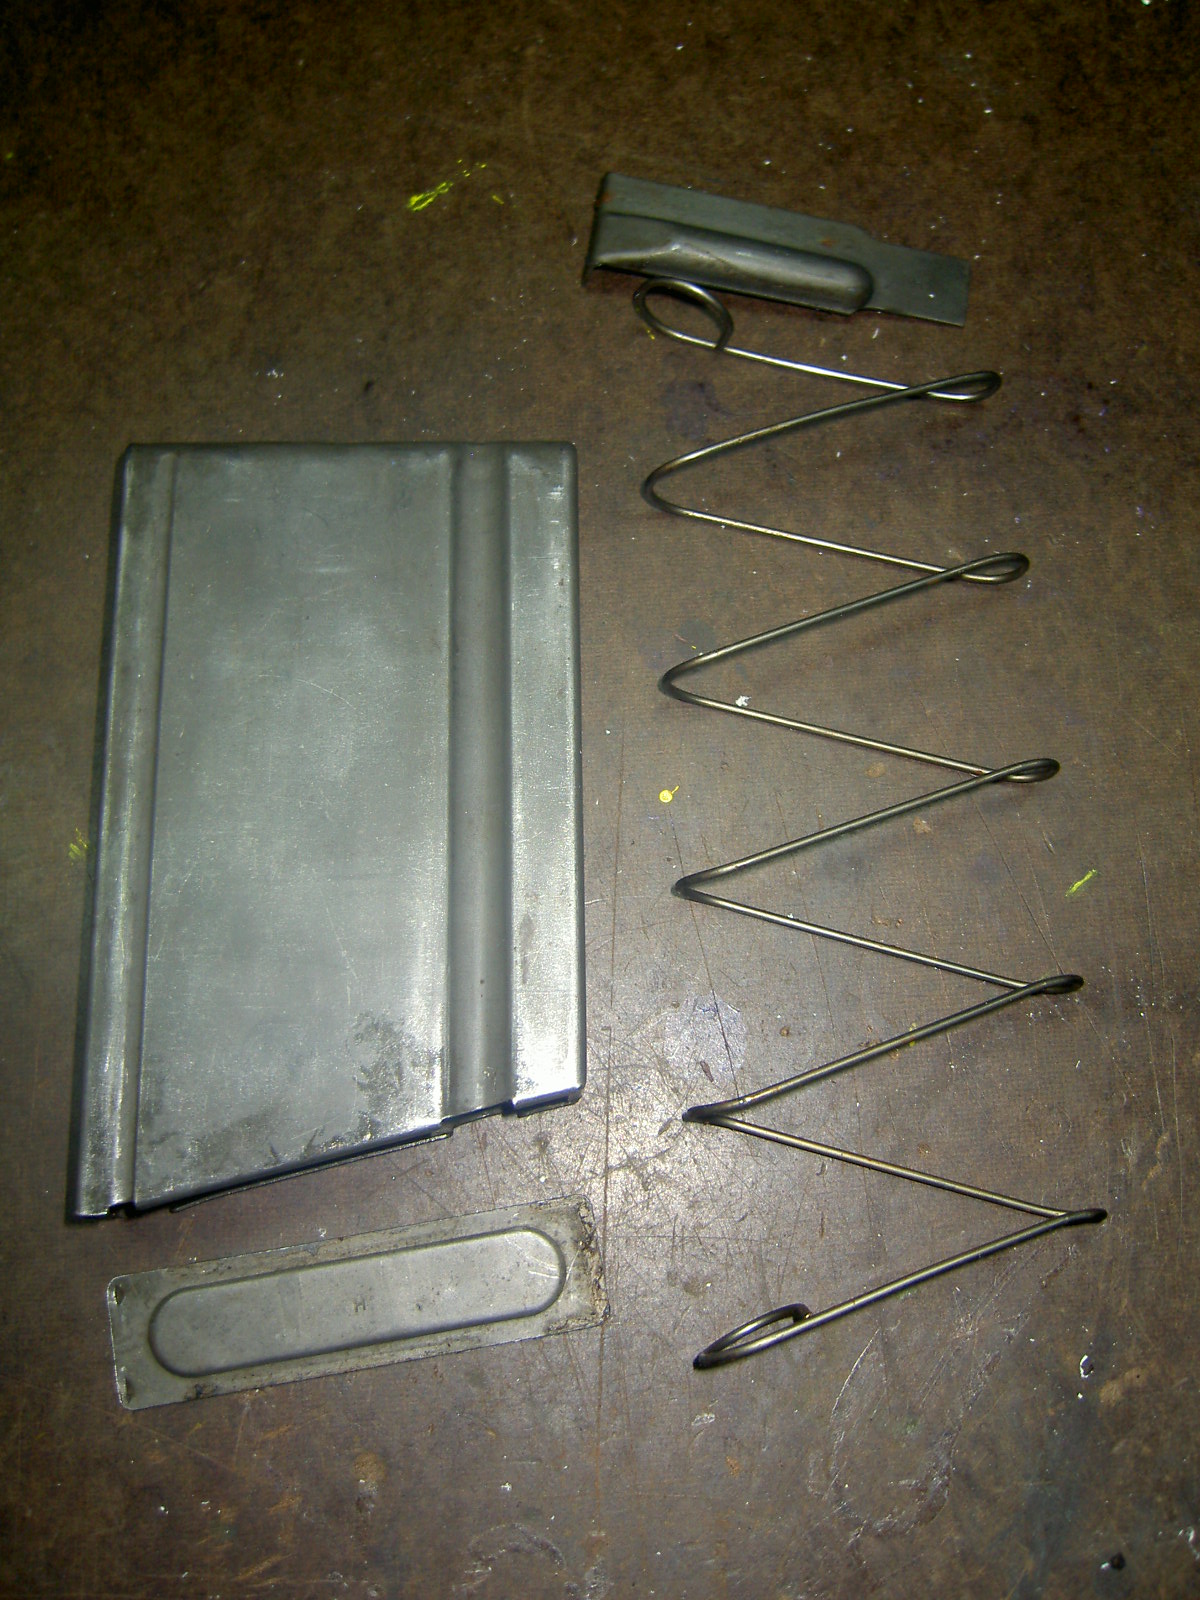
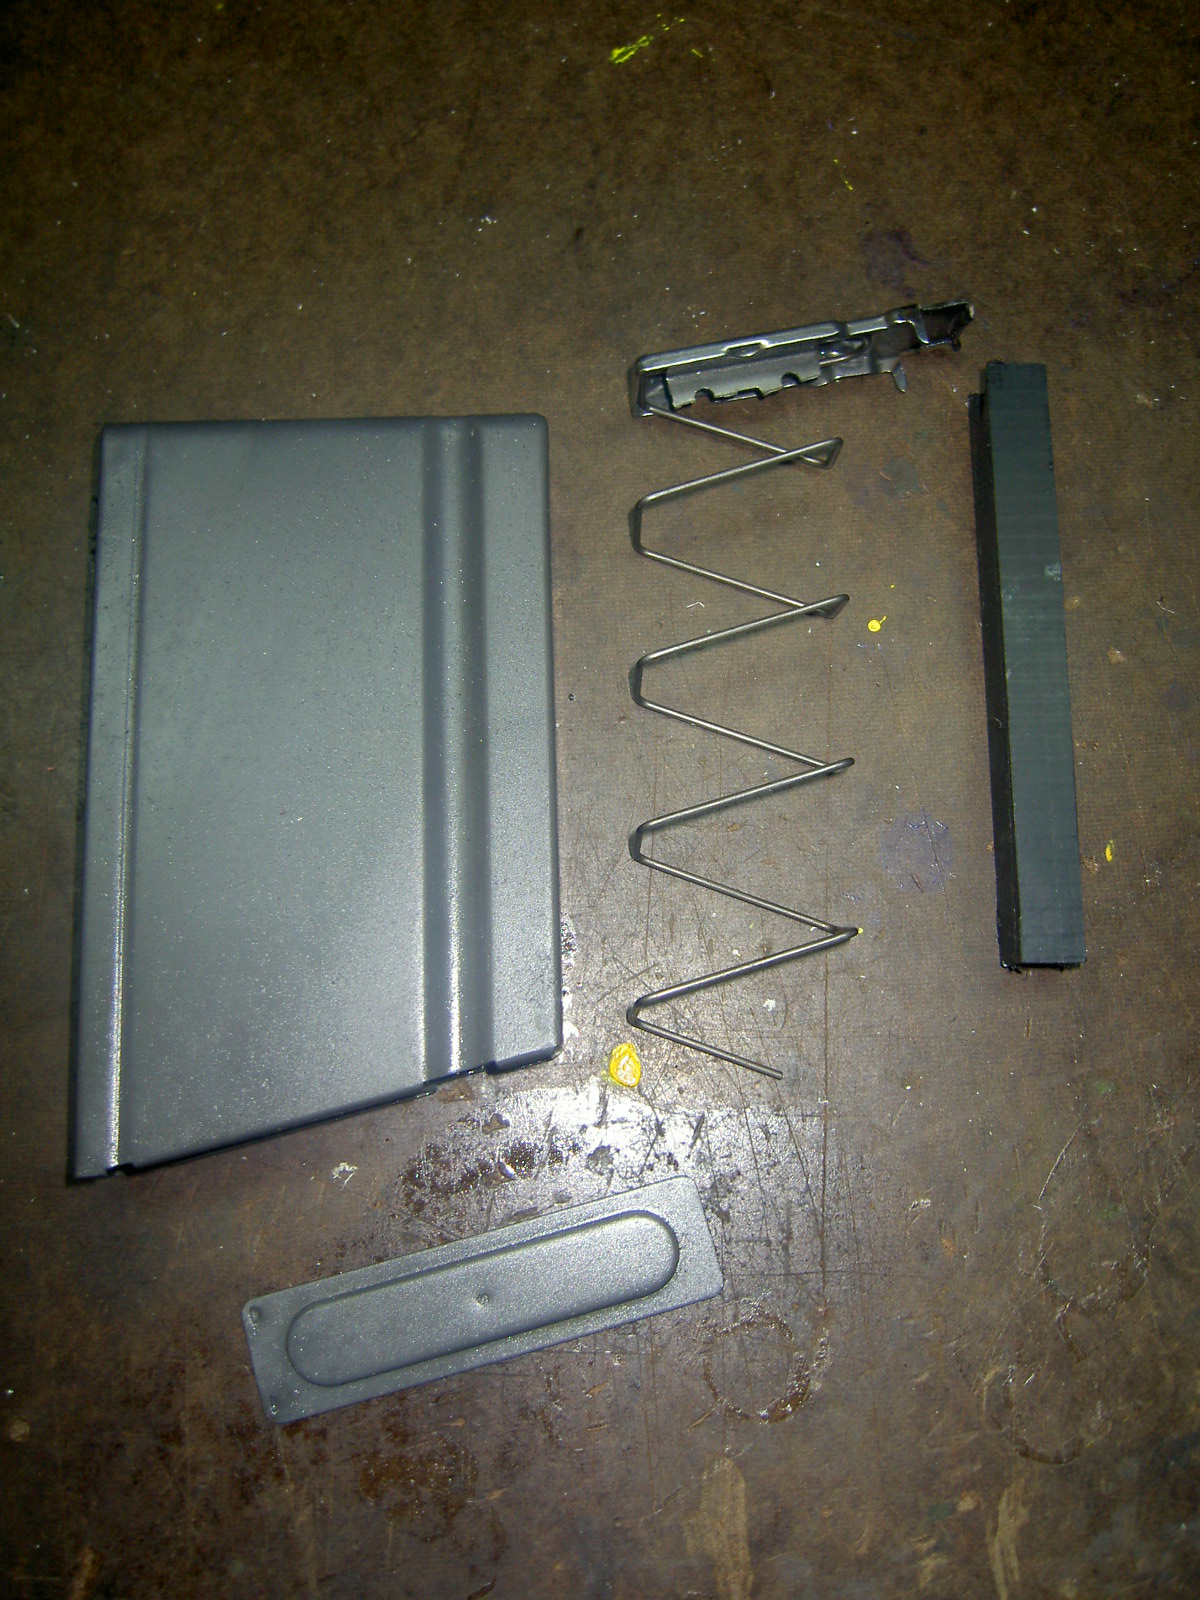
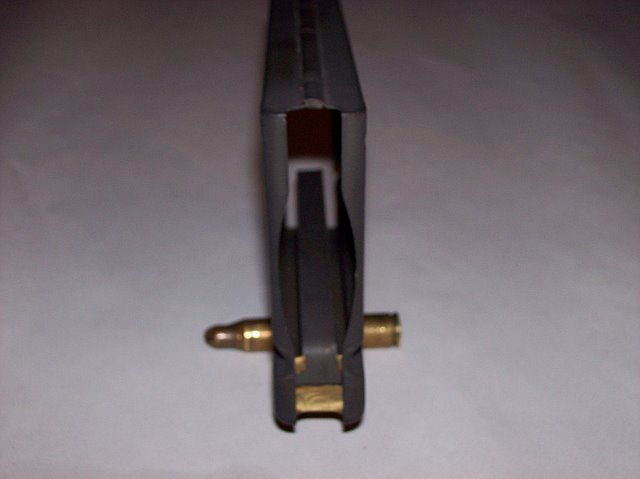
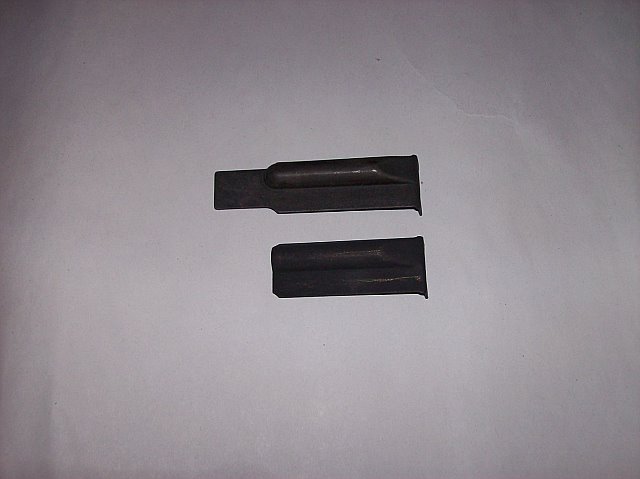
The BAR Magazine disassembled
The "Donor" magazine disassembled. I used G3 magazines since they were cheap. $2 for a complete aluminum mag from Cheaper than Dirt. I'll be using these for the follower and spring.
I started off by removing the follower from the spring and grinding it so that it would fit in the BAR magazine. Depending on the length of your blanks, you may want to shorten the front of the follower to allow the maximum sized spacer.
Second step was to snap off the "Tabs" on the bottom of the magazine in the center. These prevent the follower from going all the way down and limiting capacity on the finished magazine.
Third step was to cut 4 and a half coils off of the magazine spring.
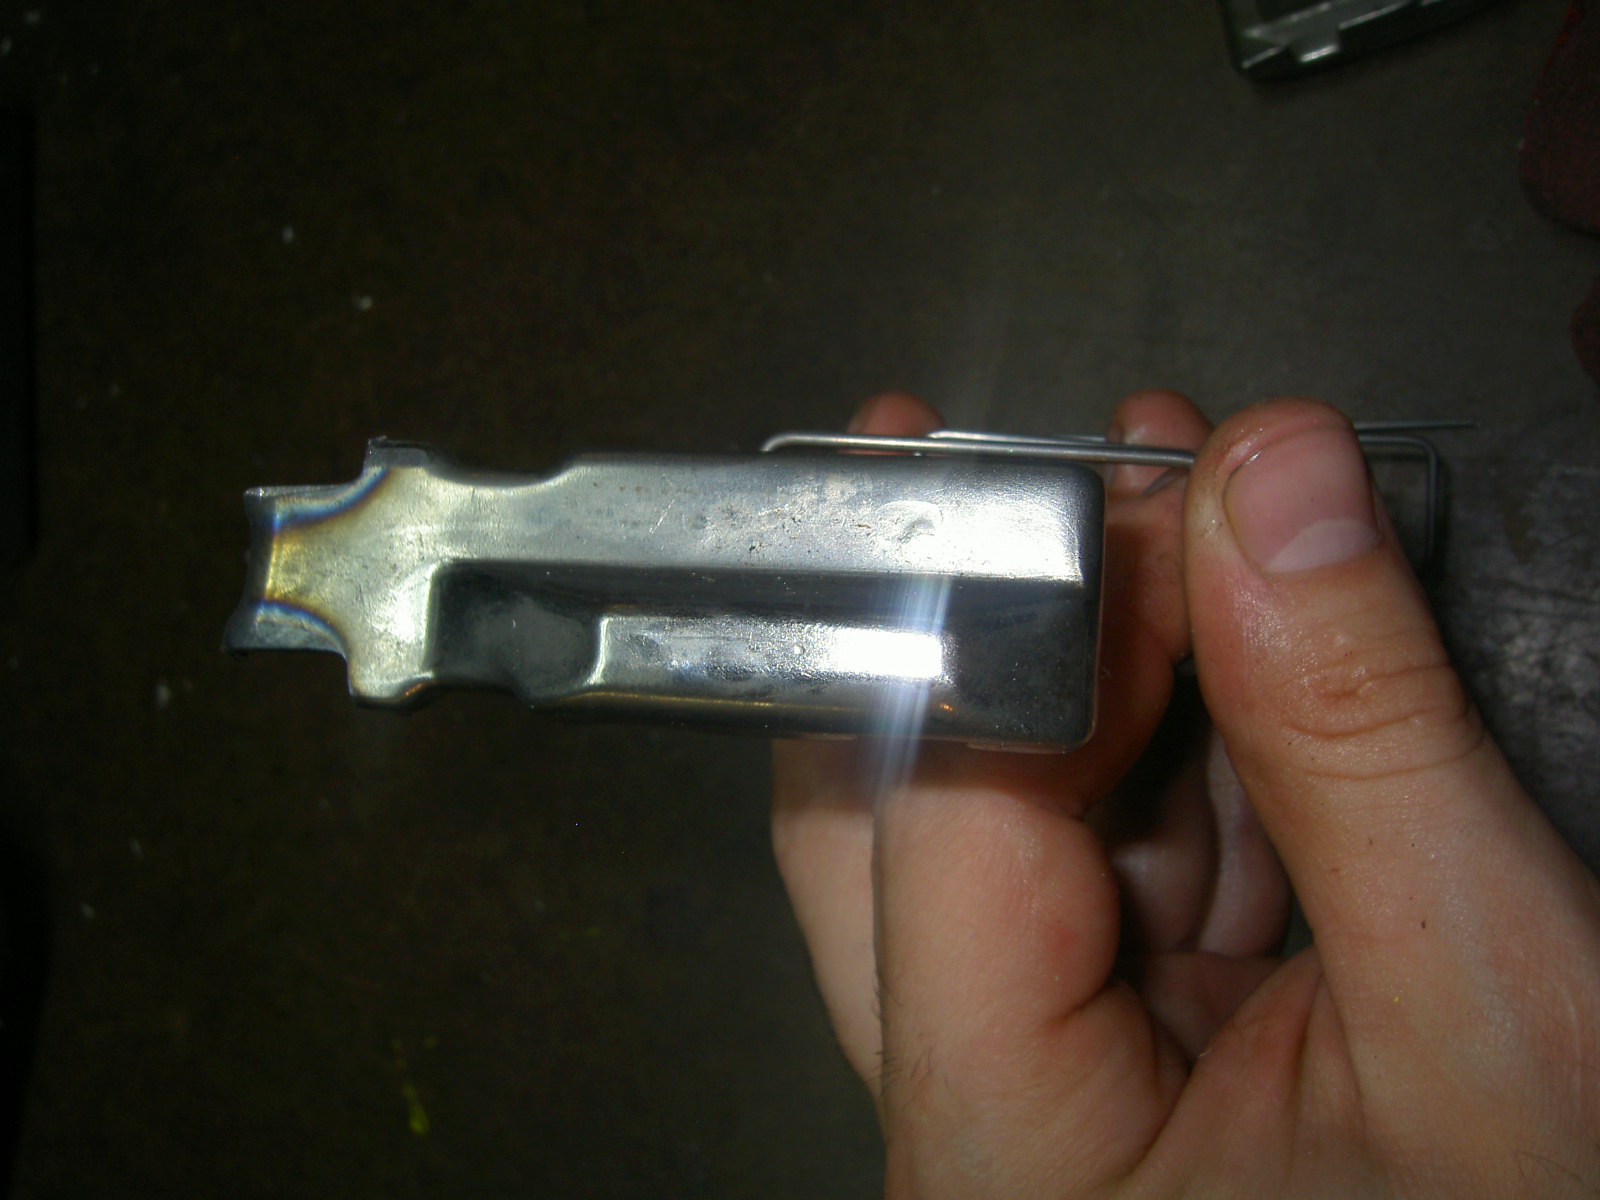
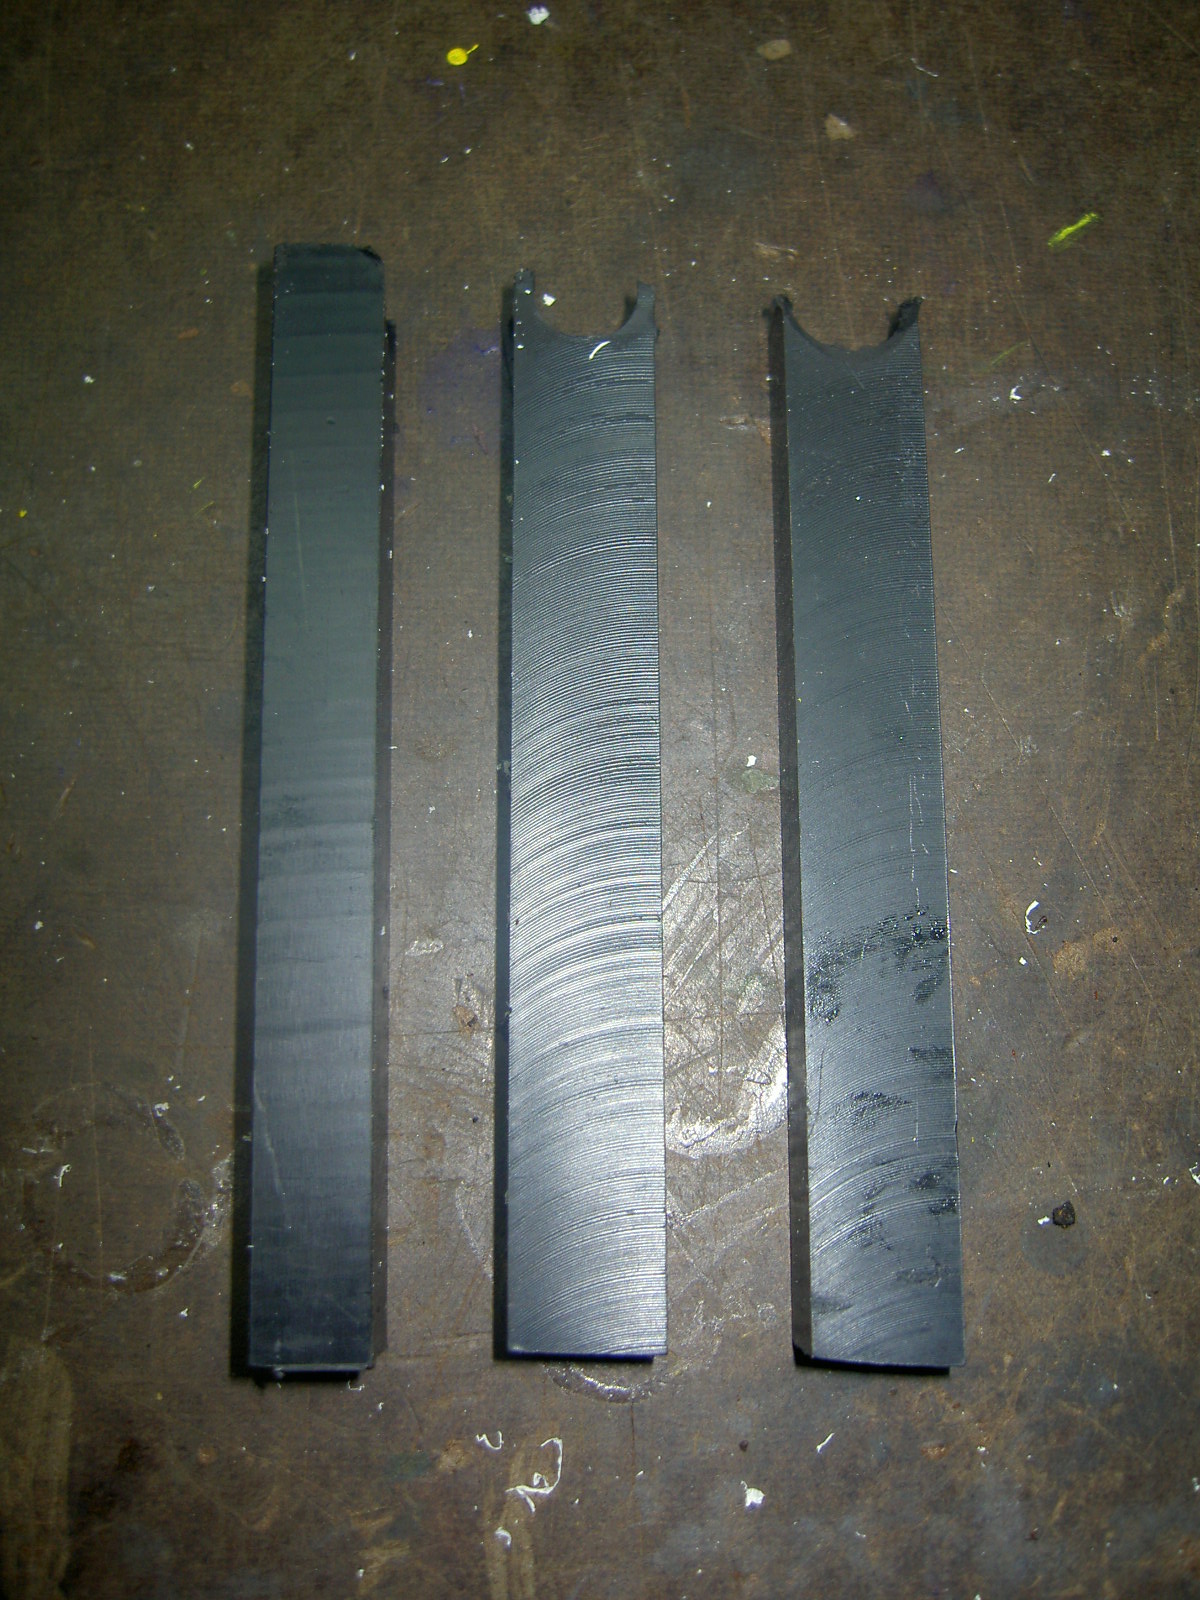
Fourth step was to make the spacers for the front of the magazine. I used 5/8 x 5/8 delrin square stock from McMaster Carr. I milled the delrin down to 1/2 inch thickness, 5/8 width. I cut the inserts to 4 3/4 inch length, and used a 1/2 inch endmill to cut a relief for the feedway. Using a half round file, I put a "ramp" profile on one side of the insert.
The size of your spacer may vary. make the spacer whatever size you need to fit the specific blanks that you will be using. Shorten the magazine follower accordingly.
You could make these out of wood or pretty much anything. I chose the materials that I did because they are relatively cheap and easy to work with.
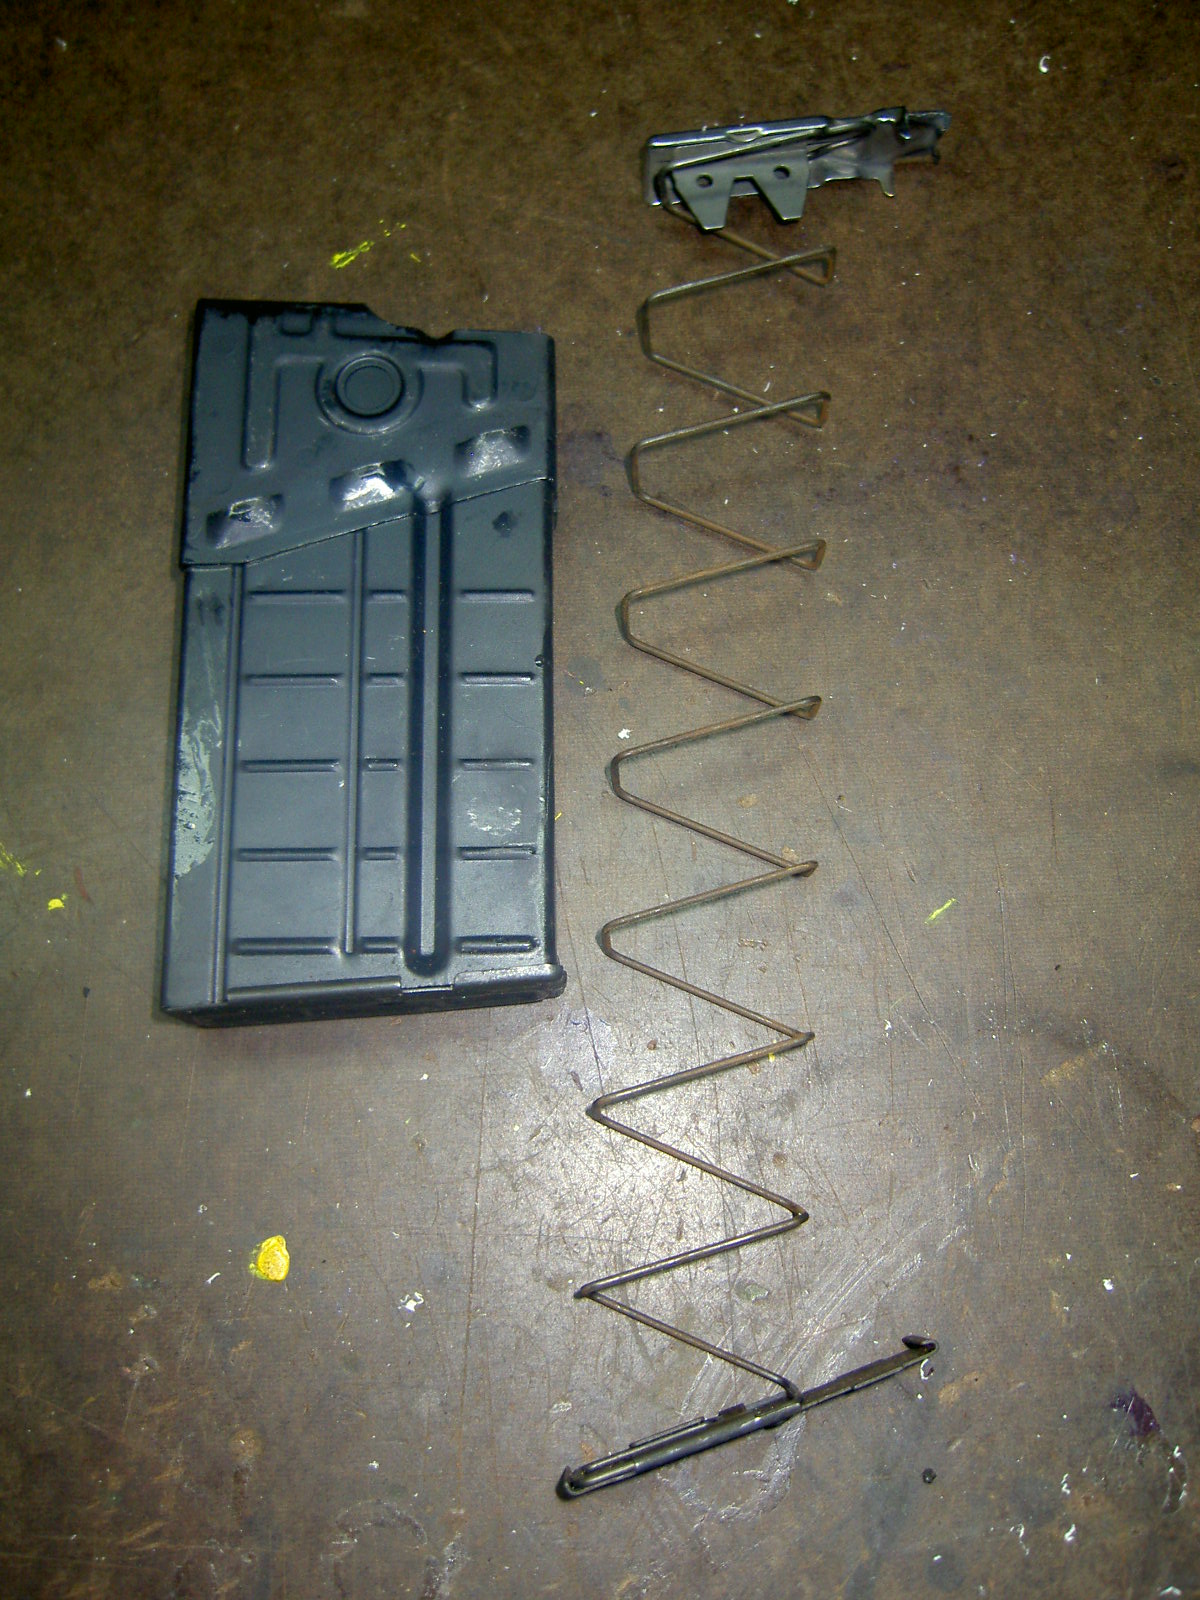
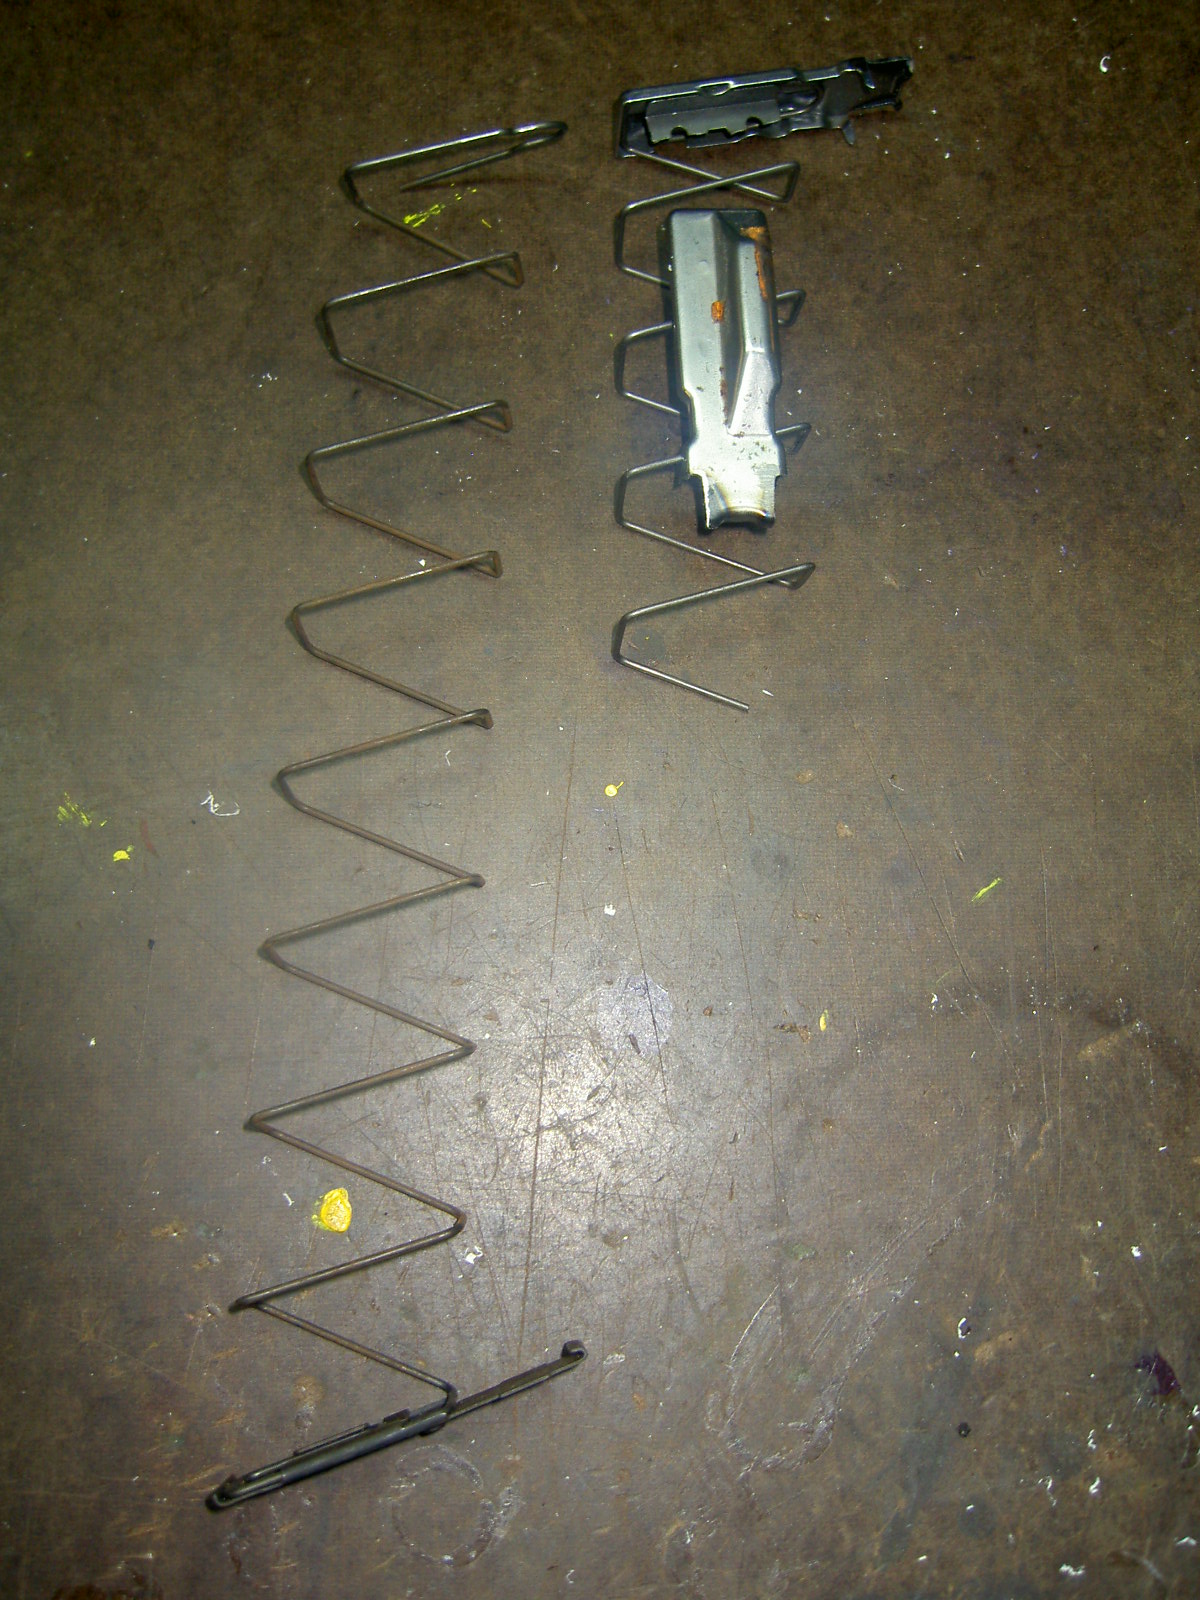
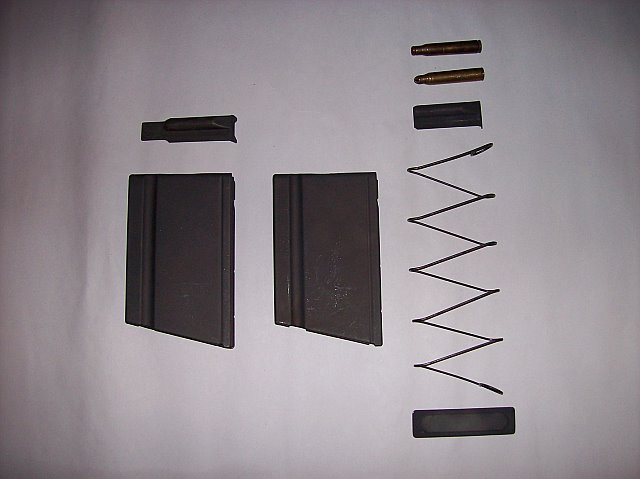
Here's all the pieces ready for assembly.
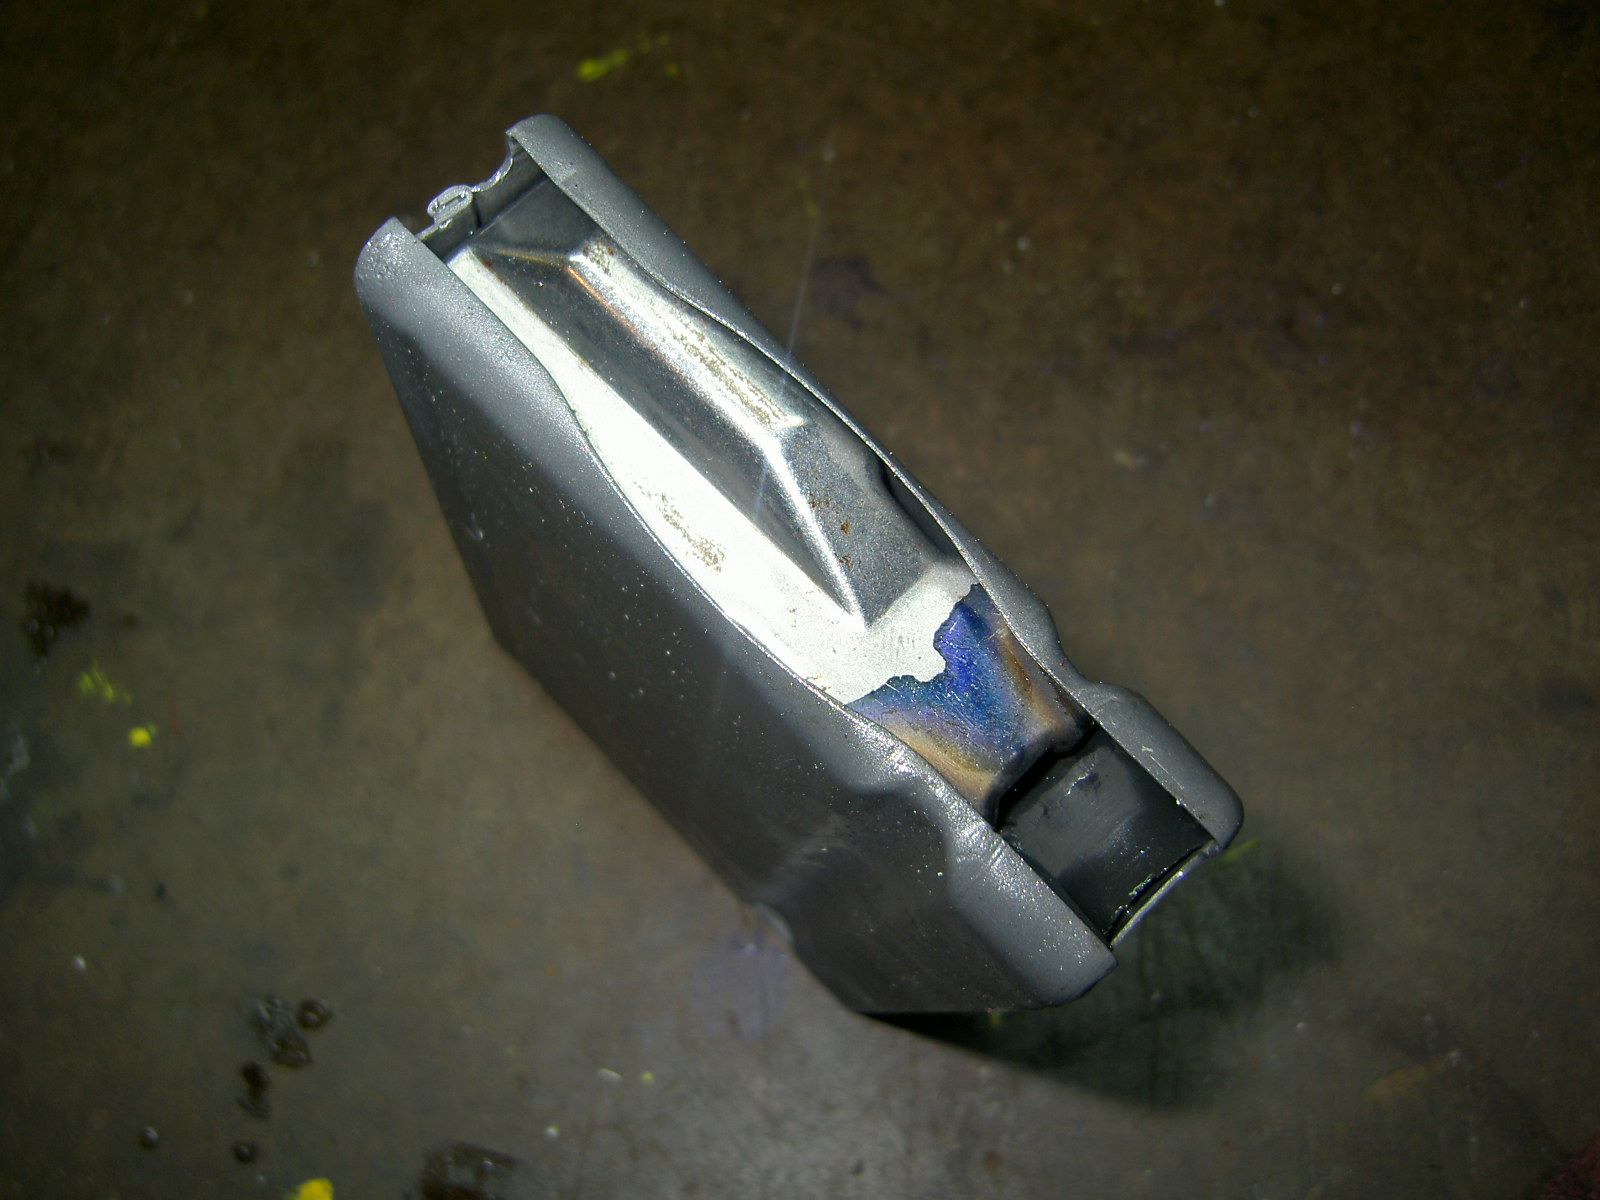
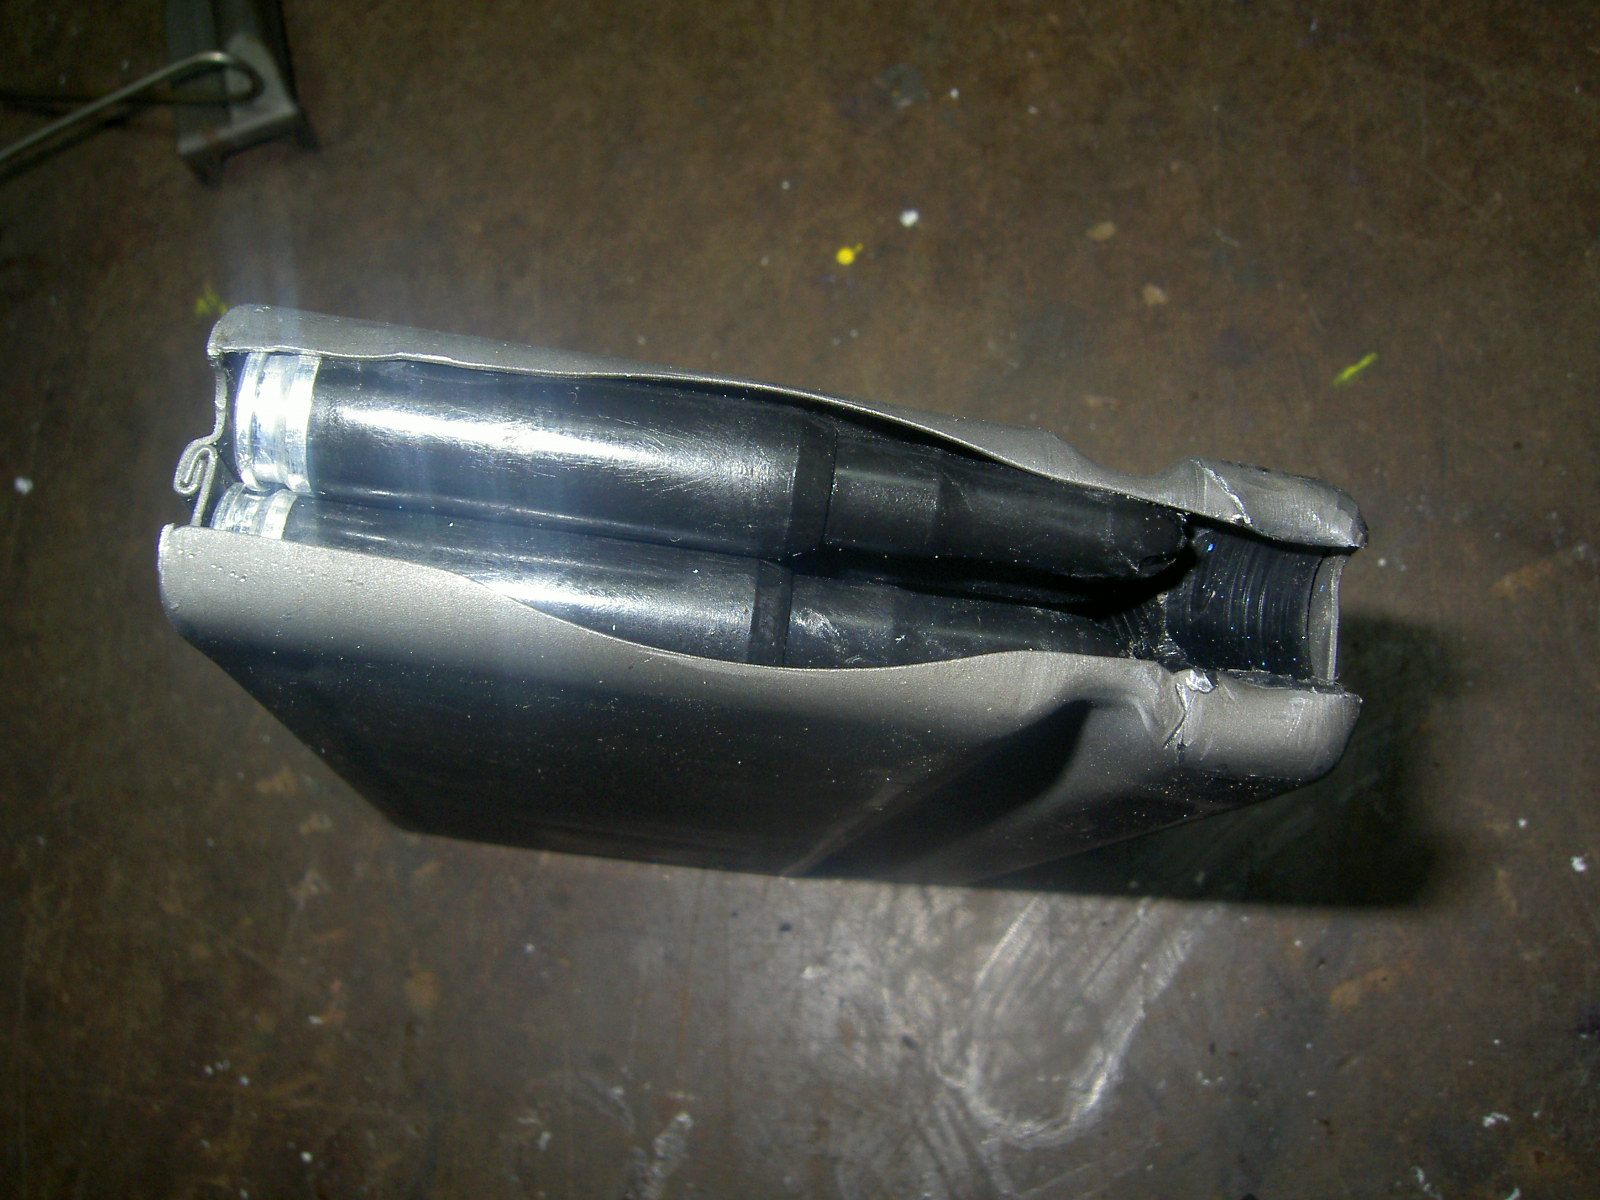
Two views of the assembled magazine.
Method 2 (Blanksguy):
Richard's method mimics the USGI pattern for the BAR.
First step is to cut a strip of sheet metal out to use as a pacer.
Second step is to bend the sheet metal into a J shape.
Third step is to braze the J shaped spacer into the front of the magazine.
This is what it should look like when brazed in.
Fourth step is to shorten the follower.
The magazine is ready to re-assemble. Since a thin sheet metal hook was used to make the spacer, the original magazine spring can be re-used. It simply slides in around the spacer.