Authentic Display Grenades
If you don't want to carry original WW2 grenades in the field or are having trouble finding them, there is a better alternative to carrying obviously postwar grenades. Like so many other things, there is no 100% definite rule to identify a WW2 grenade at a distance or quick glance. Do some research by looking at the following sites:
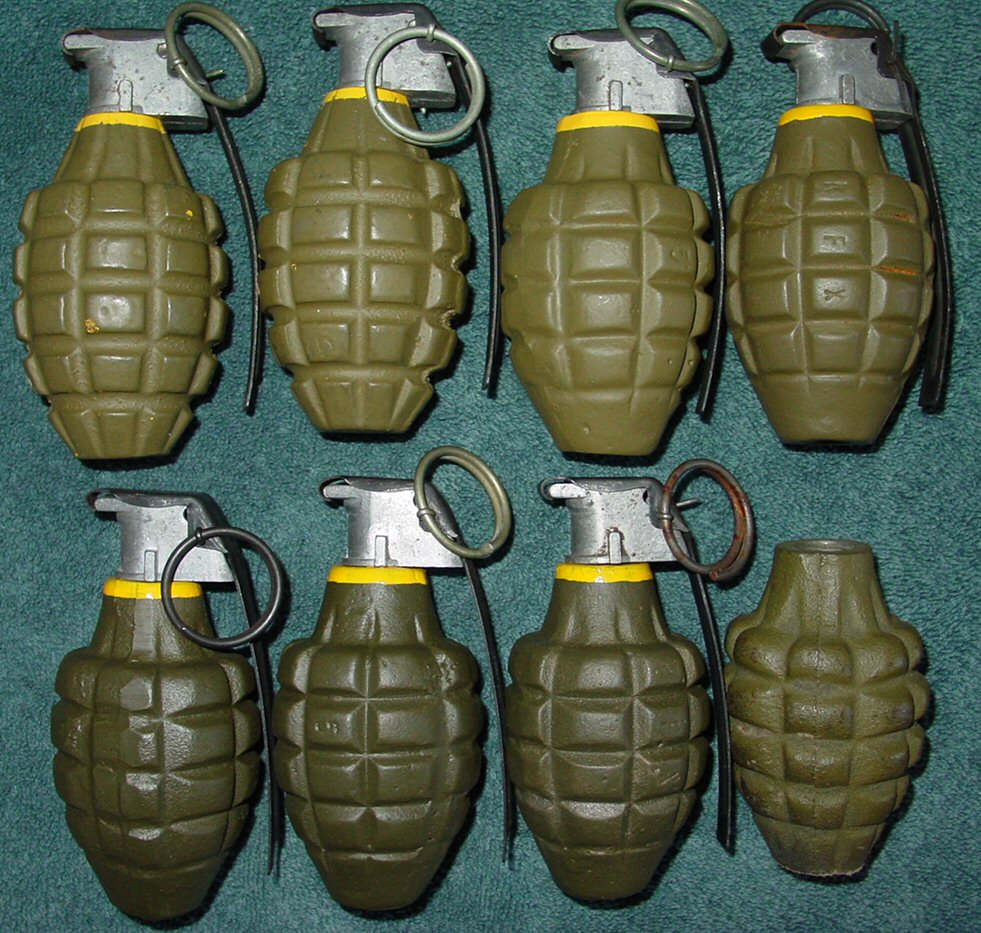
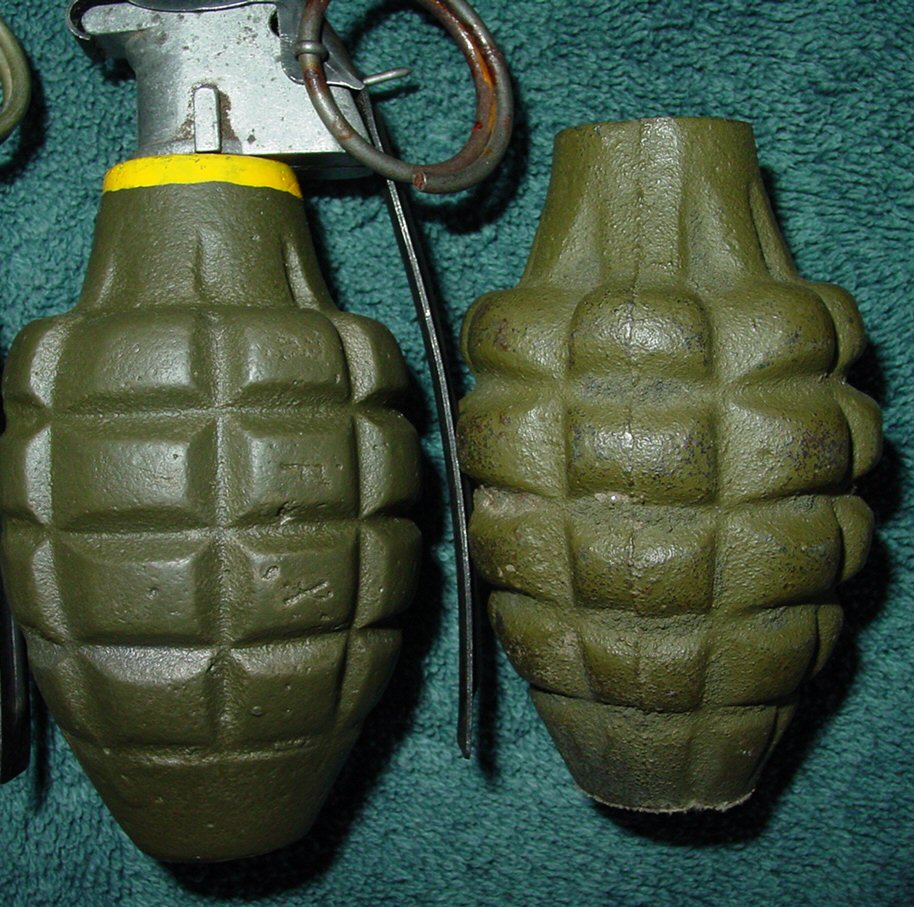
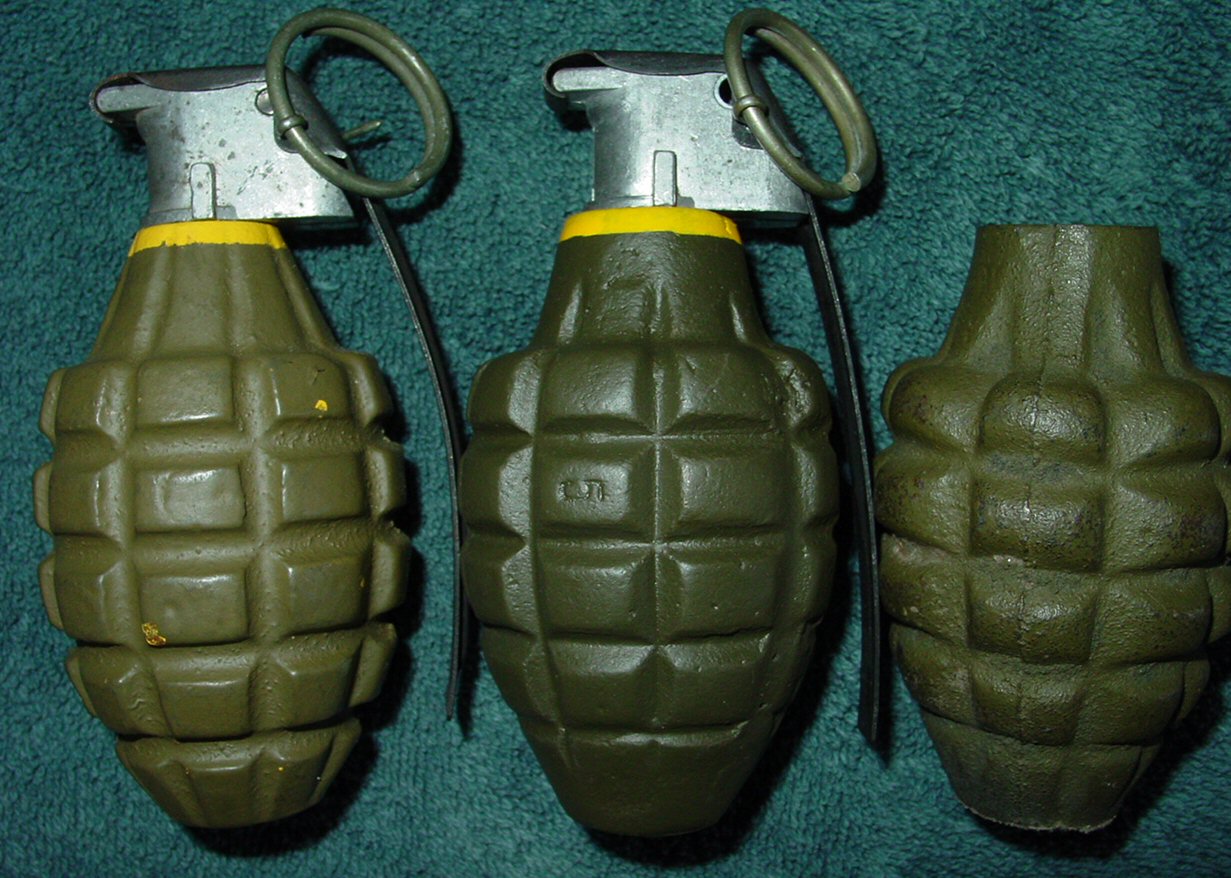
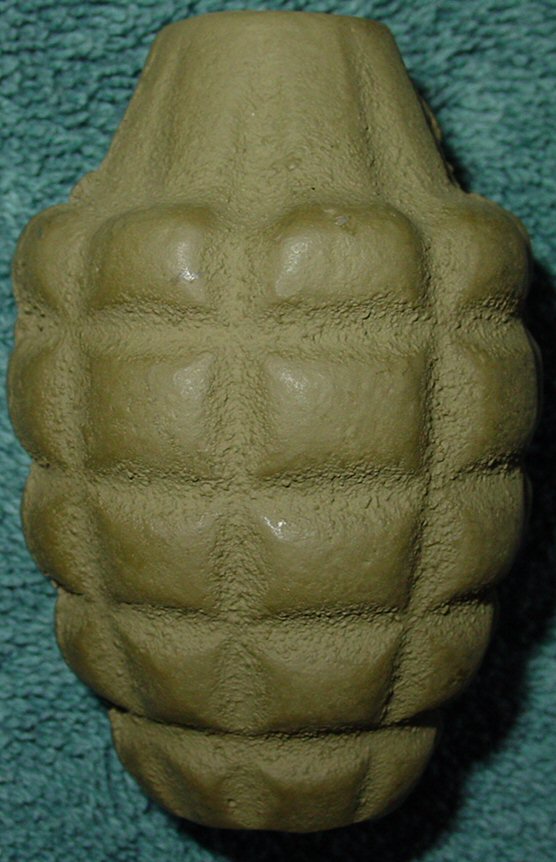
IN GENERAL, a WW2 grenade has relatively flat bumps while the Vietnam era grenade has much more pronounced bumps. Also, the grooves run all the way from top to bottom of the WW2 models. But look at the above links. There are original WW2 grenades that look like Vietnam and Vietnam era grenades that are very flat.
WW2 Postwar
Basically, with a little bit of looking and picking through $5 postwar grenades at a gun or militaria show you can come up with some nice ones that look much closer to WW2 than postwar era.
WW2 - Postwar - Postwar
Now for the fuzes. The WW2 era fuzes along with reproduction spoons can usually be had at the same show for $5-$10. The thing is, postwar fuzes have slightly larger threads than WW2. WW2 threads are 1/2" NC and postwar are 5/8" NC. In my experience though, it seems a WW2 fuze will start to tighten in a postwar grenade when you get down to the last couple threads. They seem to snug up fine.
If you want the fuze to fit tighter, and don't like the hole drilled in the bottom to demil the grenade you have an option. You can fill the hollow body with epoxy putty or some other inert substance. DO NOT simply fill in the hole in the bottom. That's an attempt to undo the demilling. With the whole body filled with a permanent substance everything is nice and legal and the fuze now fits good and tight. Make sure when you do this that you tightly wrap the fuze in teflon tape or some other thing so that the epoxy doesn't bond to it and the fuze can be removed later. There are lot of substances that you can use to fill the body. I've used a 2 part liquid nails/epoxy tube but that added almost $5 to the cost of each grenade. A buddy claims that straight liquid nails will not dry and cure without air getting to it. I haven't tried it yet but I assume a can of expanding foam would do a nice job and last for a decent number of grenades. Lastly paint. Early war grenades were all yellow to denote live high explosive (as opposed to training models). Supposedly, the order went out sometime in 1942 for the yellow to be changed to OD. There are a couple photos of some men from the 29th Division getting ready for the Normandy invasion with yellow grenades but it seems that most were yellow repainted with OD. That's what I chose to do with some of mine. I painted them yellow and then covered that with OD leaving the standard yellow band at the top. I do not know the date but later in the war grenades were produced and issued OD. With a little searching, and not a lot of effort, you can have a really nice WW2 looking grenade for $10-$15 and it won't break your heart if you lose it in the field.
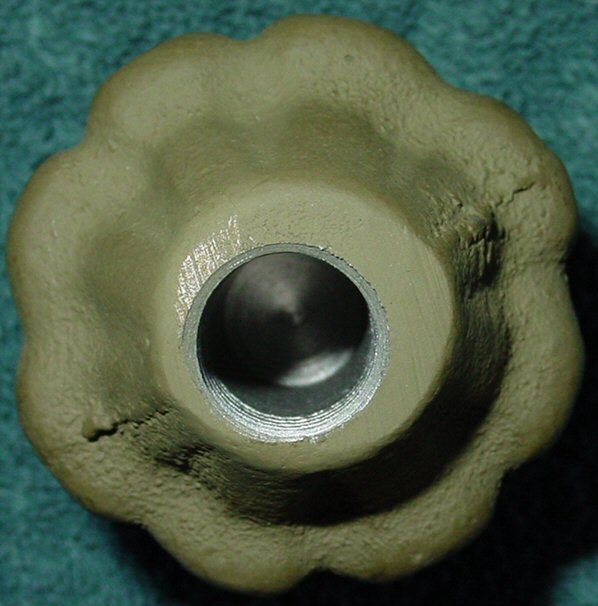
On the subject of grenades, here's a strange one I picked up. It's a WW2 era grenade, not as flat as usual, standard vertical grooves running from top to bottom but it's solid. I have no idea what the purpose was. The bottom is not flat enough to stand it upright and the fuze threading isn't even close to centered.
For more reading on MKII pineapple grenades - check out our article on MKII Grenade Restoration