Re-Webbing M1 Helmet Liners
Author: Chris Guska
Date: July, 2009
Foreword:
This is one of those "common" projects that comes across most reenactors minds at some point in their reenacting lifetime. We've all seen trashed WW2 liners, where the webbing is dry rotted out, torn, A Washers rusted away, cracks in the liner or 15 coats of paint on the outside. Many of us have expressed our desire to bring these trashed liners, or WW2 style postwar liners back to life as acceptable for WW2 reenacting by "re-webbing" them.
Within the 90th IDPG we had about a dozen, probably more as I've lost track, helmet liners that were in need of serious attention. I volunteered to make the project happen and had no clue wtf I was getting myself into. It seemed simple at the start.
Background:
There are 3 main types of helmet liners we're going to need to know about before we proceed. During the course of the war the Army and Gov't Contractors were still figuring out the best way of making helmet liners for the M1 steel helmet and this resulted in the production of some different types of helmet liners.
1st- Compressed Paper / Fibre liners, aka Hawleys - They were made by the Hawley Company and General Fibre Company from the 1st contracts for M1 helmets in 1941 till November of 1942. There were just over 4 million "Hawleys" made.
2nd - Low pressure liners - Made from 42 till the end of 1943 - about 1.5 Million total made.
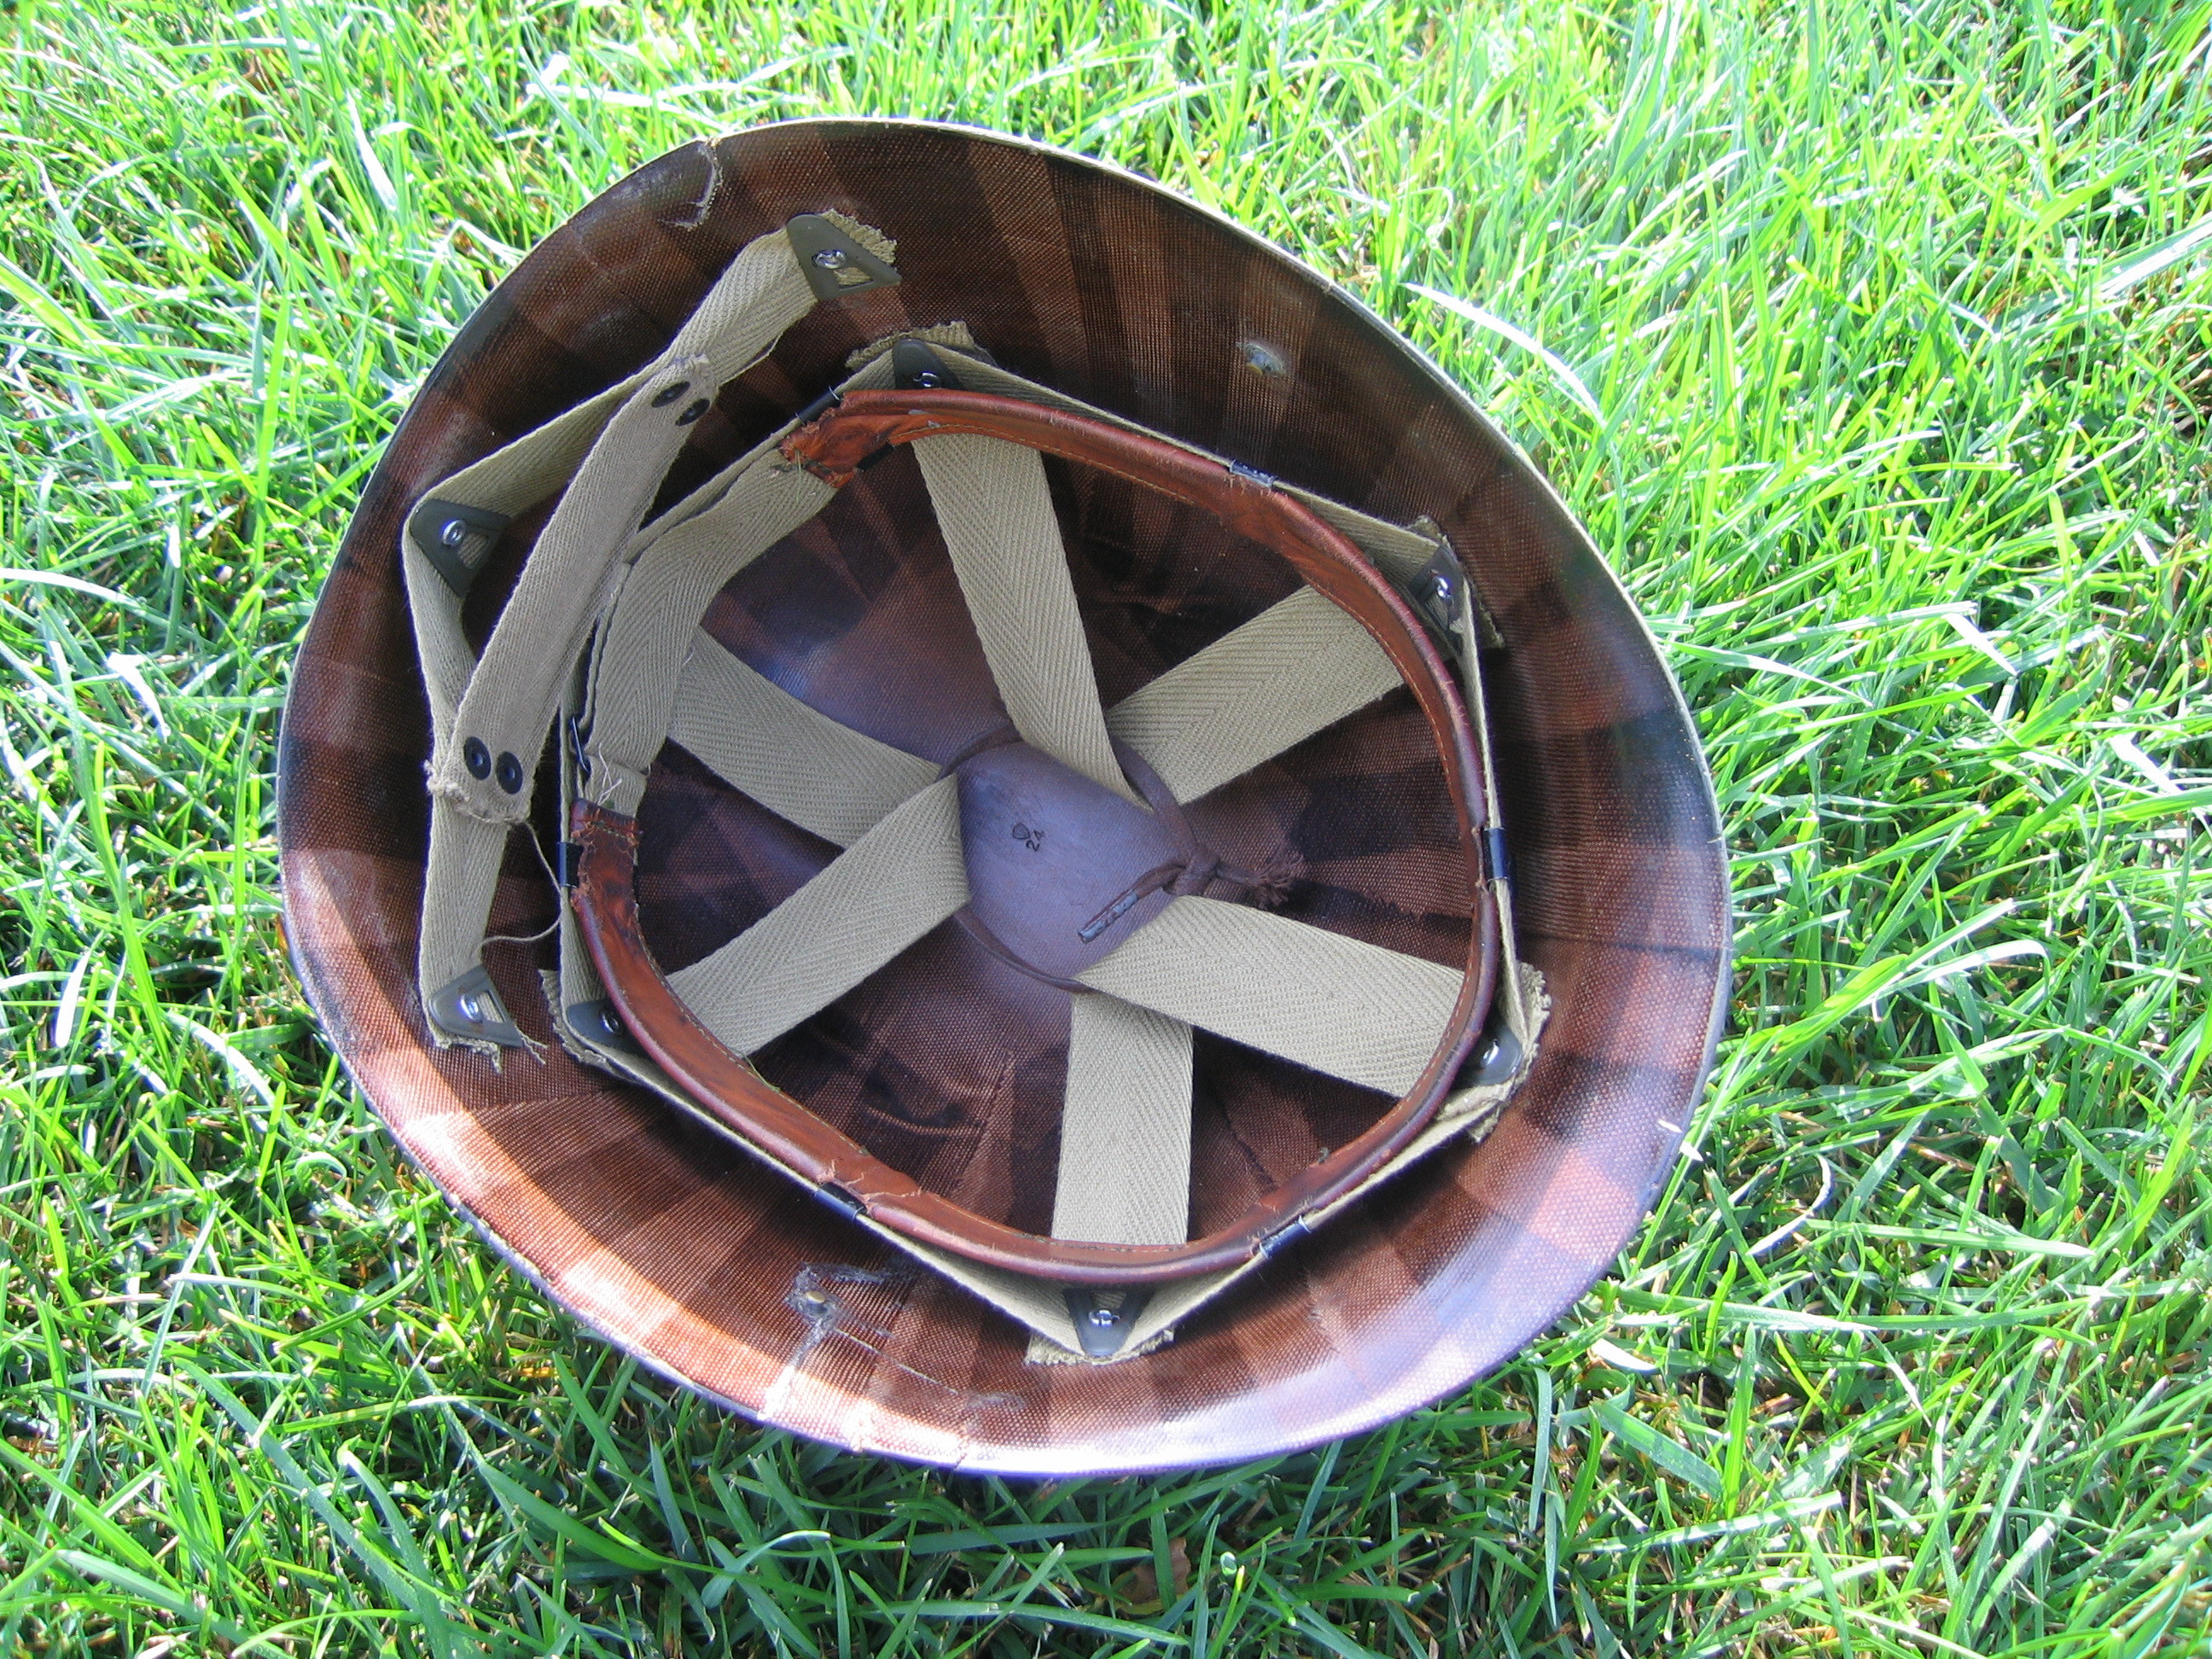
3rd - High pressure liners - these are the common WW2 "striped" liners that we all know and love. These were made Feb 42 till the end of WW2, then again during the Korean era. Just during WW2 alone there were 38 million made. High Pressure / Low Pressure refers to the process by which the resins that hold the strips of fabric that make up the helmet liner together.
The high pressure liners is what this article covers and what we're most concerned about, as its what 99% of reenactors wear in one form or another.
For a web reference on identifying maker marks of the helmet liners, or other great photos - check out www.toppots.net
If you want to spend money on a book about the M1 helmet, I highly reccomend Helmets of the ETO by Regis Giard and Federic Blais, Historie & Collections, 2007
The Liners:
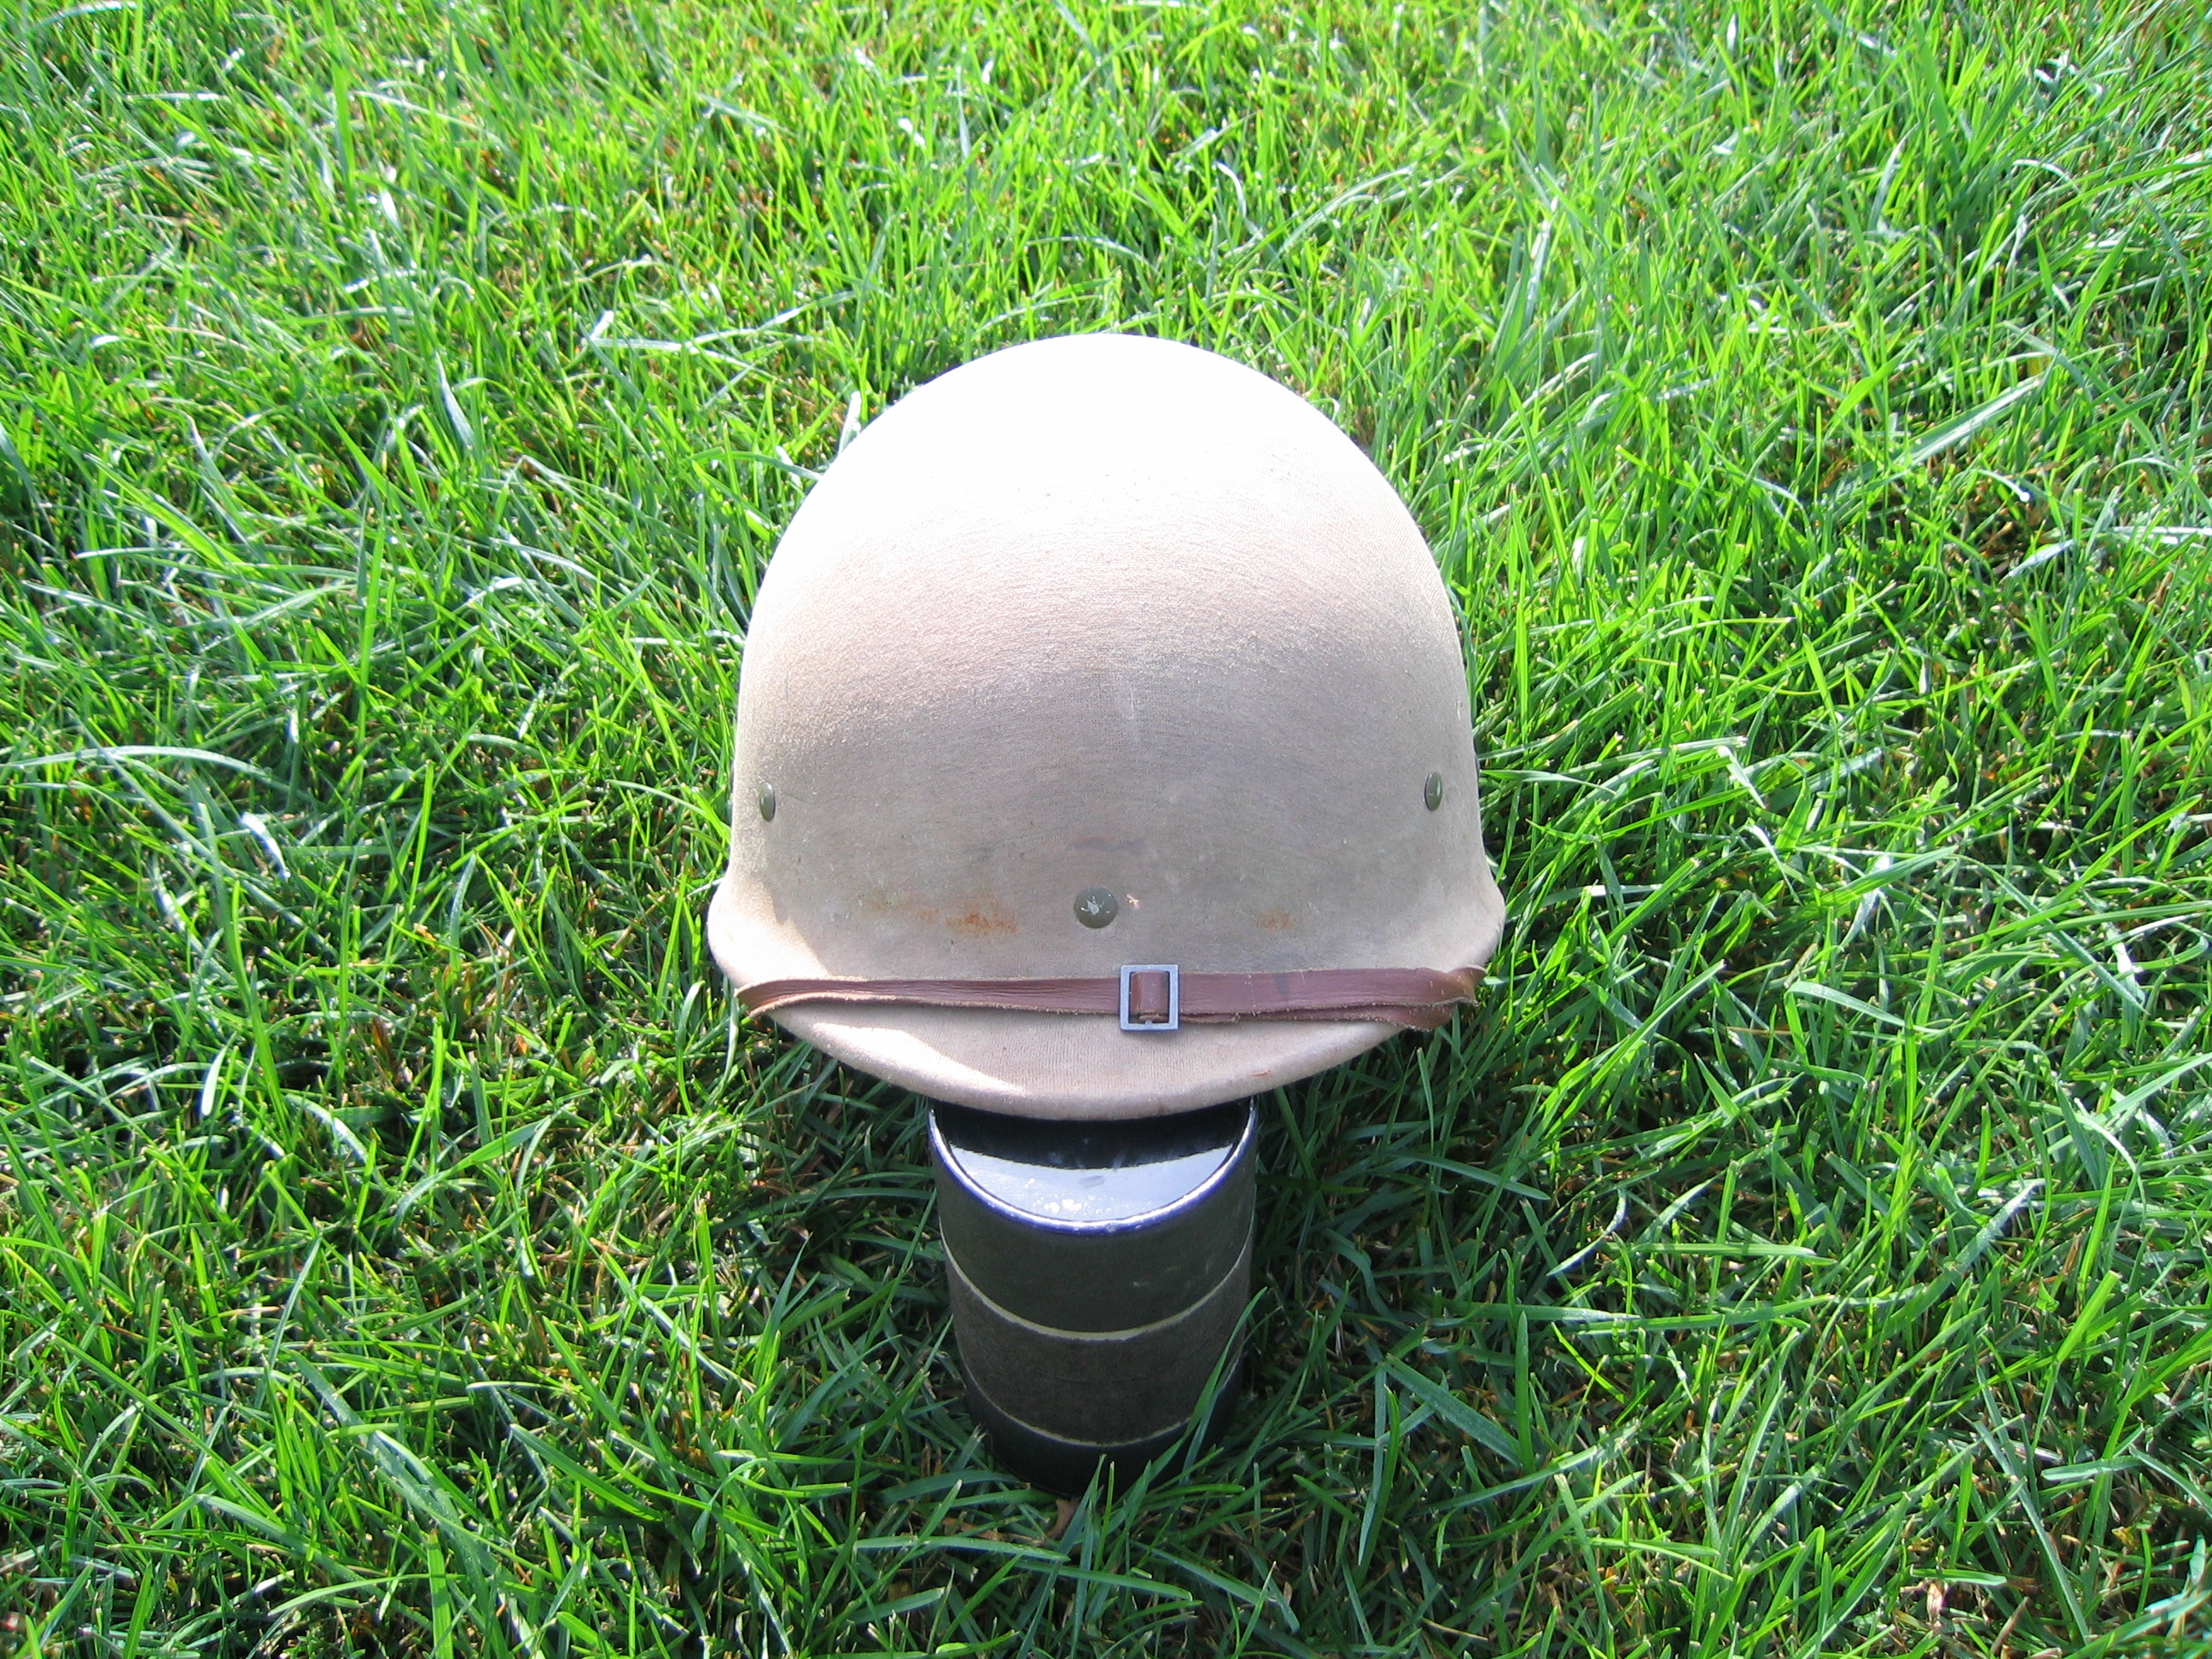
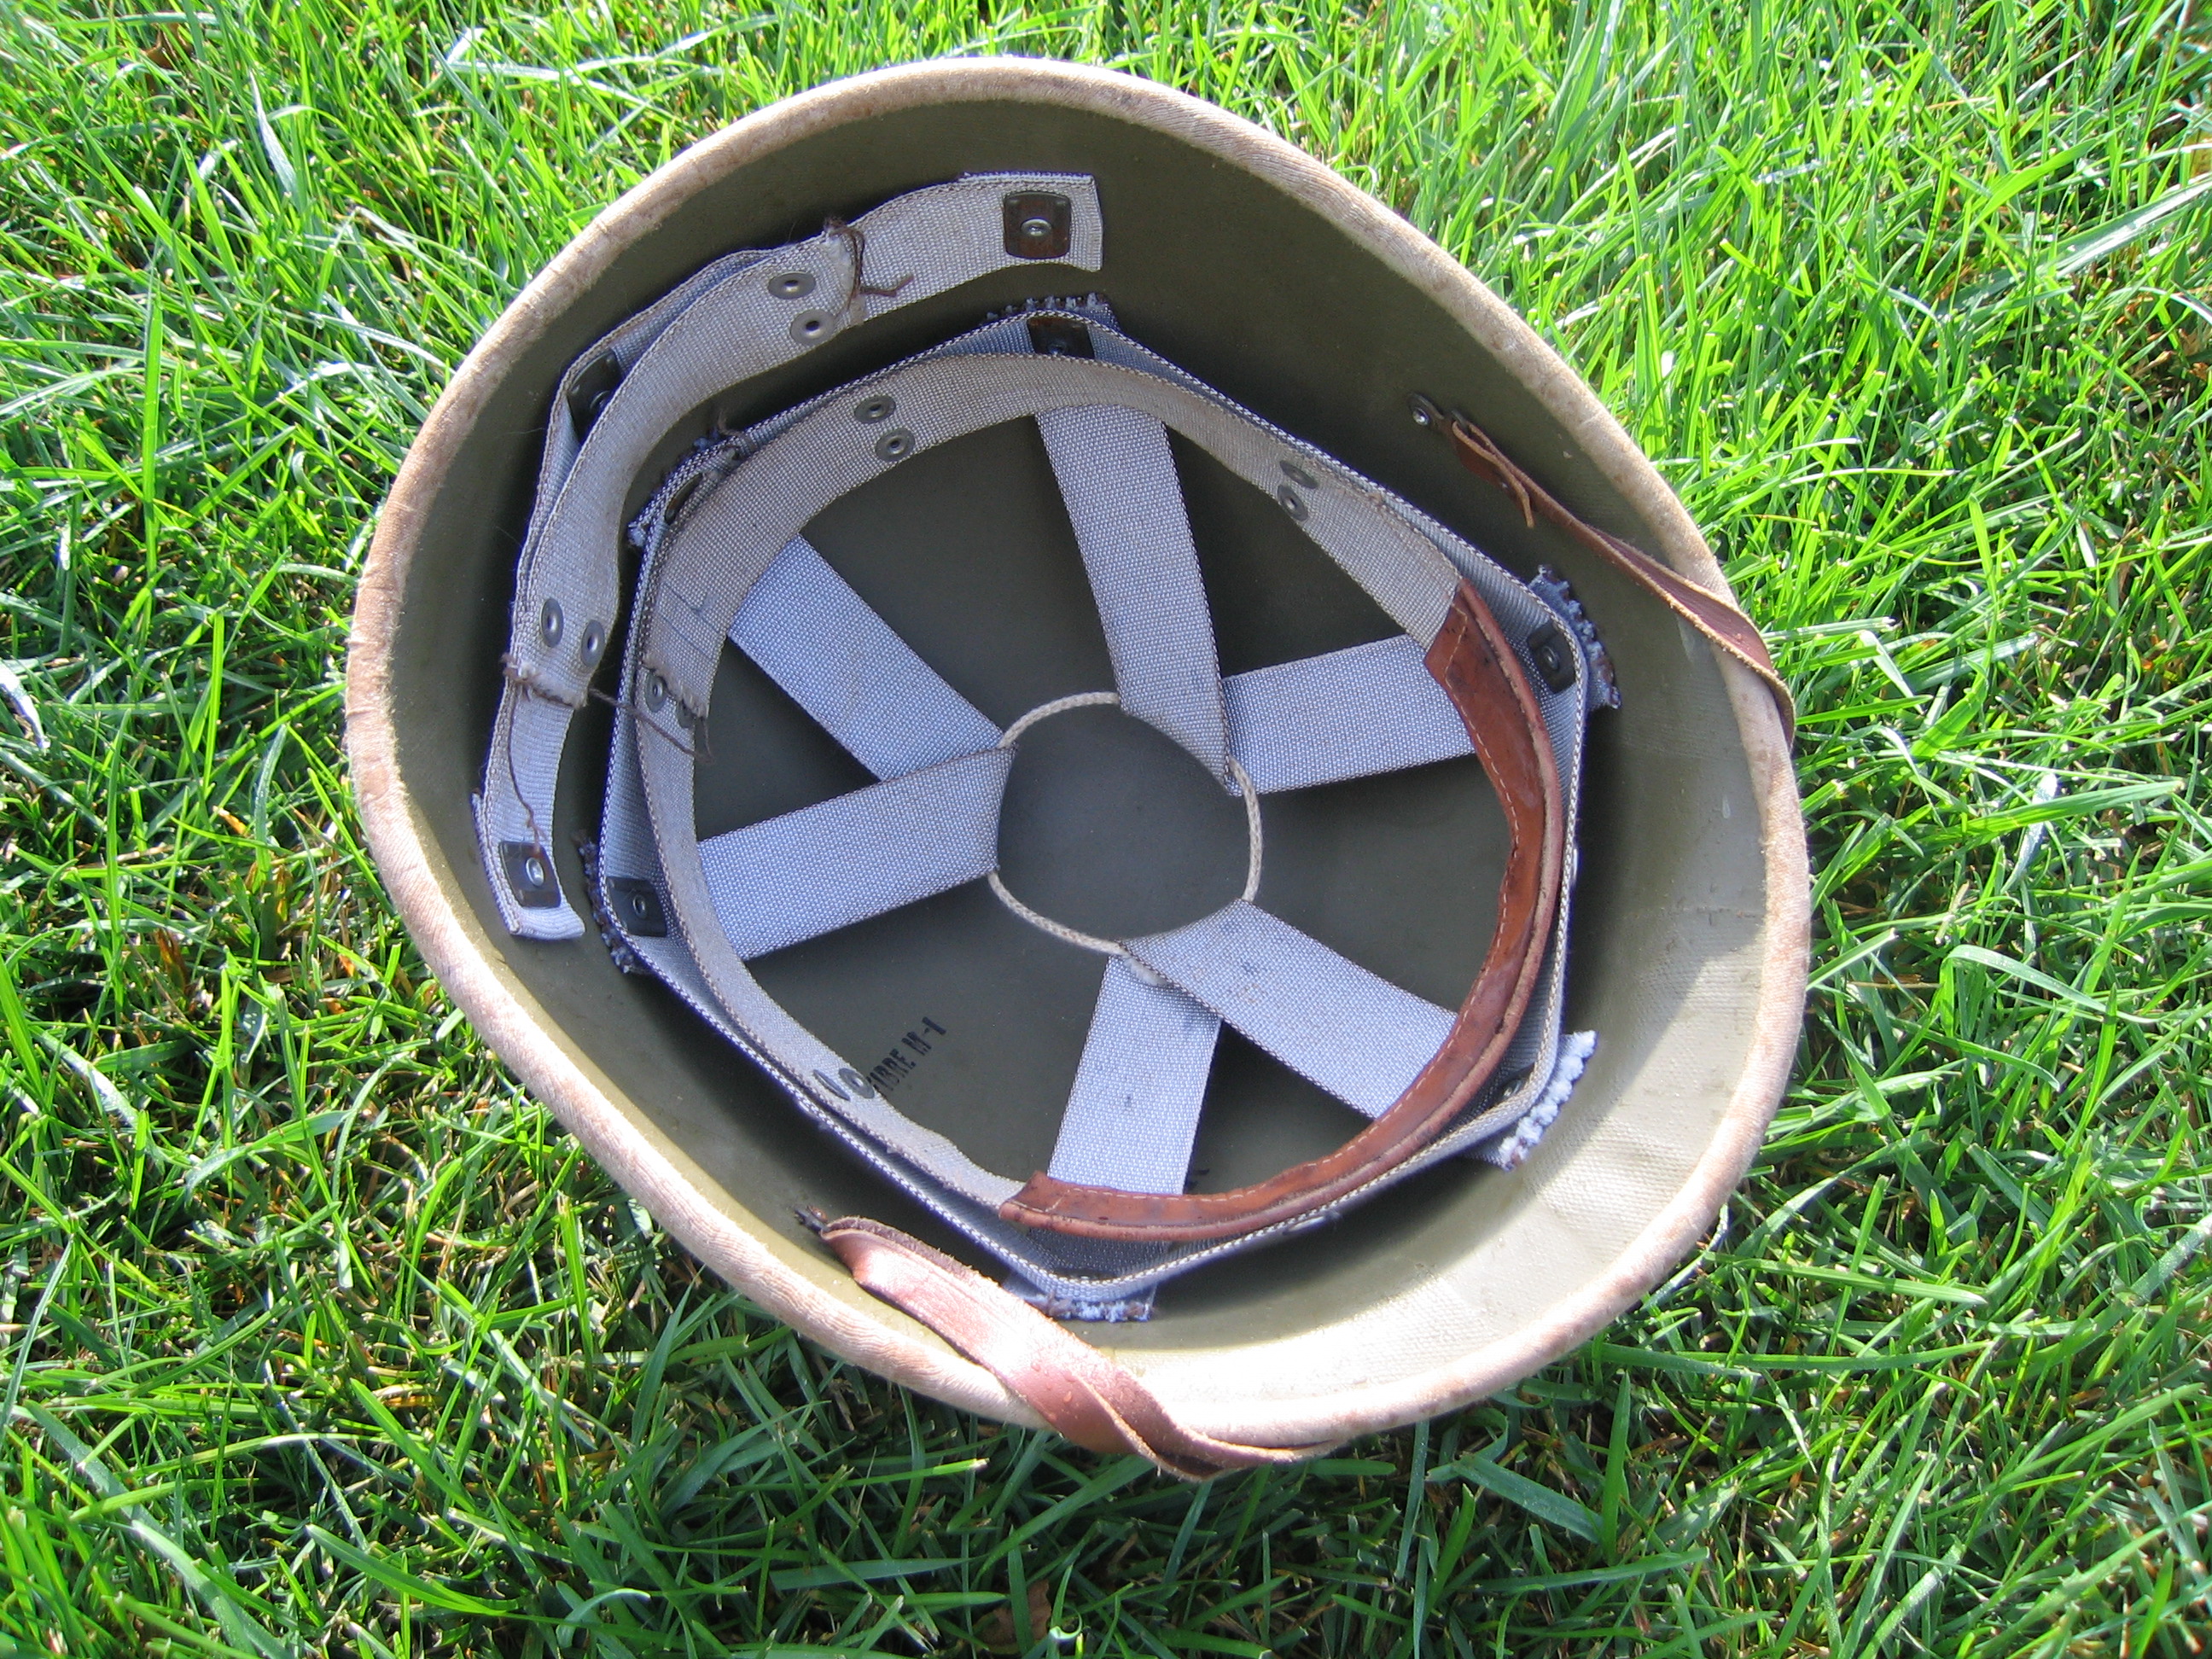
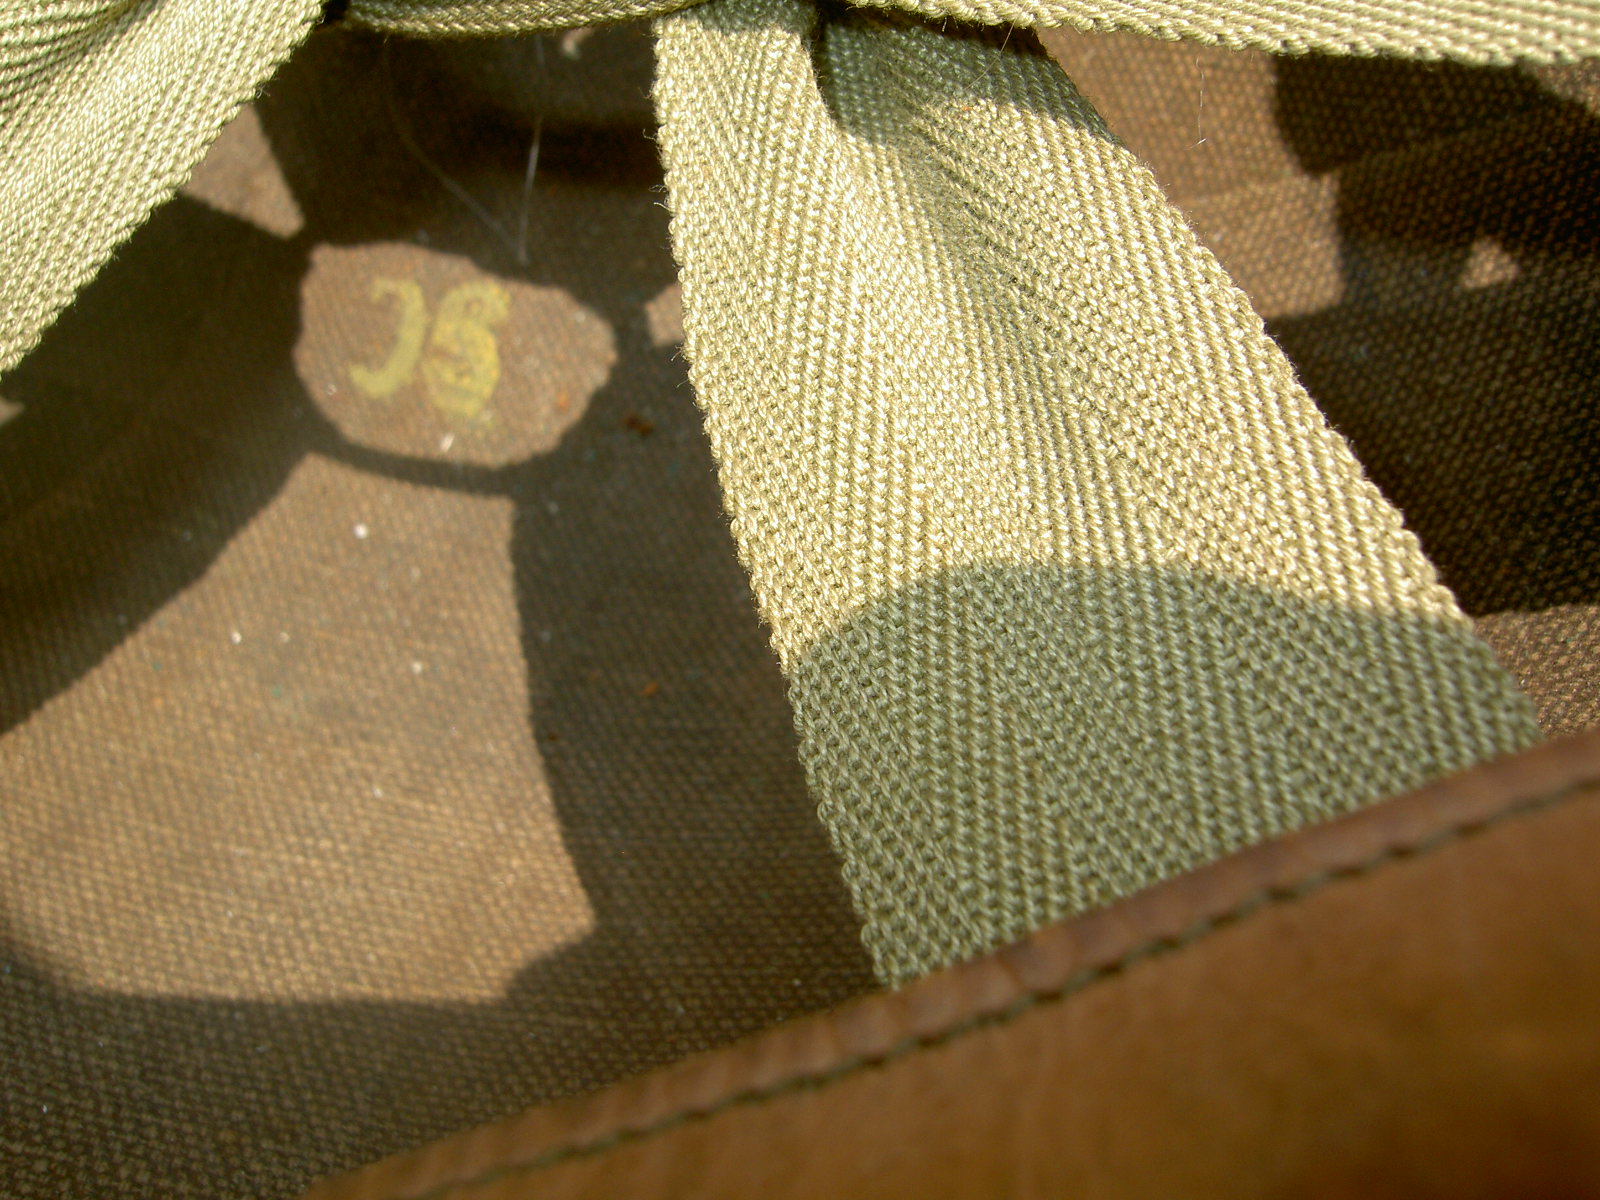
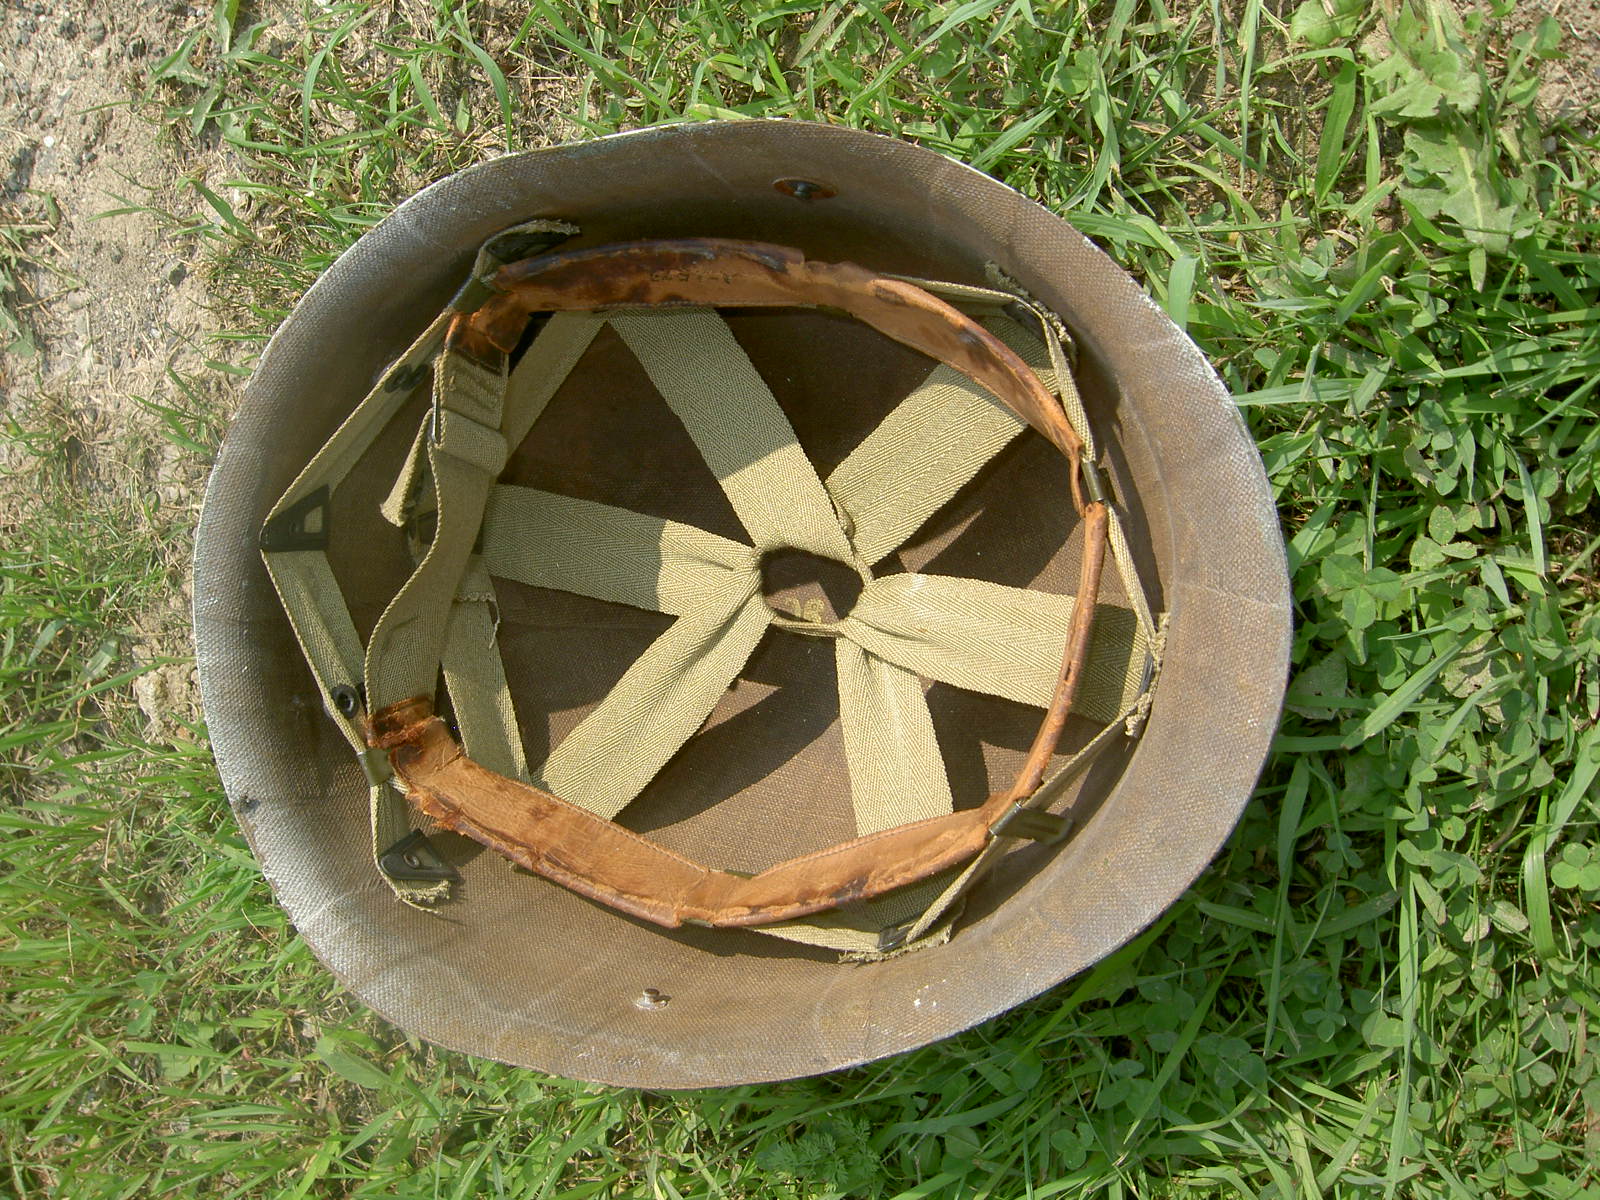
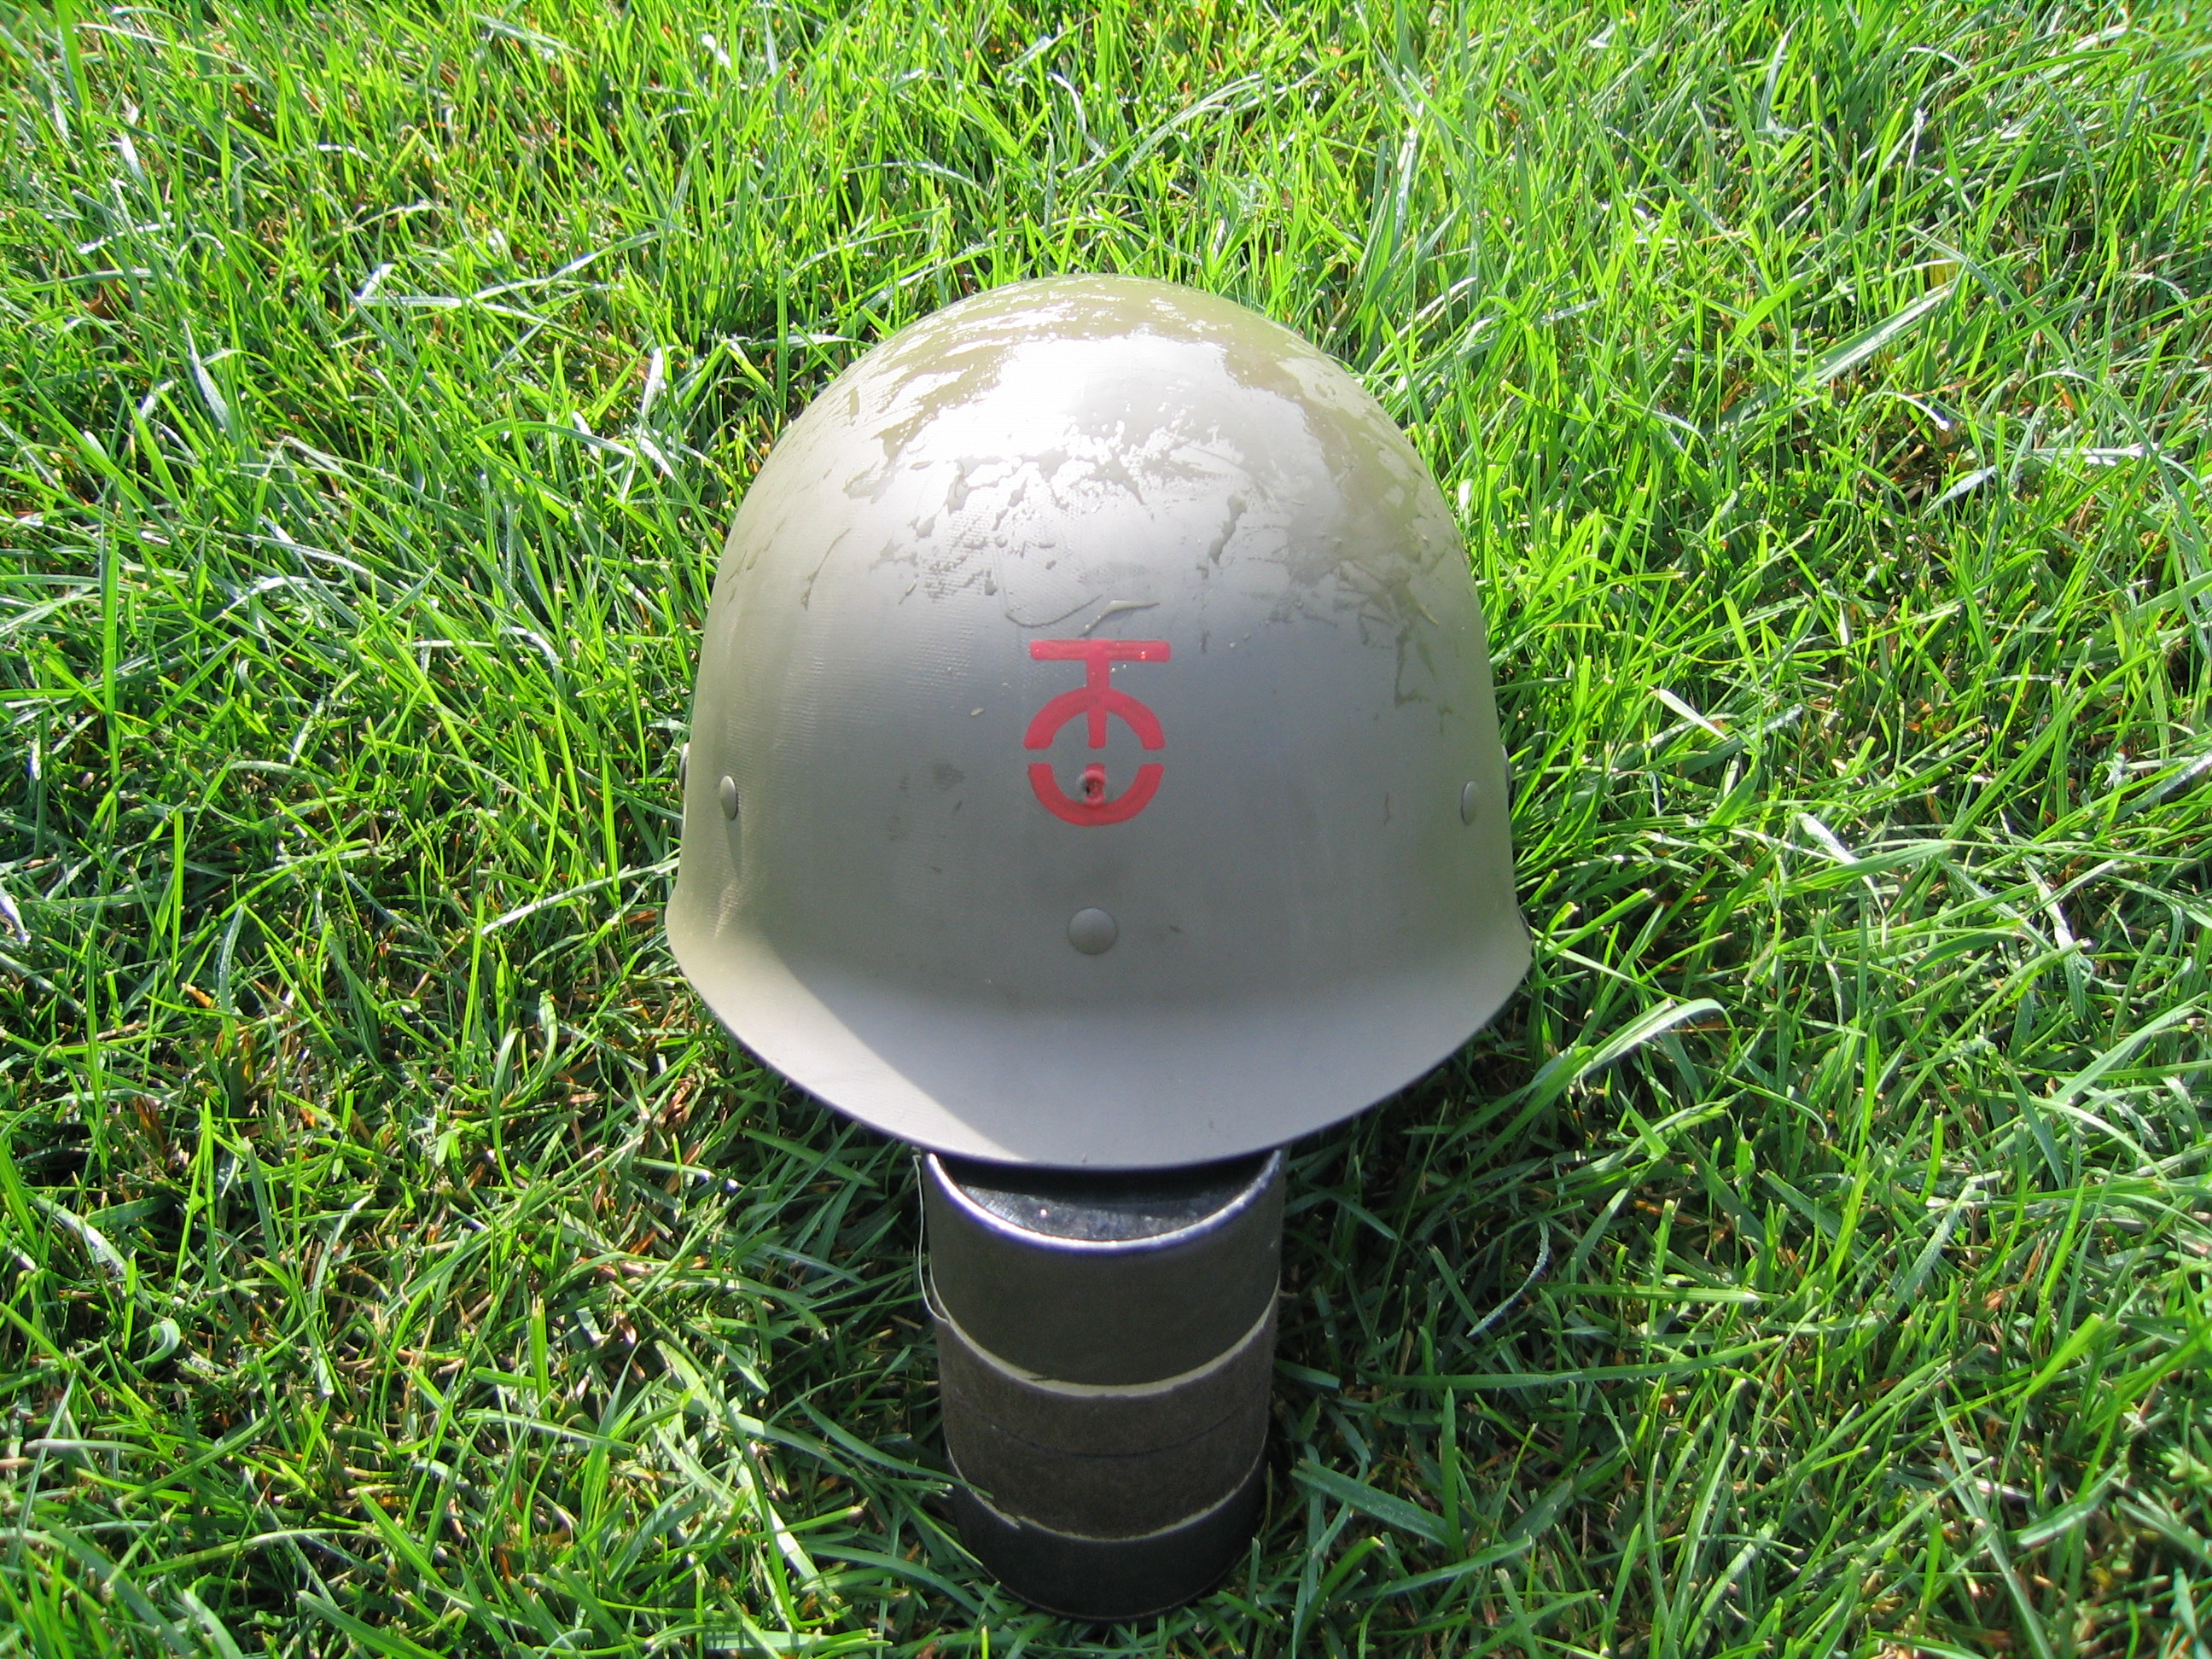
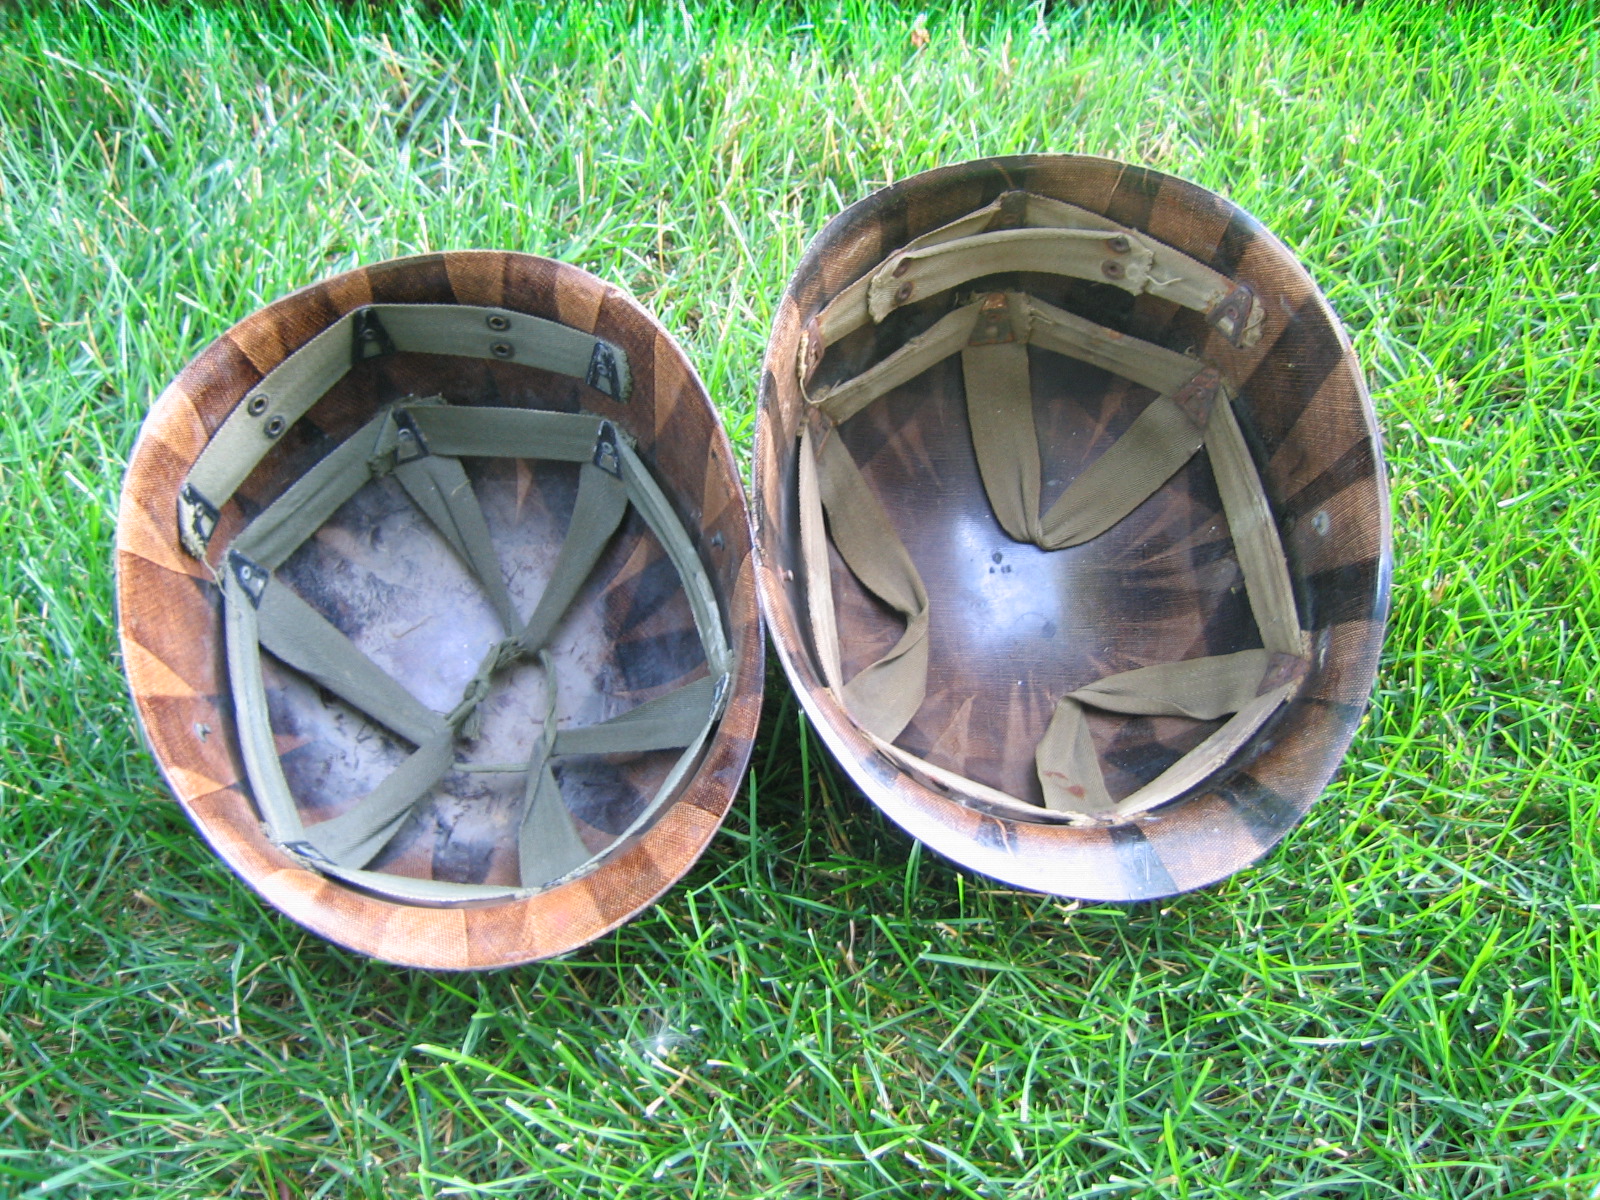
The High Pressure Liners we're working with came in several different flavors. Wartime liners will usually have remnants of khaki webbing in them, a wartime makers mark in the crown (top), studs to attach the leather chinstrap to and an eyelet on the front of the helmet (hole with a metal grommet in it) above the center front rivet.
Post WW2 US Made High Pressure liners will have OD webbing in them. Korean era liners are still usually HBT weave webbing, where post Korean liners utilize a plain weave. The post Korean liners usually do not have the front eyelet that WW2 and Korean war production liners have. This hole for the eyelet and the eyelet can be added, but I will not detail how to do that in this article.
For this article I will focus on the following:
0.) Tools & Equipment Needed / Sources
1.) Liner Preparation
2.) Paint Removal
3.) Making the liner kit (optional)
4.) Hardware Prep
5.) Webbing Installation
6.) Paint & Finishing
Authors Commentary:
To be totally honest - this was one of my least favorite projects. It CAN take a ton of time (but doesnt have to) and CAN get quite involved and expensive. If you have the opportunity to just buy a re-webbed, ready to go helmet liner for 50$ or less, I highly reccomend it. I've done a lot of projects, some of them being extraordinarily fiddly - this one ranks up there as one of the biggest "pain in the ass" projects I've done. Most of the pain in the ass factor resides in step 3, "Making the Liner Kit" - but we'll get to that point eventually...