M5 Chest Restoration ( Chest, Steel, D28243 )
Project Date: 1/1/2012
Author: Rob Pursifull
Background:
The Chest ,Steel, M5 D28243 was the replacement for the Chest, 49-1-82 (which was the spare parts chest for the 1917). The M5 chest was used to carry the spare parts, tools and accessories for the 1919 series machine guns. While this item is not seen in many wartime photos, it is listed in numerous manuals and SNL (Standard Nomenclature Lists, aka spare parts catalogs). It is one of those handy accessories to have an authentic way of organizing all the spare 1919 parts that you should have.
As far as what went in the chest, there is a bit more research to pin it down exactly. The various manuals and SNL's referenced above give somewhat conflicting info, or are unclear as to what actually goes in the chest. Hopefully we'll get around to detailing what all goes in there in a future article.
Long story short, I picked up a M5 Steel Chest with its tray and keys off eBay for around $20. It was in rough shaped when I got it, so it looked like the perfect chest for a restoration.
This project may seem mundane, or simple... golly gee... sandblast, repaint, stencil - but the key thing here is the art for the stencil as well as some tips and tricks in applying the stencil. Put it all together, and some simple mundane things can produce really nice results.
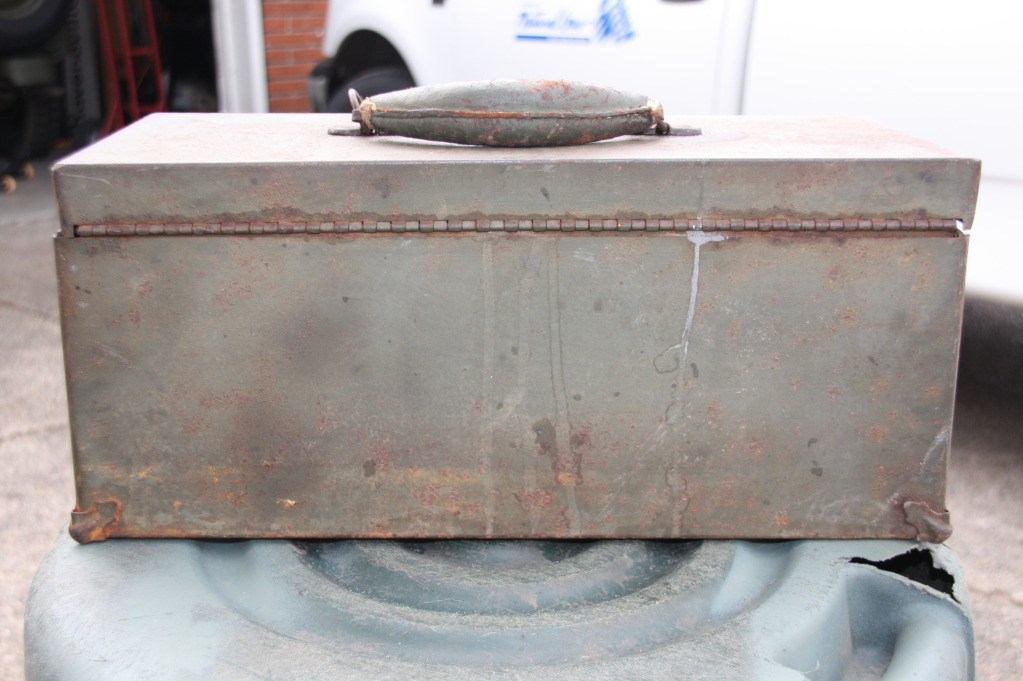
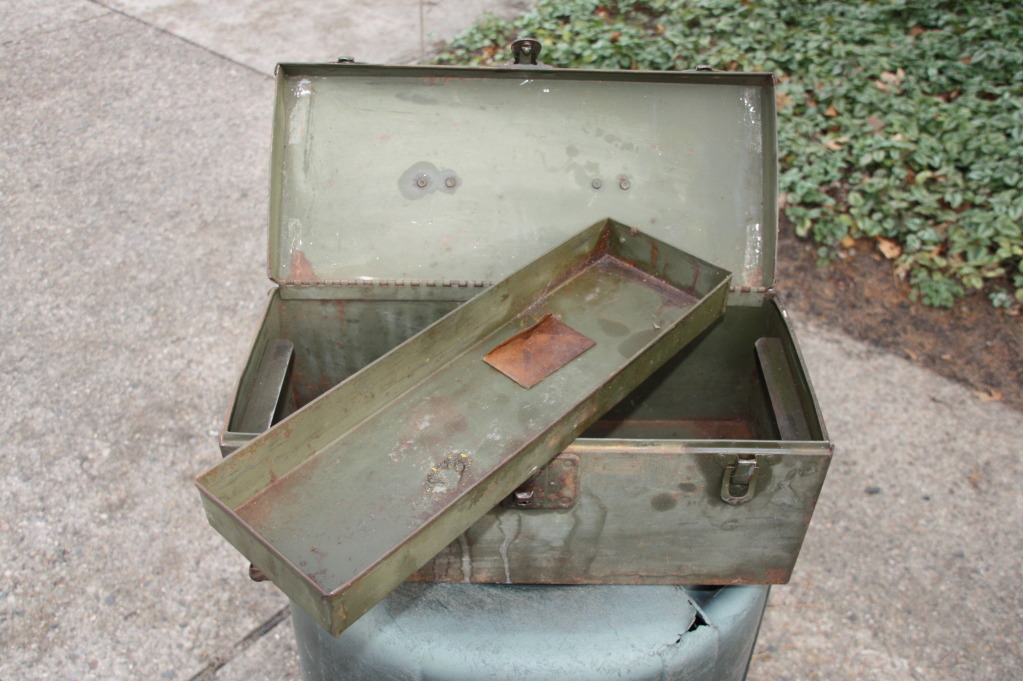
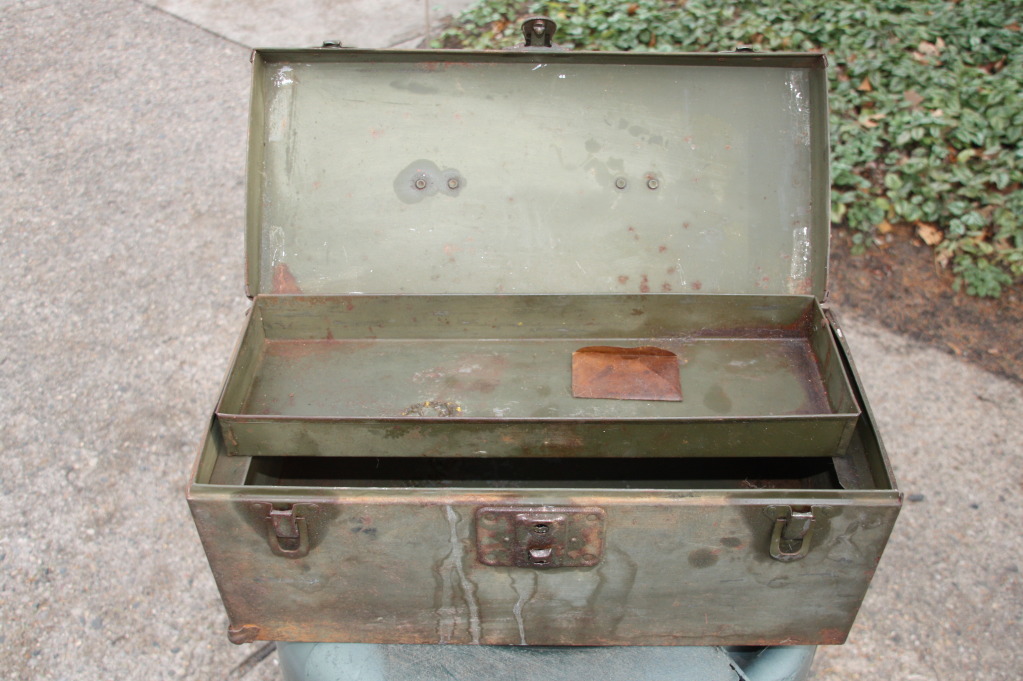
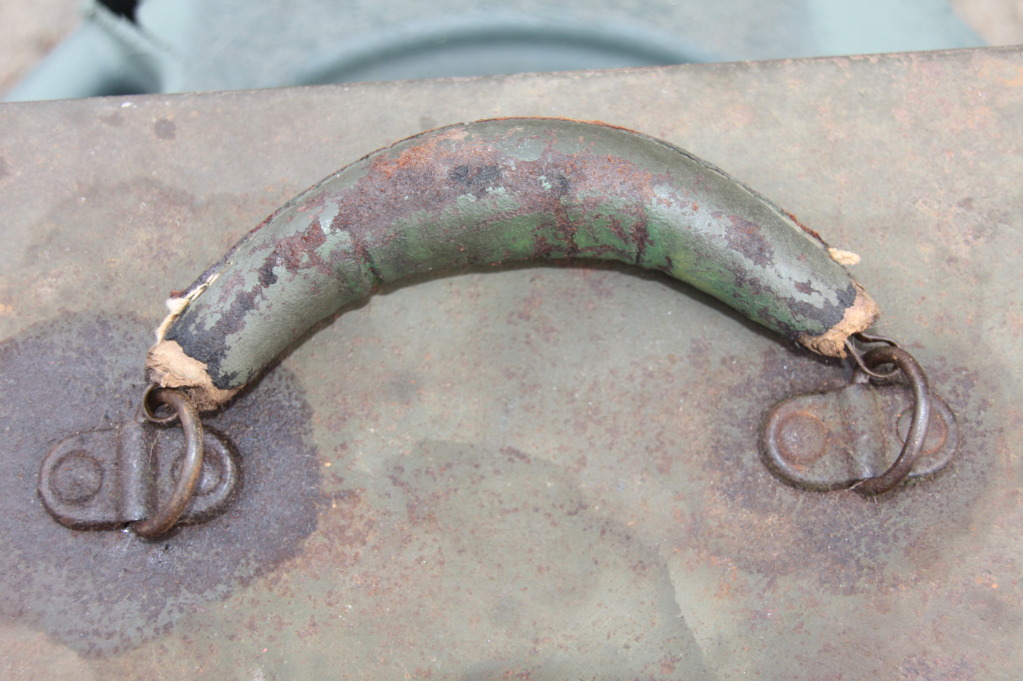
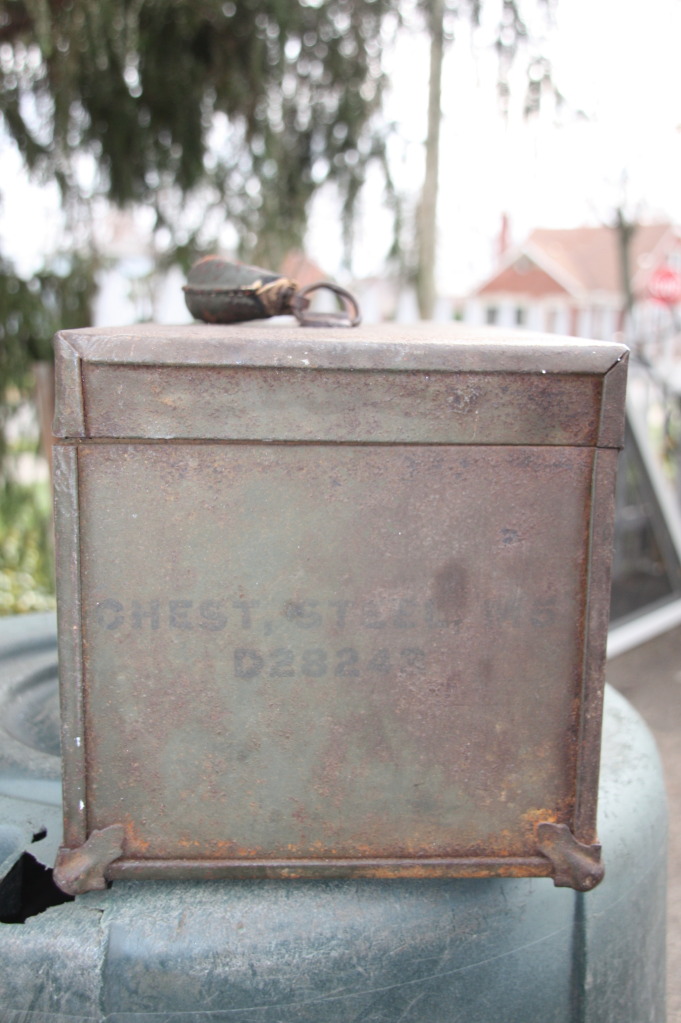
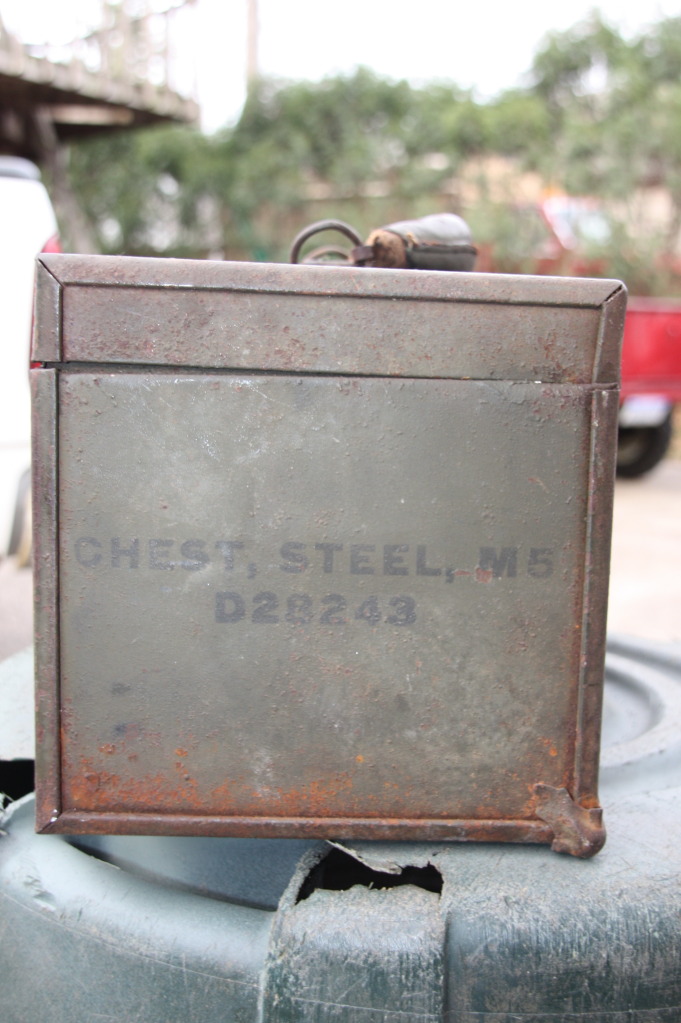
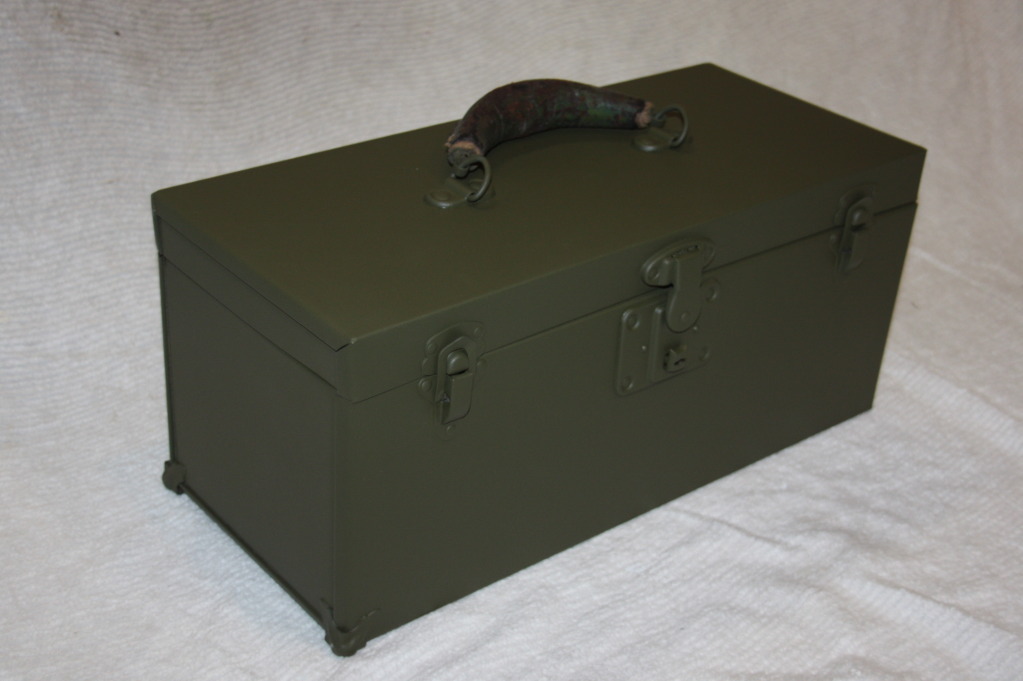
Before:
Here are the photos of what I started out with.
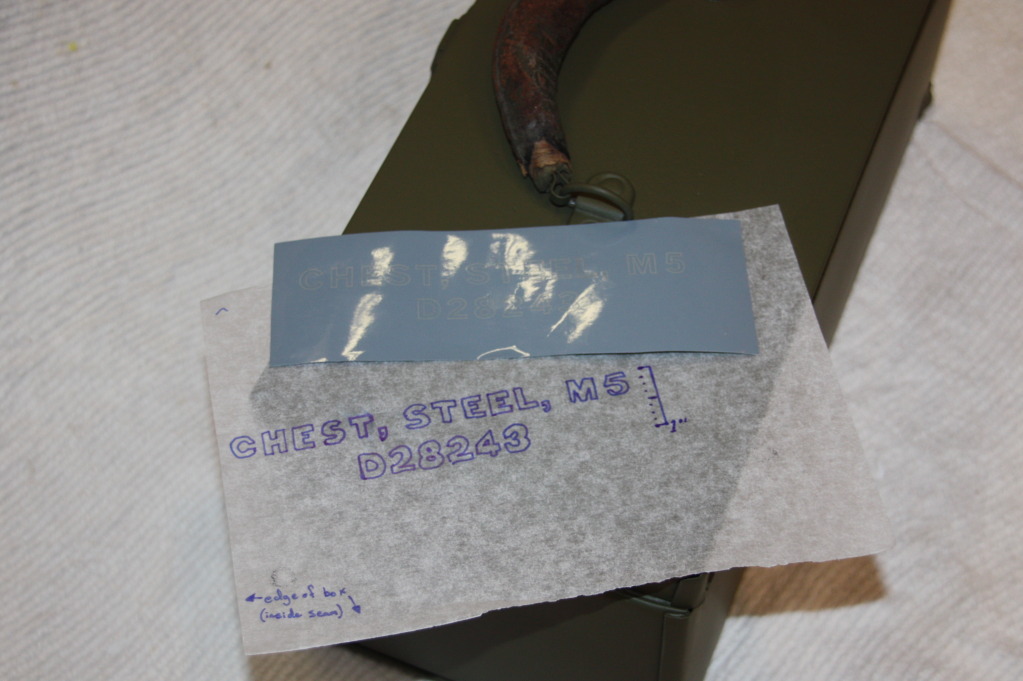
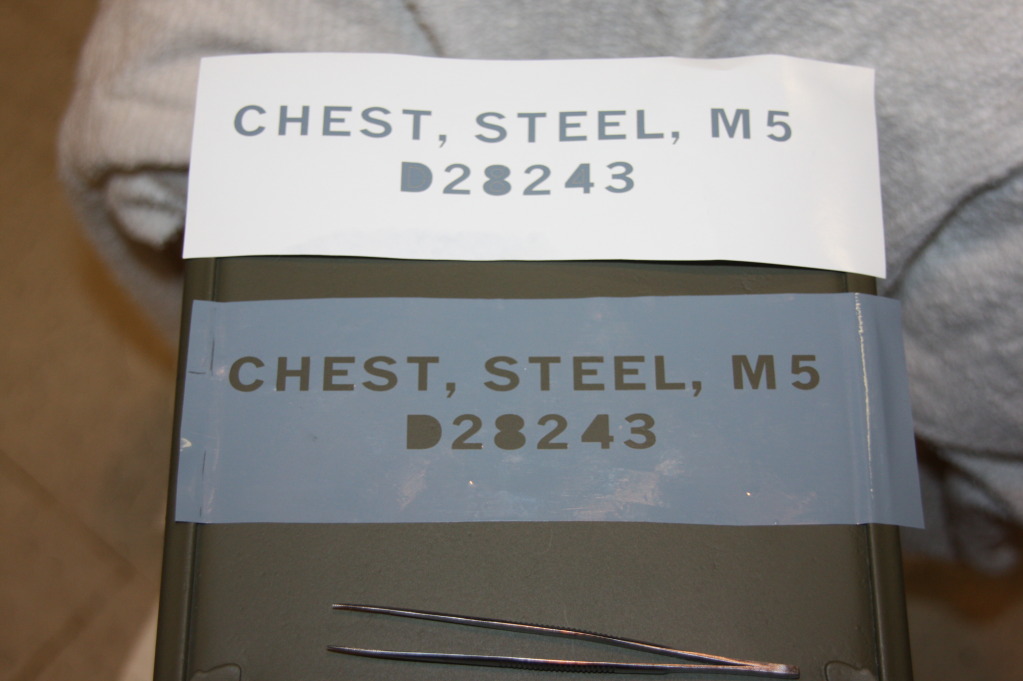
Stencil Art:
Here's what I gave to Chris to work with and one of the finished vinyl cuts
Here's the artwork PDF.
Restoration:
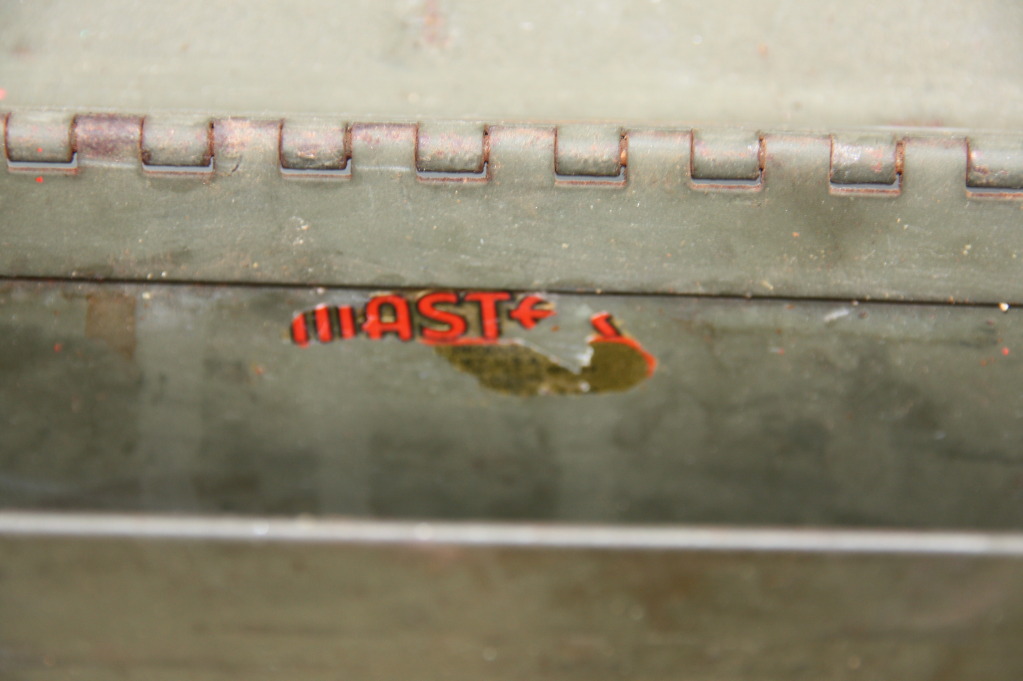
After a trip through the sandblaster and a fresh coat of OD paint the box was ready for the crowning feature which is the stamping on the sides. If the handle on your chest is roached, very similar handles can be found from most shoe repair shops, or most any antique trunk restoration supply store. When in doubt, google-fu!
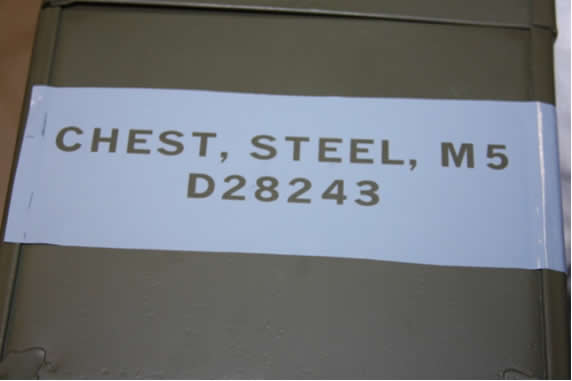
Not having the best results in the past with cutting stencils from paper and gluing them on with stencil adhesive, I was thrilled when Chris offered to let me try out some of his new vinyl cut stencils. After working out a stencil off the original photo and a trace the results were excellent .
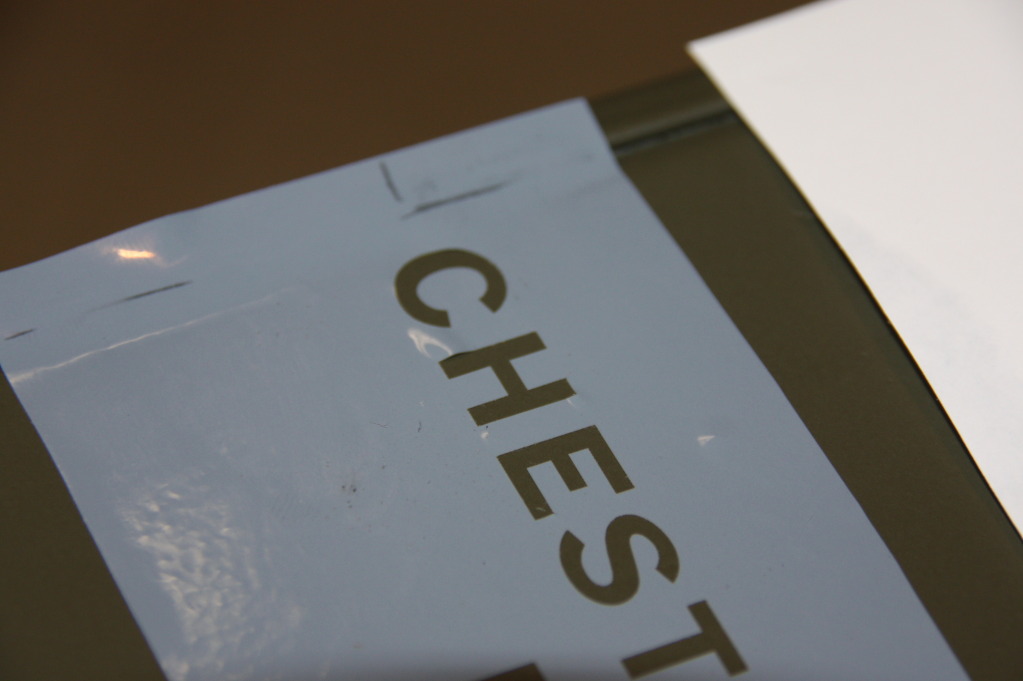
Make sure you peel of the vinyl carefully so that the small parts for the letters don’t rip off. I found that is works best to peel around the edges and work your way to the middle, rather than from one side to the other.
Make sure that you work out all the ripples or bubbles, like seen in the letter “H” below.
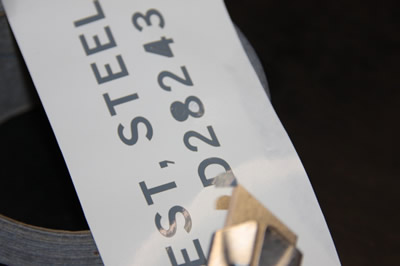
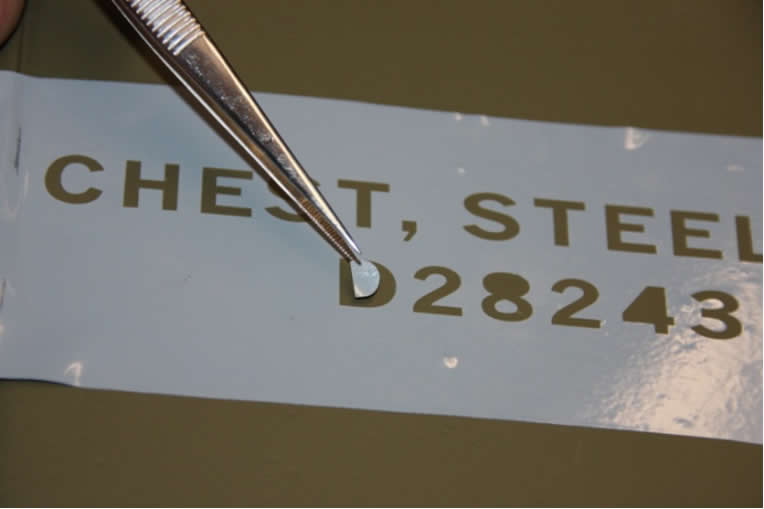
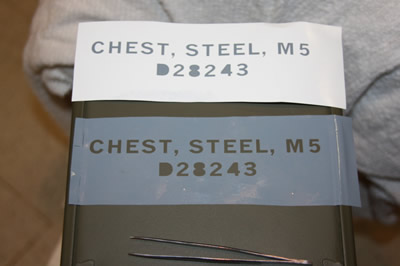
Now you because the lettering was originally stamped on instead of a stencil, you get left with centers of the letter still on the paper. The best way that I found to get them out was with a razor blade and then place them where they needed to go with a pair of tweezers.
After you have the stencil on you should double check that there are no bubbles near the letters that may cause the paint to leak. I recommend using a piece of wood, or the round ball end of a screwdriver to go over the surface to make sure you have a really good seal. From here, you are then ready to mask and paint.
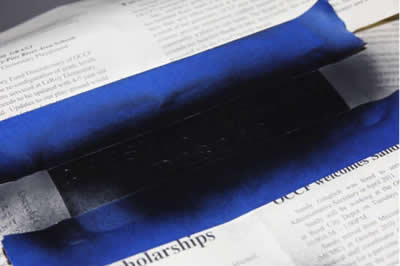
An alternate method to applying the stencil / vinyl cut is to cover the entire piece of vinyl in blue masking tape. THEN remove the backing from the vinyl, position and place on the workpiece. Rub the piece down very well to get good adhesion, then remove the blue tape carefully, leaving all the vinyl in place. Follow up by removing the letters with a razor blade.
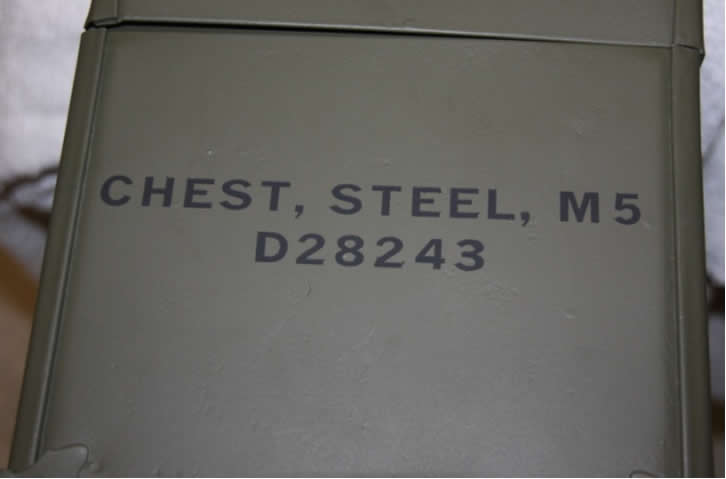
I use regular flat black spray paint, and went over in with two very light coats. On one side I piled off the stencil pretty much right after I sprayed it, and on the other after the paint dried and found that it came out with the same results either way. Both times I was not able to save the stencil to reuse it because it ripped between the letters were it is thin. But hey, they are cheap and come out with great results or who cares.