American Patrol Company - M8 Scabbard Canvas Rebuild Kit
Review Date:10/9/2011
Author: Chris Guska
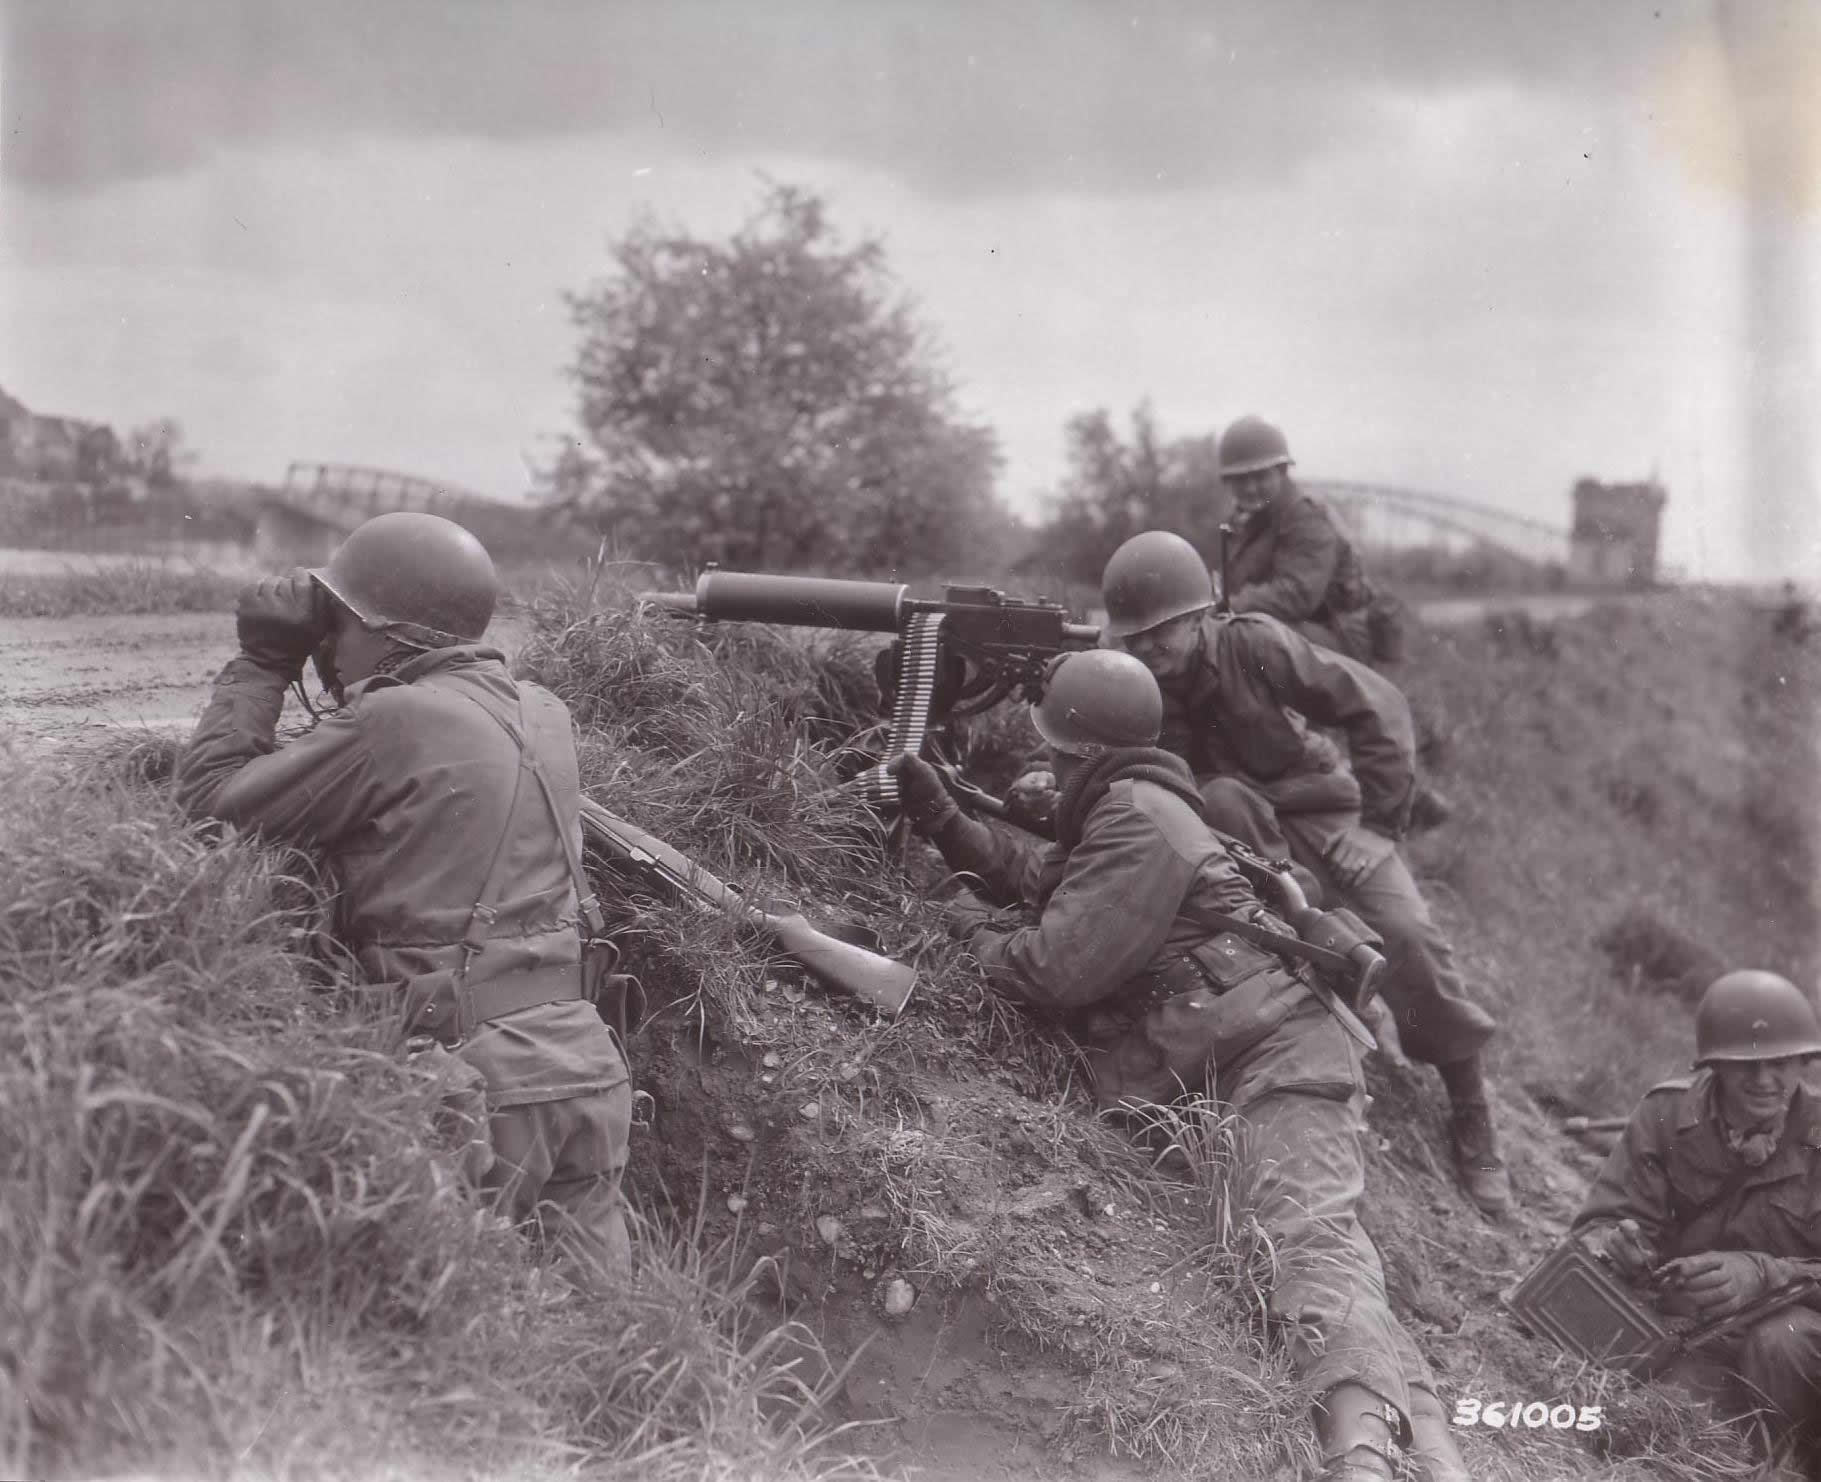
An advance guard at the outpost near Braunau. These men are scouting out the enemy for the 13th Armored Division, Third U.S. Army. 2 May 1945This is a particularly interesting photo of all the things going on in it. Early brass trunioned 1917a1, possible use of disintegrating link ammunition, lots of OD7 field gear, adjustable rear sight on the carbine, and goggles on the helmet. For the focus of this article... a M3 knife in an M8 scabbard. Note that it is looped on the belt, and not suspended from a M1910 hanger.
Foreword:
This isn't a project or a product for everybody - but is seriously handy if the stars and moon have aligned for you. I'm a sucker for projects, buying piles of "junk" when I find them at the right price, hoping that the rest of the pieces will fall into place later on down the line.
This time, I got lucky since American Patrol Company (AP Co) did a short, limited production run of M8 scabbard webbing rebuild kits. AP Co did 40 kits total, 20 in Khaki, and 20 in OD7.
With regard to M8 scabbards, there are several variations. There's M8's, which as originally produced did not have a wire M1910 hanger, there are M8's that had 1910 hangers crudely added, there are scabbards marked M8, but were actually assembled from the factory as M8A1's, with the canvas loop lengthened and a 1910 hanger added - and finally M8A1's, marked as M8A1's.
Gary Cunningham's Bayonet Points has a very good overview of M8's vs M8A1's.
Ordering:
Ordering was quick and easy from AP Co. An email to Ray, quickly shipped on a Thursday, and in hand by Saturday.
Cost: $20 each + Shipping
What you get:
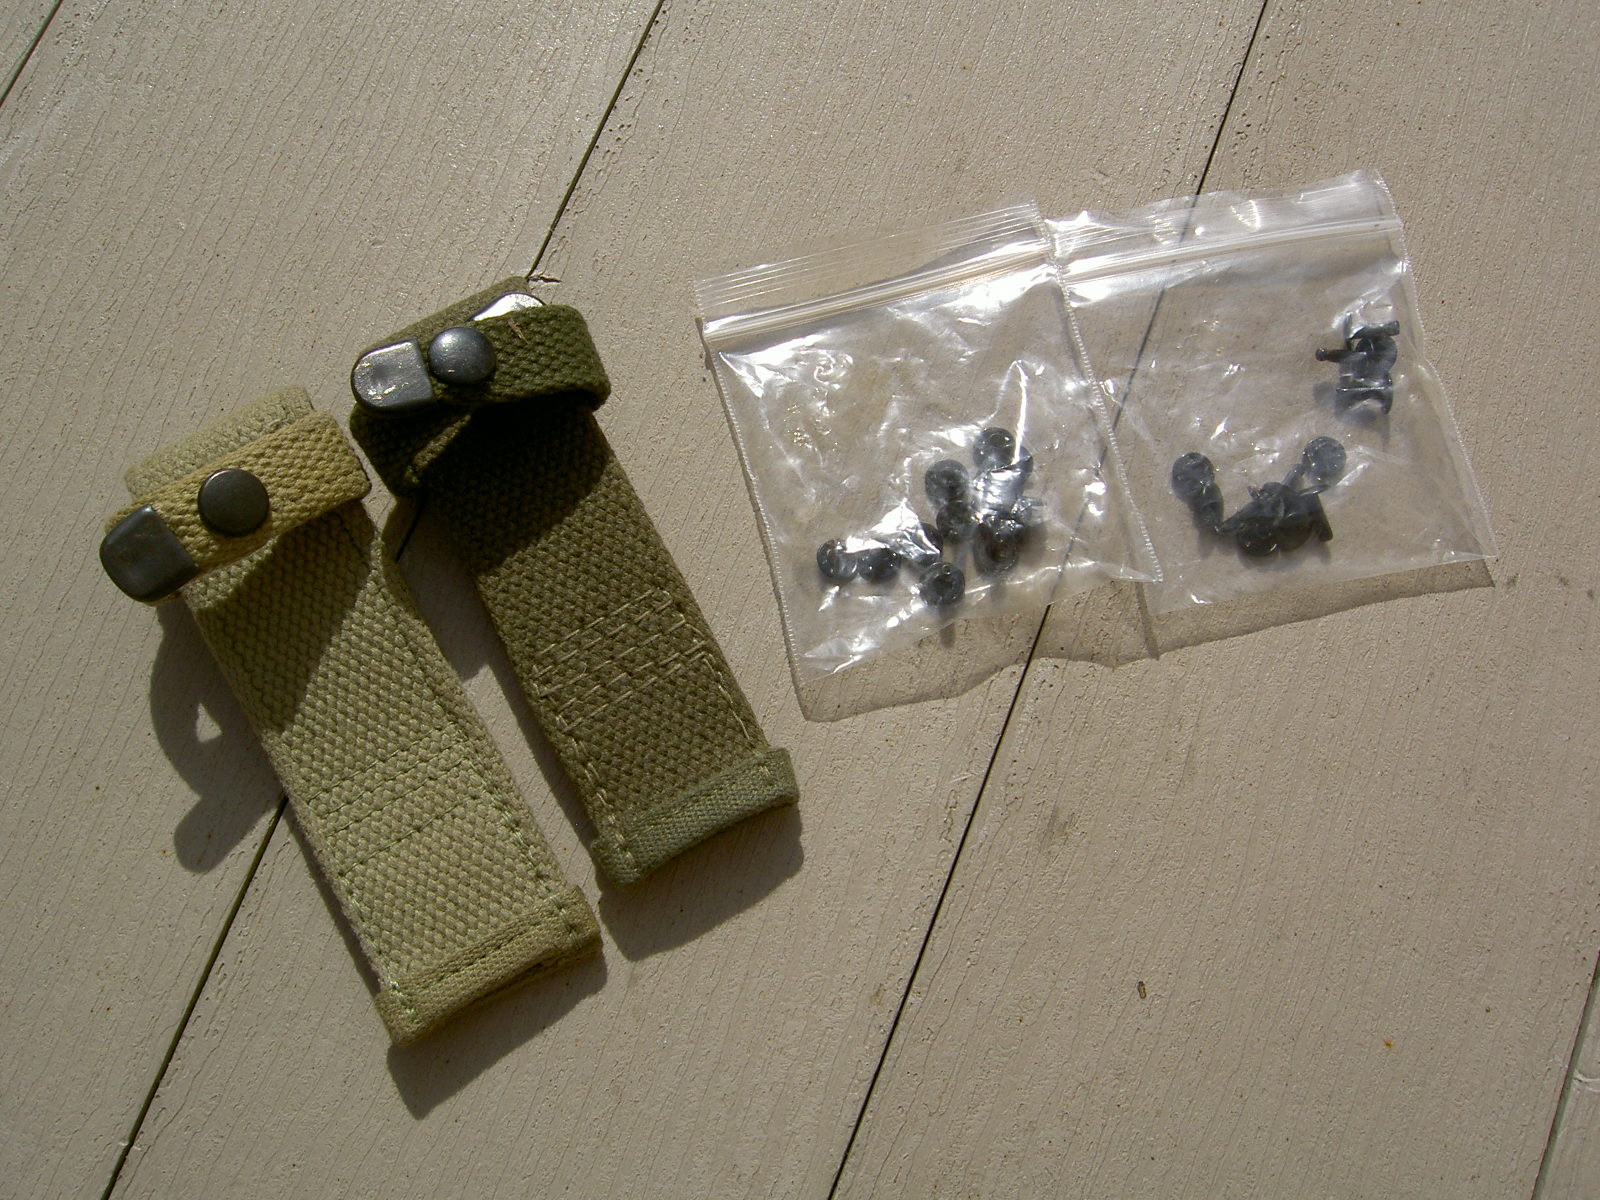
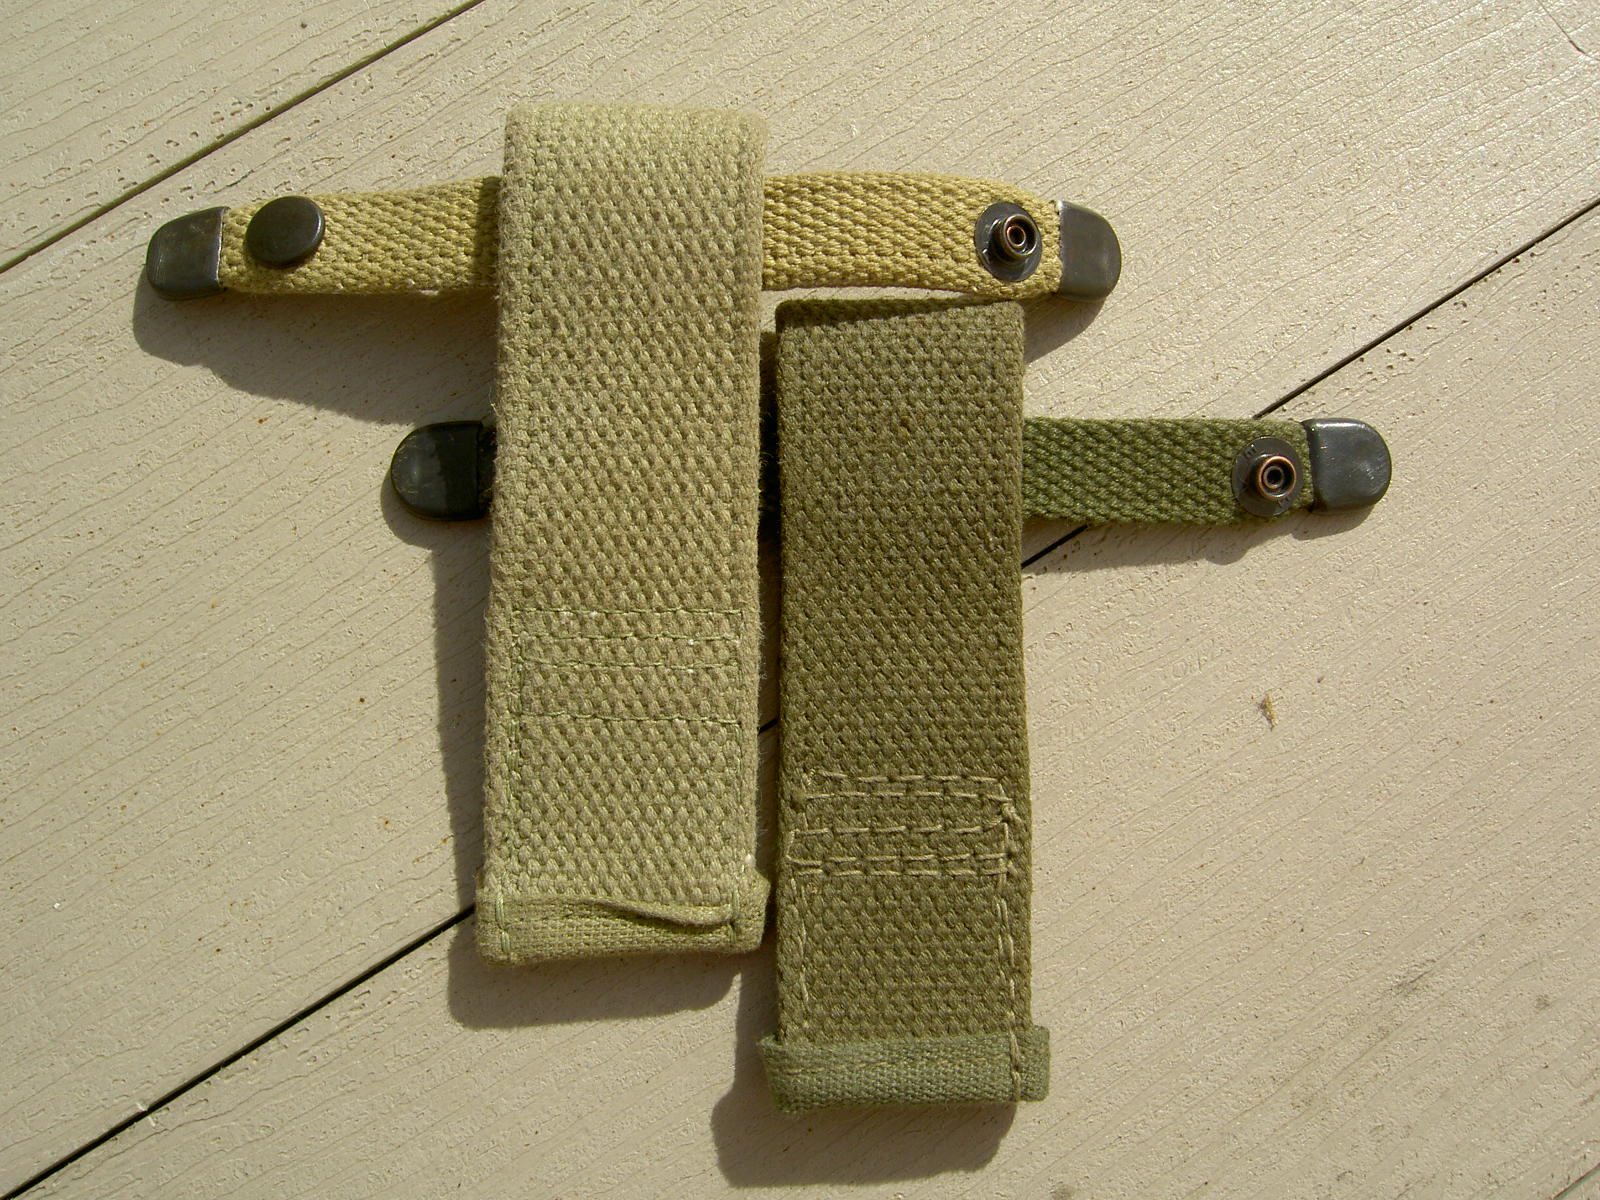
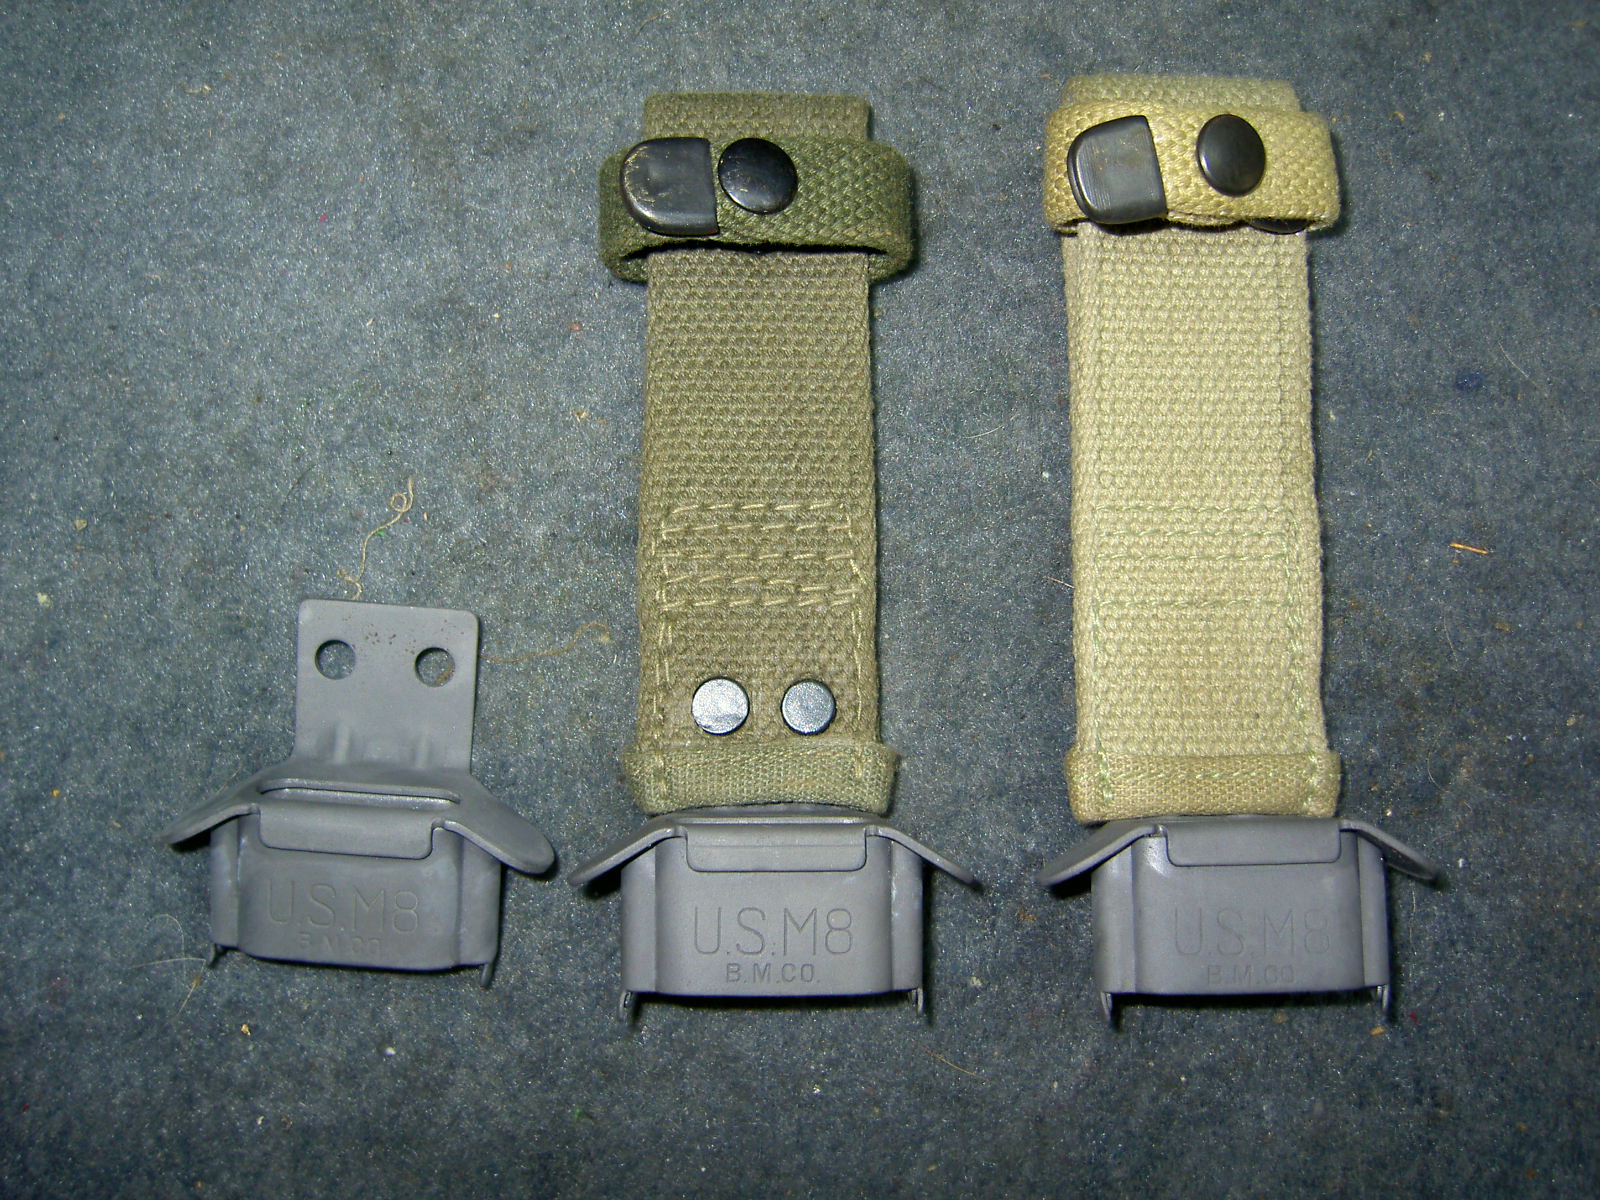
For your $20 you get 1 complete web strap assembly, in your choice of color, with a small bag of double cap rivets.
The kit is fully "assembled" and ready to slide onto your M8 scabbard throat, and rivet in place.
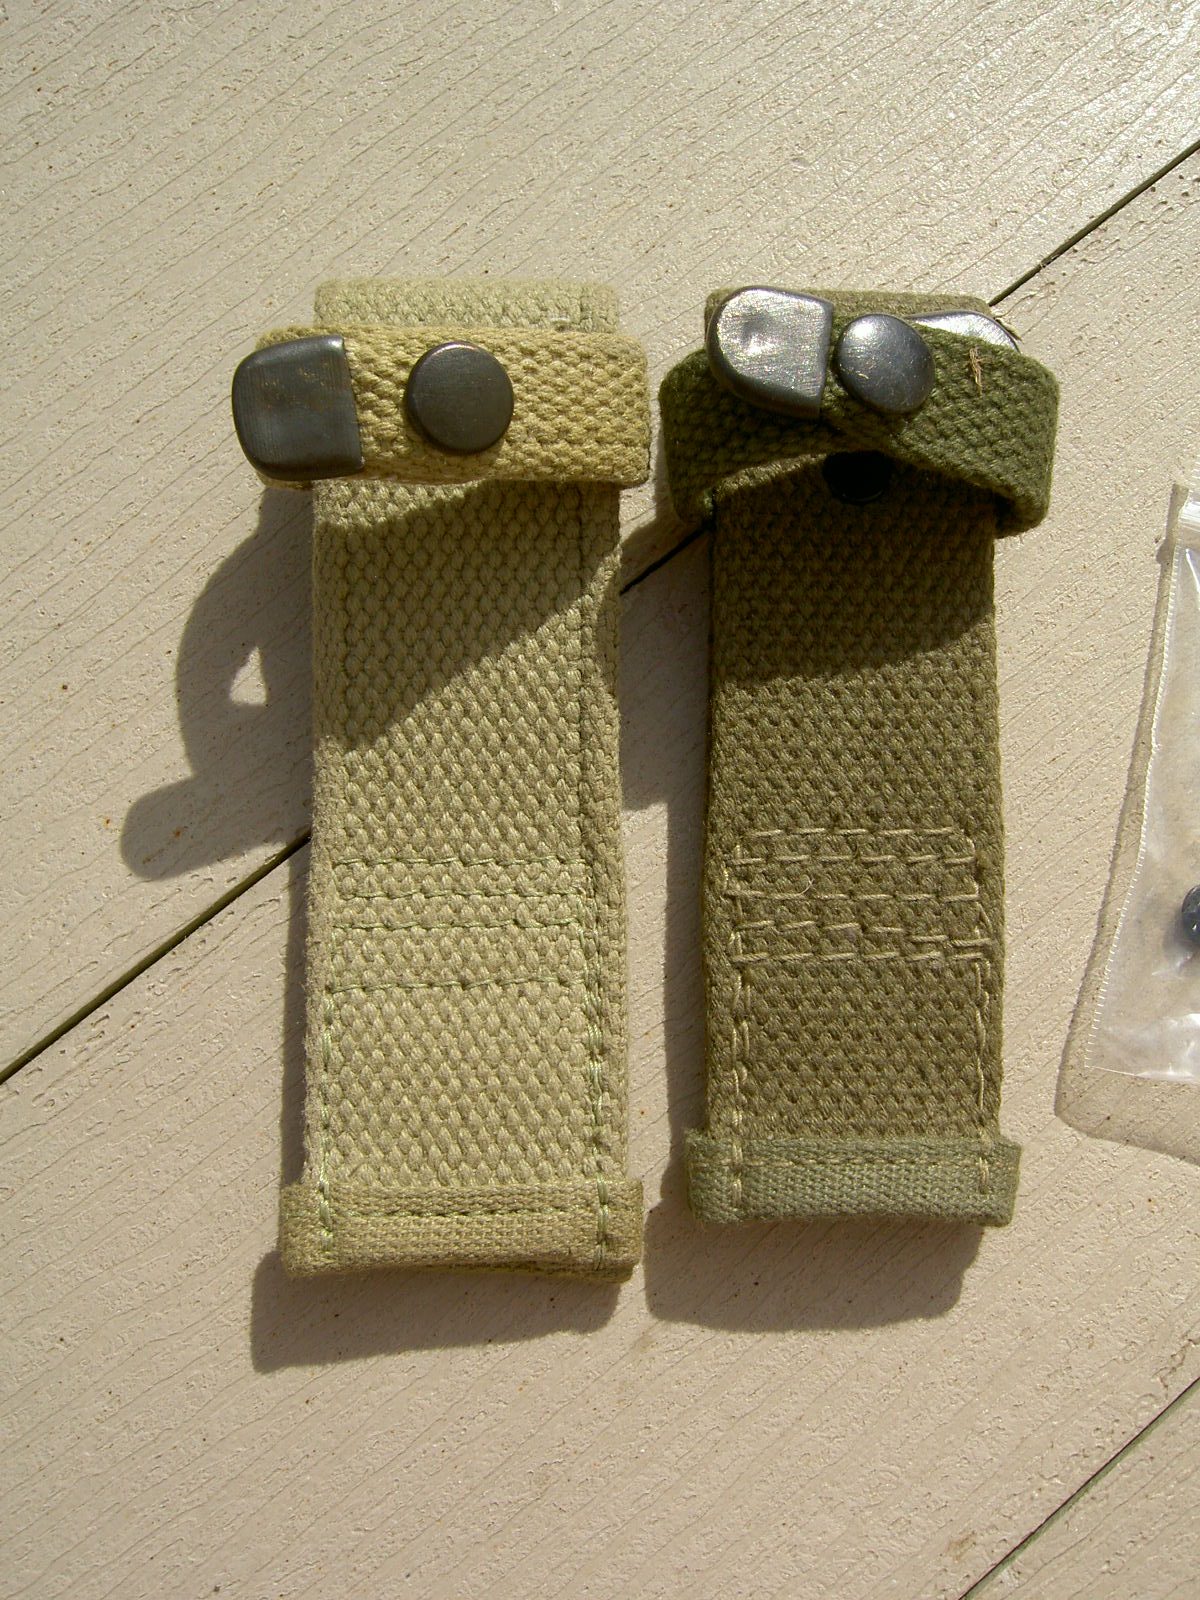
Of note for the hyper anal, a few of the Khaki ones are made with needle loomed webbing. For everything you never wanted to know about webbing, check out our intro to webbing.
I talked with Ray from AP Co about this - and apparently 3 of 20 of them got made with needle loomed, the balance with shuttle loomed. Now you know where 1 of the 3 are...
The OD7 ones are made from shuttle loomed webbing. Hooray!! Revel in the authenticity.
Installation:
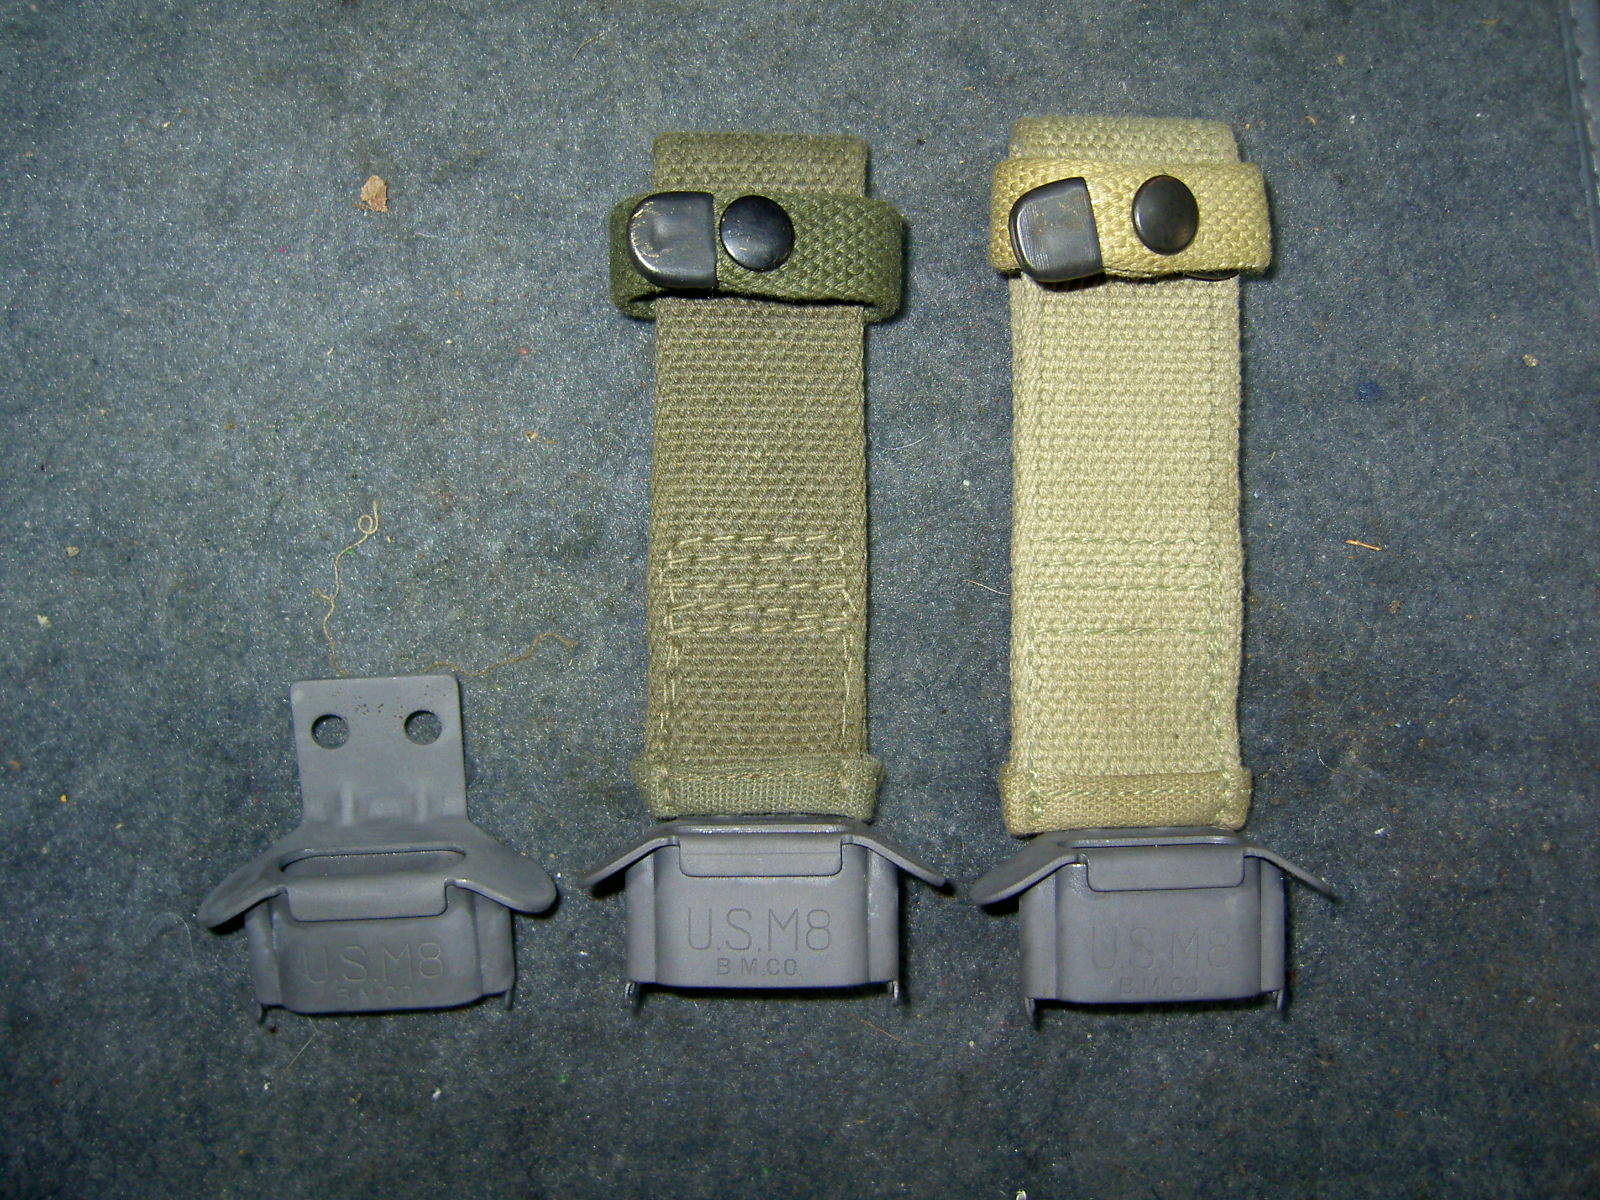
Starting with a stripped M8 throat (drill out the old rivets, punch them out and pull off the old webbing) - these things are very straight forward to install.
I totally disassembled some M8 scabbards so I could sandblast and reparkerize the throats, strip and repaint the scabbard bodies - and generally do a nice job of it. You do not need to totally disassemble the scabbards as I have done.
Slide the canvas body onto the M8 throats. Its a tight fit, so I had to press them on, wiggling them down onto the tab.
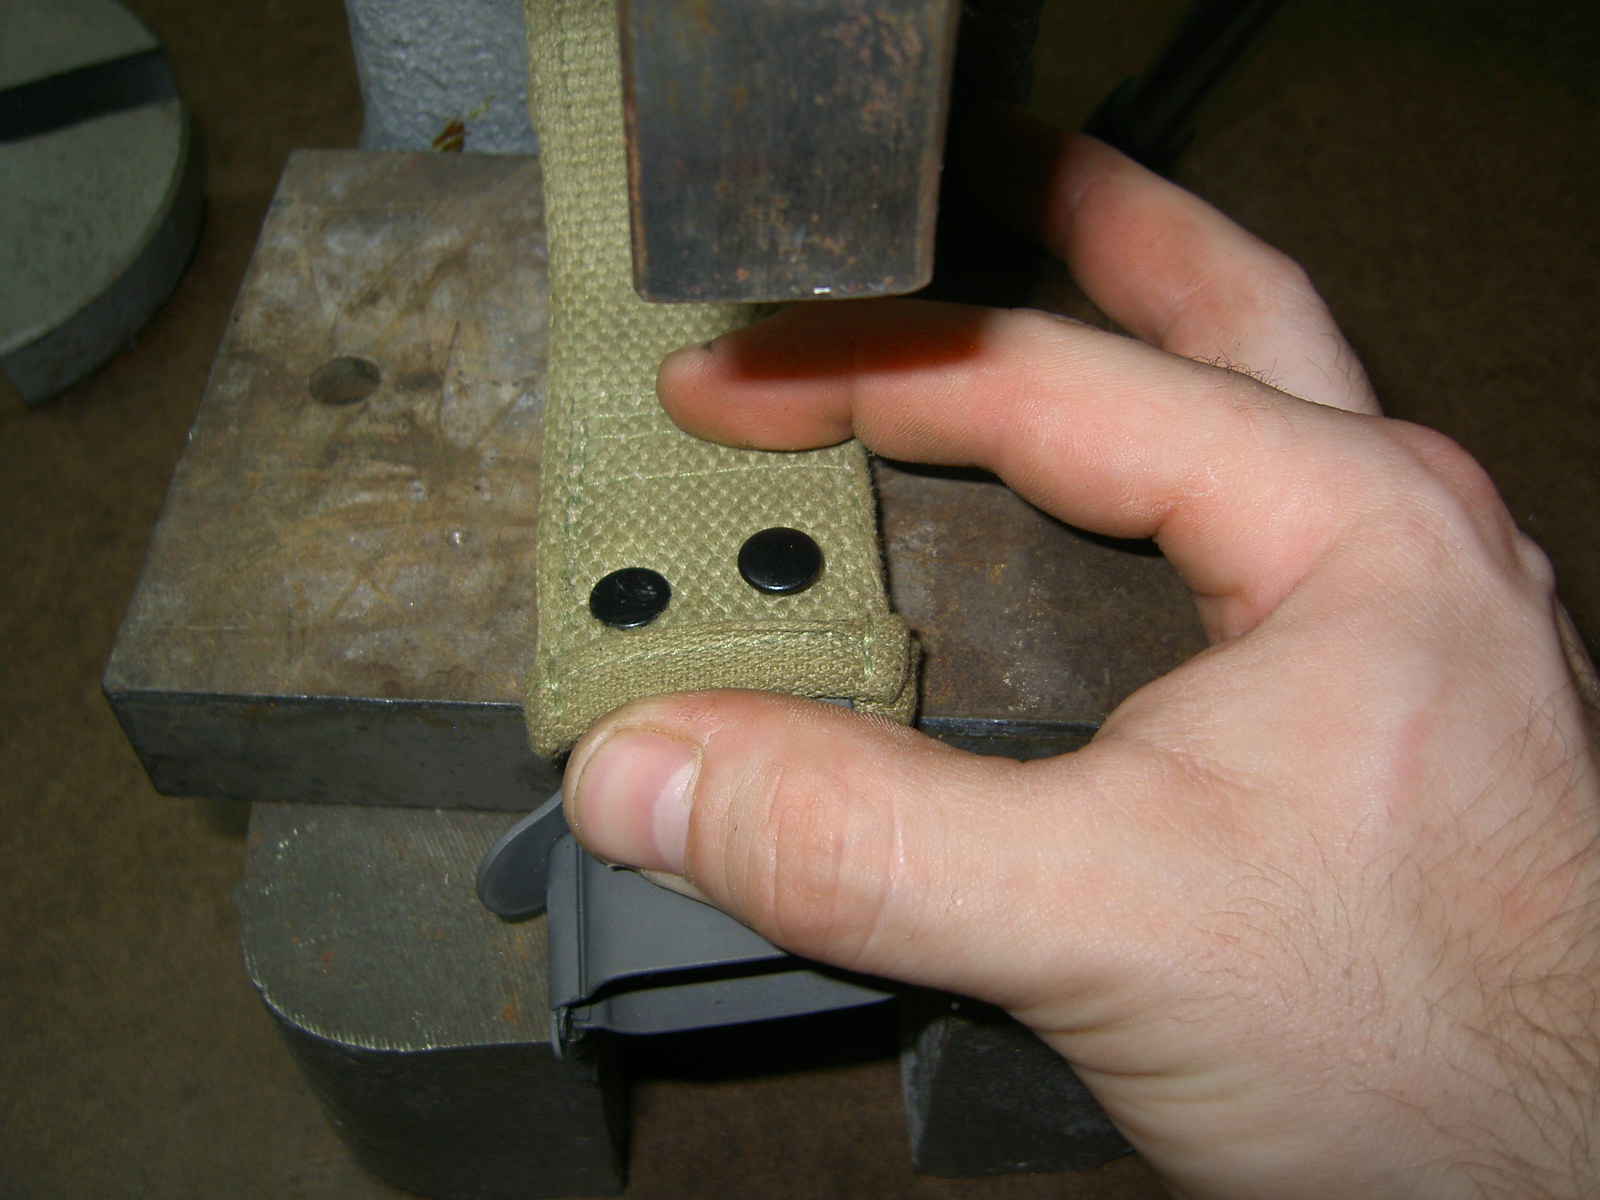
Use an awl to locate the holes, pushing it through both sides of the webbing. "Wobble" the awl in the hole to enlarge it enough for the long double cap rivet to be inserted into.
Insert the double cap rivet - long side first, then place the short cap over the stem. Use a hammer - or an arbor press if you have one, to seat the rivet and flatten it out. The press method is most preferable and gives the best results.
Do them one at a time. Poke hole, insert, cap, press. Repeat.
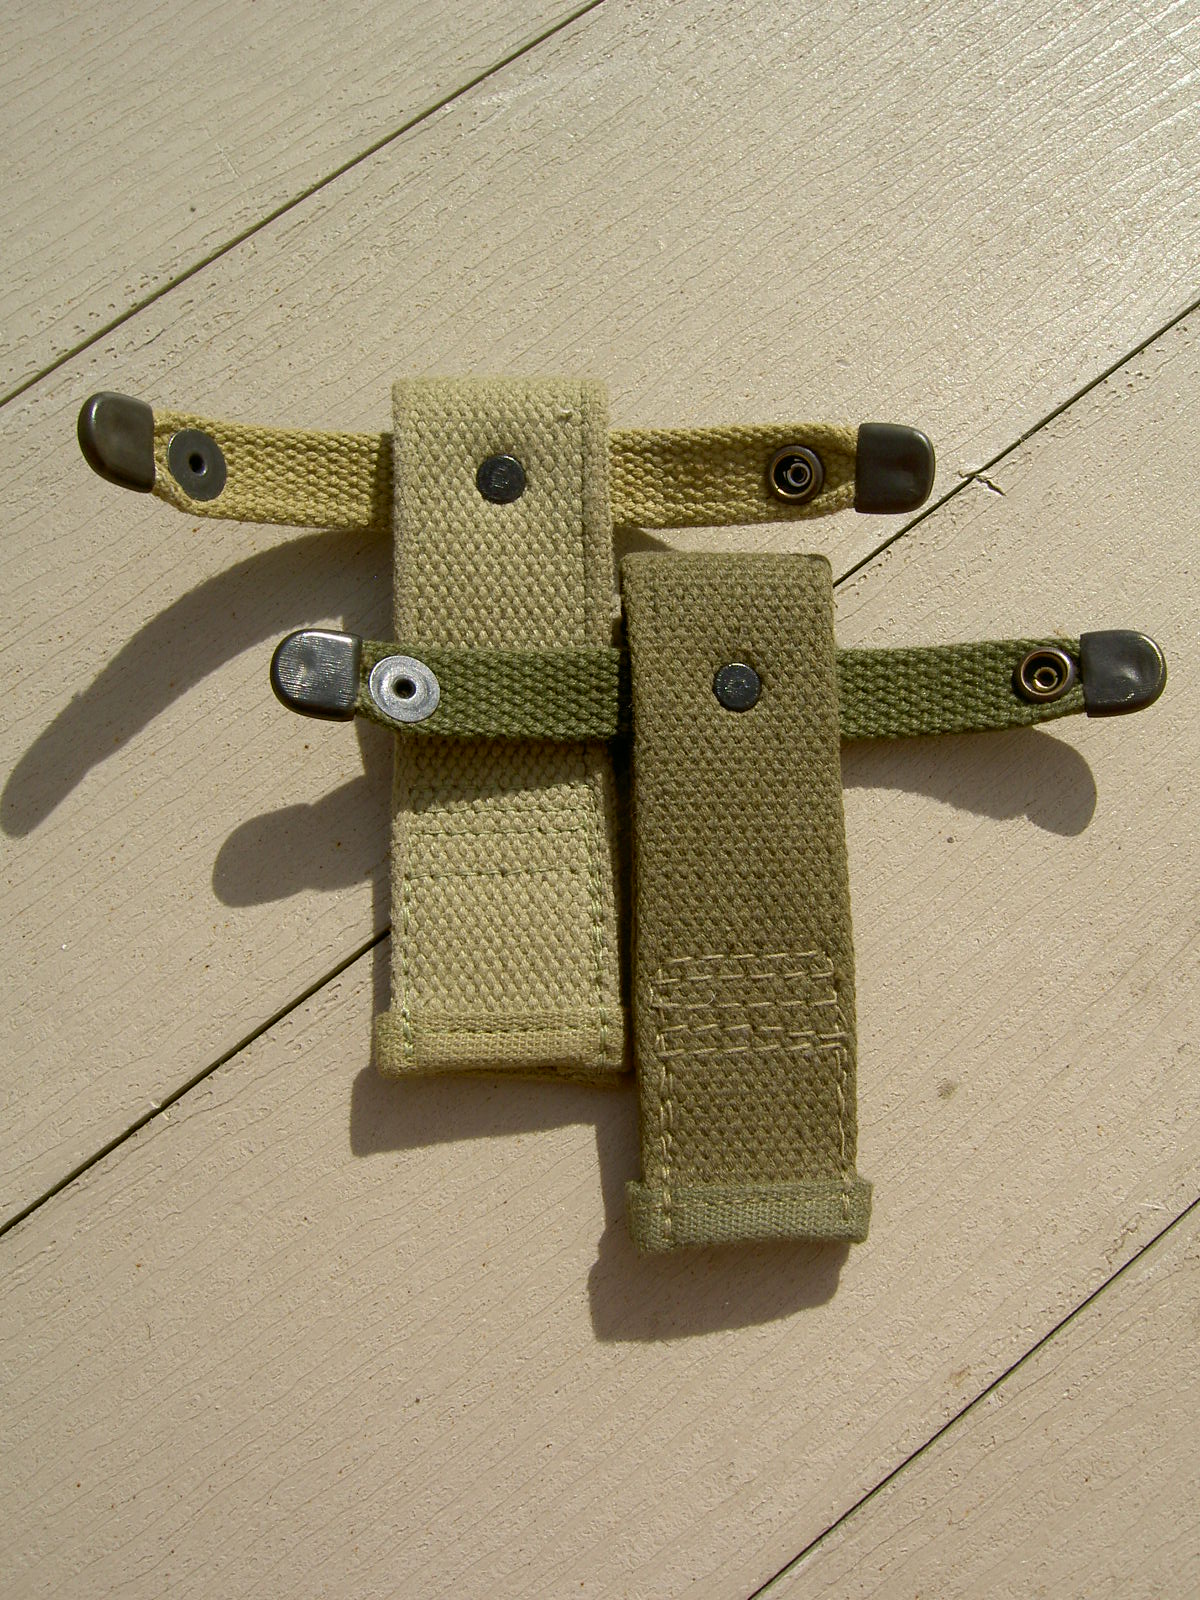
Here is one finished throat assembly.
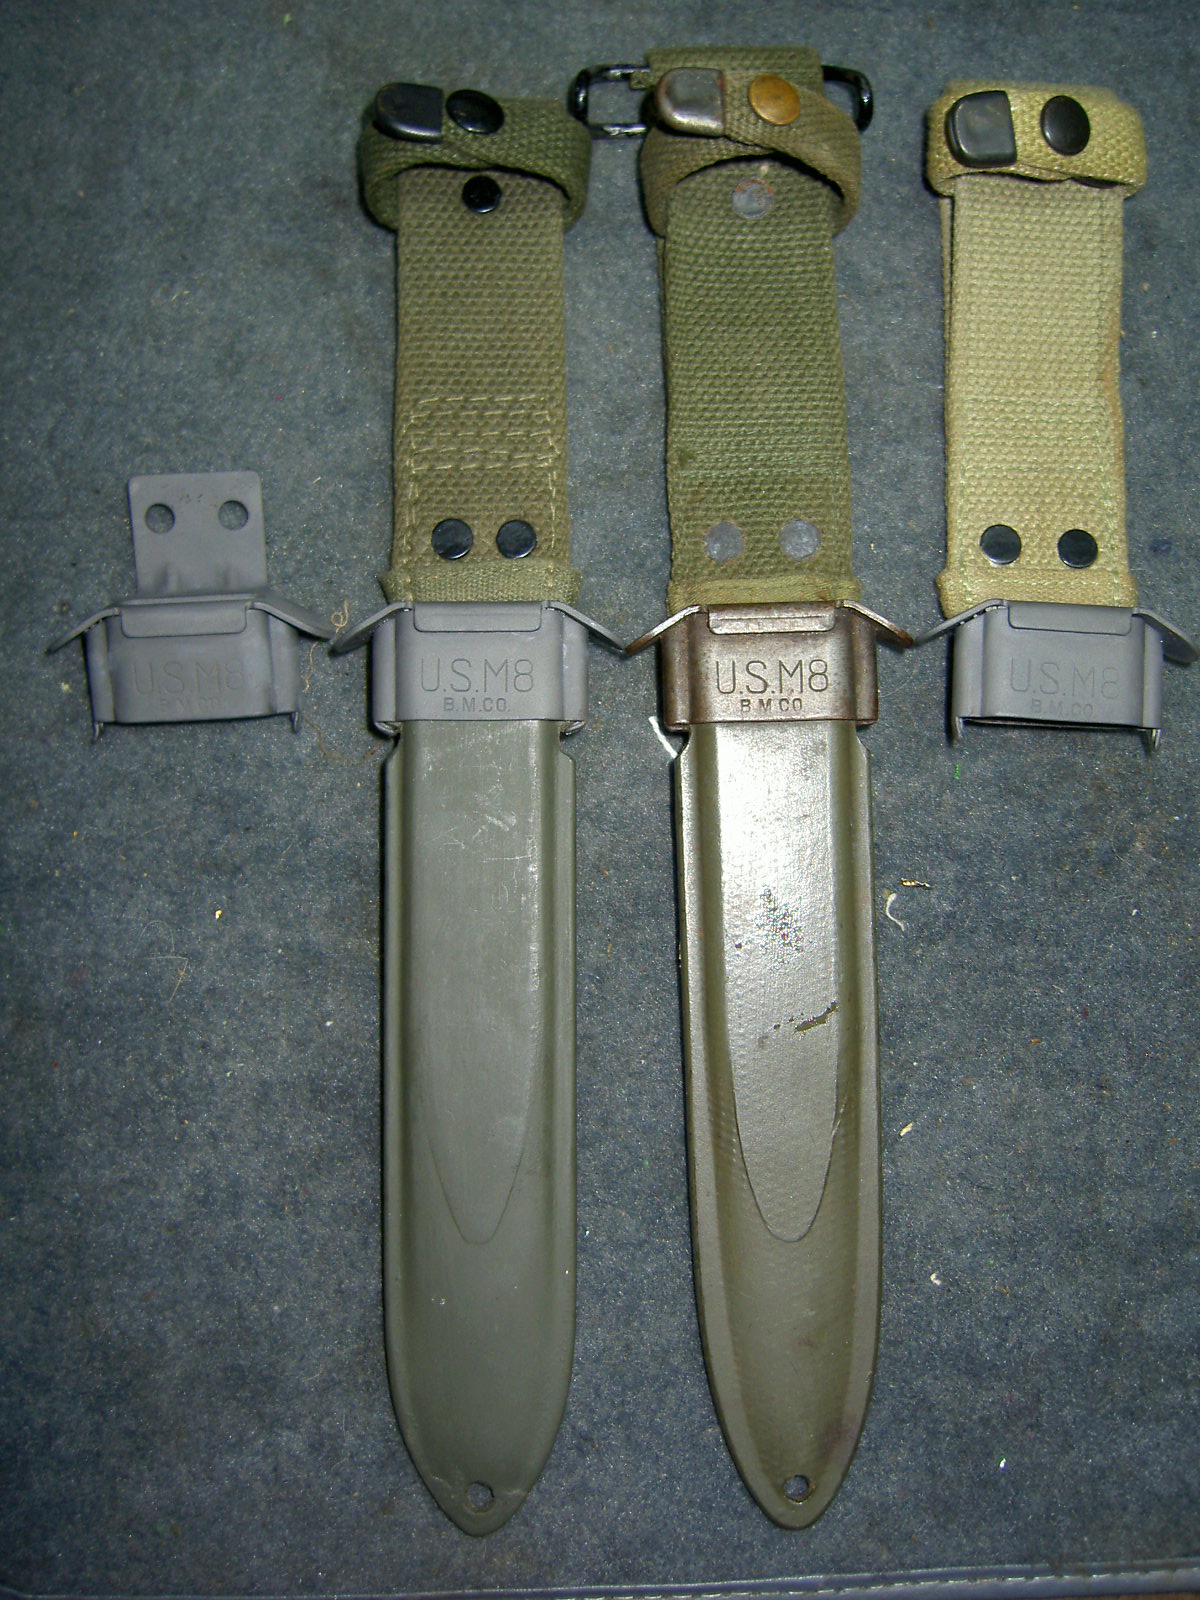
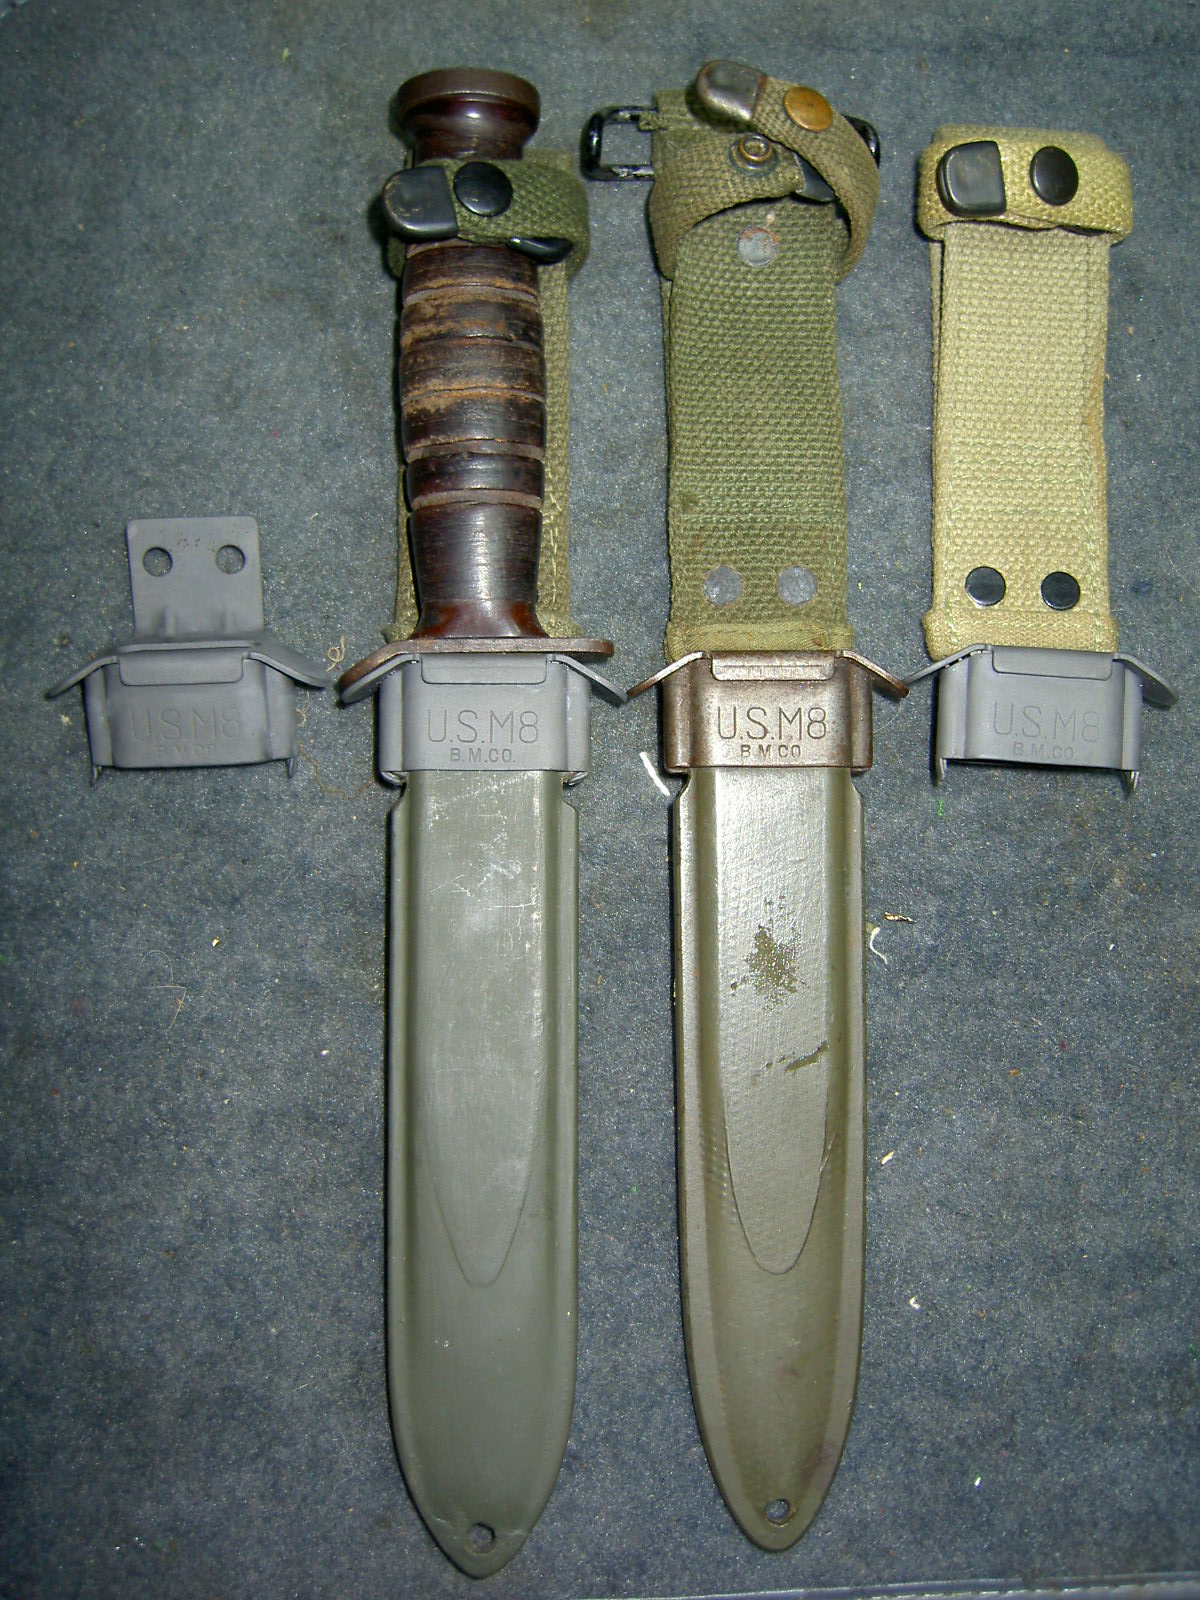
Finished product compared to an original M8 (Mod A1). Left photo empty, obviously, right photo with an original Imperial M3.
Conclusions:
These things are great. Personally, I'll be buying another 4 kits, most likely in OD7 as I think they're awesome. I'm really surprised nobody else has come out with a kit like this yet. For the money, they're a fair deal to bring life to an otherwise trashed scabbard, or for the anal retentive types, convert over a M8 modified to A1 back to original M8 configuration.