M3A4 Handcart Restoration Log - Part 2
Small PartsDate Written: 2/17/2008
Author: Chris Guska
My M3A4 Handcart restoration is making progress – it hasn’t been dormant since September.
October 2007
In October 2007 I totally disassembled the handcart down to bare component pieces. Some of the hardware was stuck – and took quite a bit of force to break loose. I broke 3 screwdrivers in the process (snapped the end off one, the other two shattered/chipped), thankfully I only buy craftsman screwdrivers so they were quickly returned for spares. Even with copious usage of PB Blaster, many of the screws and nuts holding the cart together were very tight. Only one bolt was a true casualty – needing to have the head ground off.
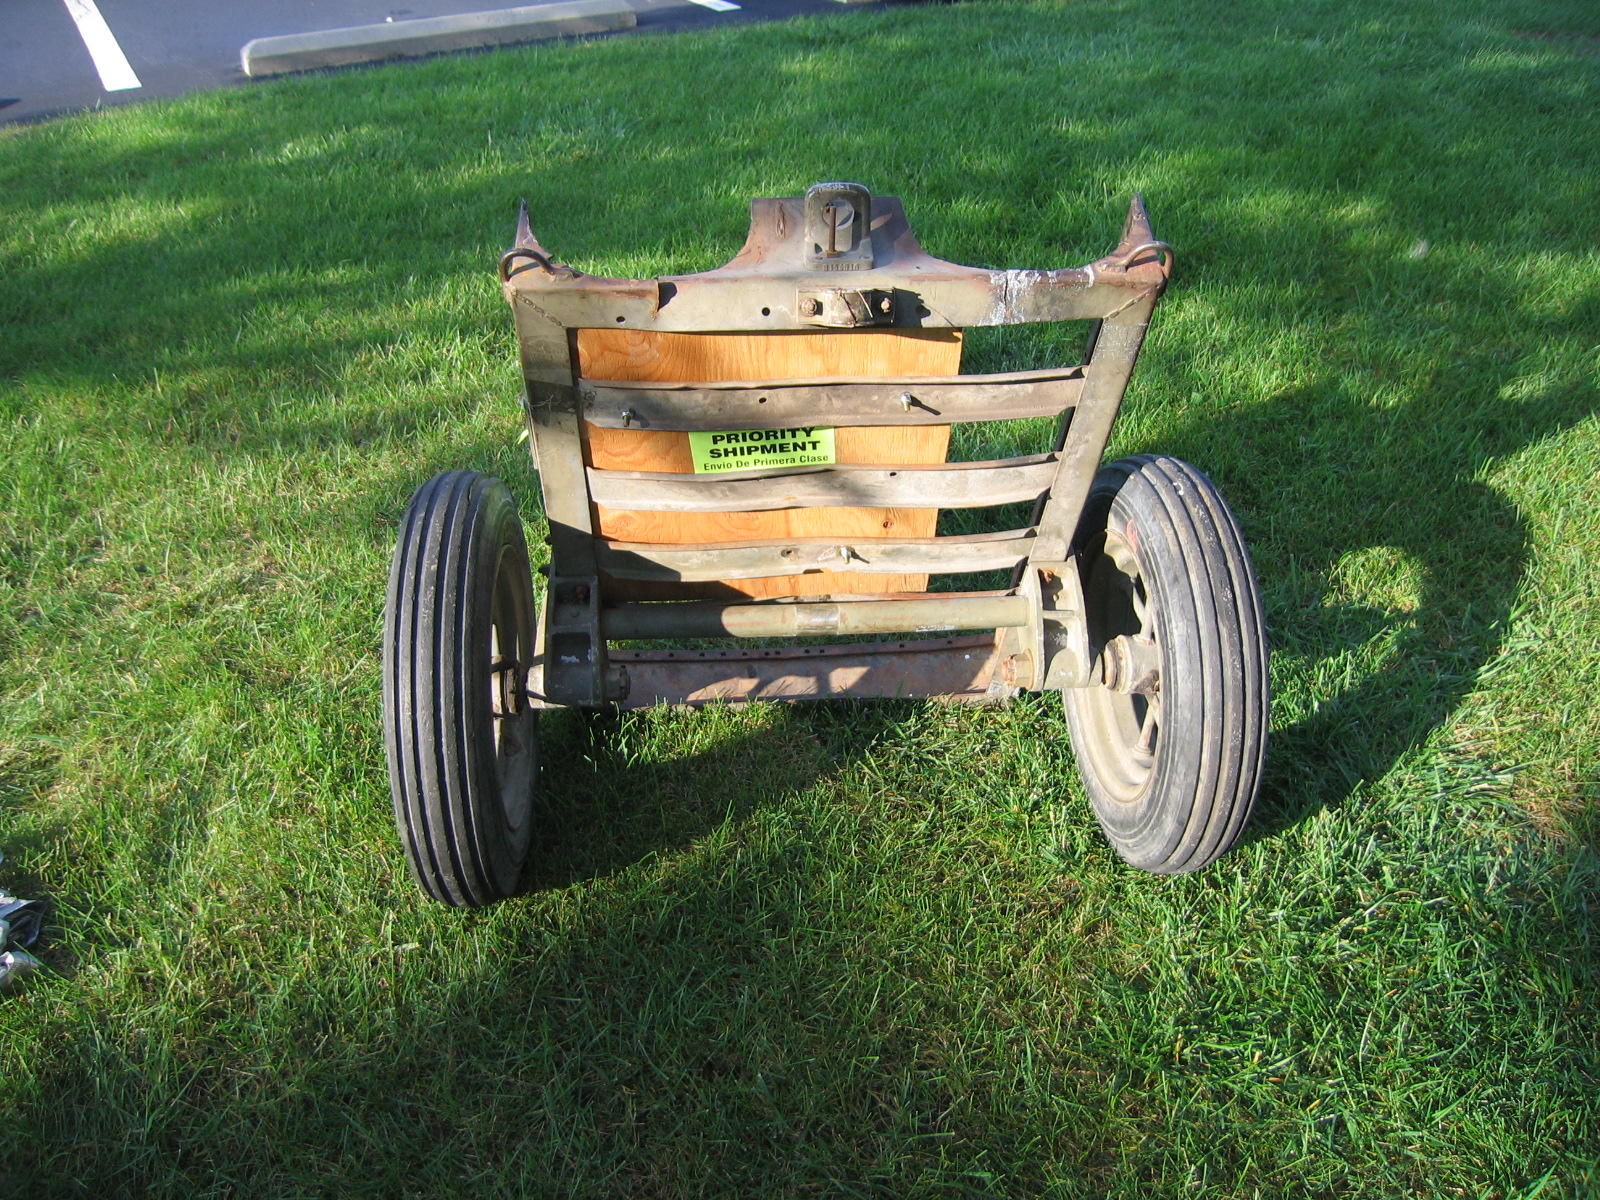
The result of this process was a separation of the body from the rest of the sub assemblies and components.
The body was the only part that needed work other than stripping and painting. The front of the body had been cut out for 2 welding bottles.
Additionally, there were two large stress cracks, and tears in the metal at the bottom of the radius of the cuts. I decided that I would remove the center section entirely before I sent the cart body over to fellow unit member Tiny for fabrication.
I made the cut using a circular saw with cutoff wheel installed. After I cut out the center section, I used a set of duckbill visegrip clamps to straighten all of the body slats, then set a 2x4 underneath them and persuaded them back into “straight and flat” with a deadblow mallet. The back of the body was slightly bent out, so I used a large crescent wench (18”) and torqued the bed back into shape.
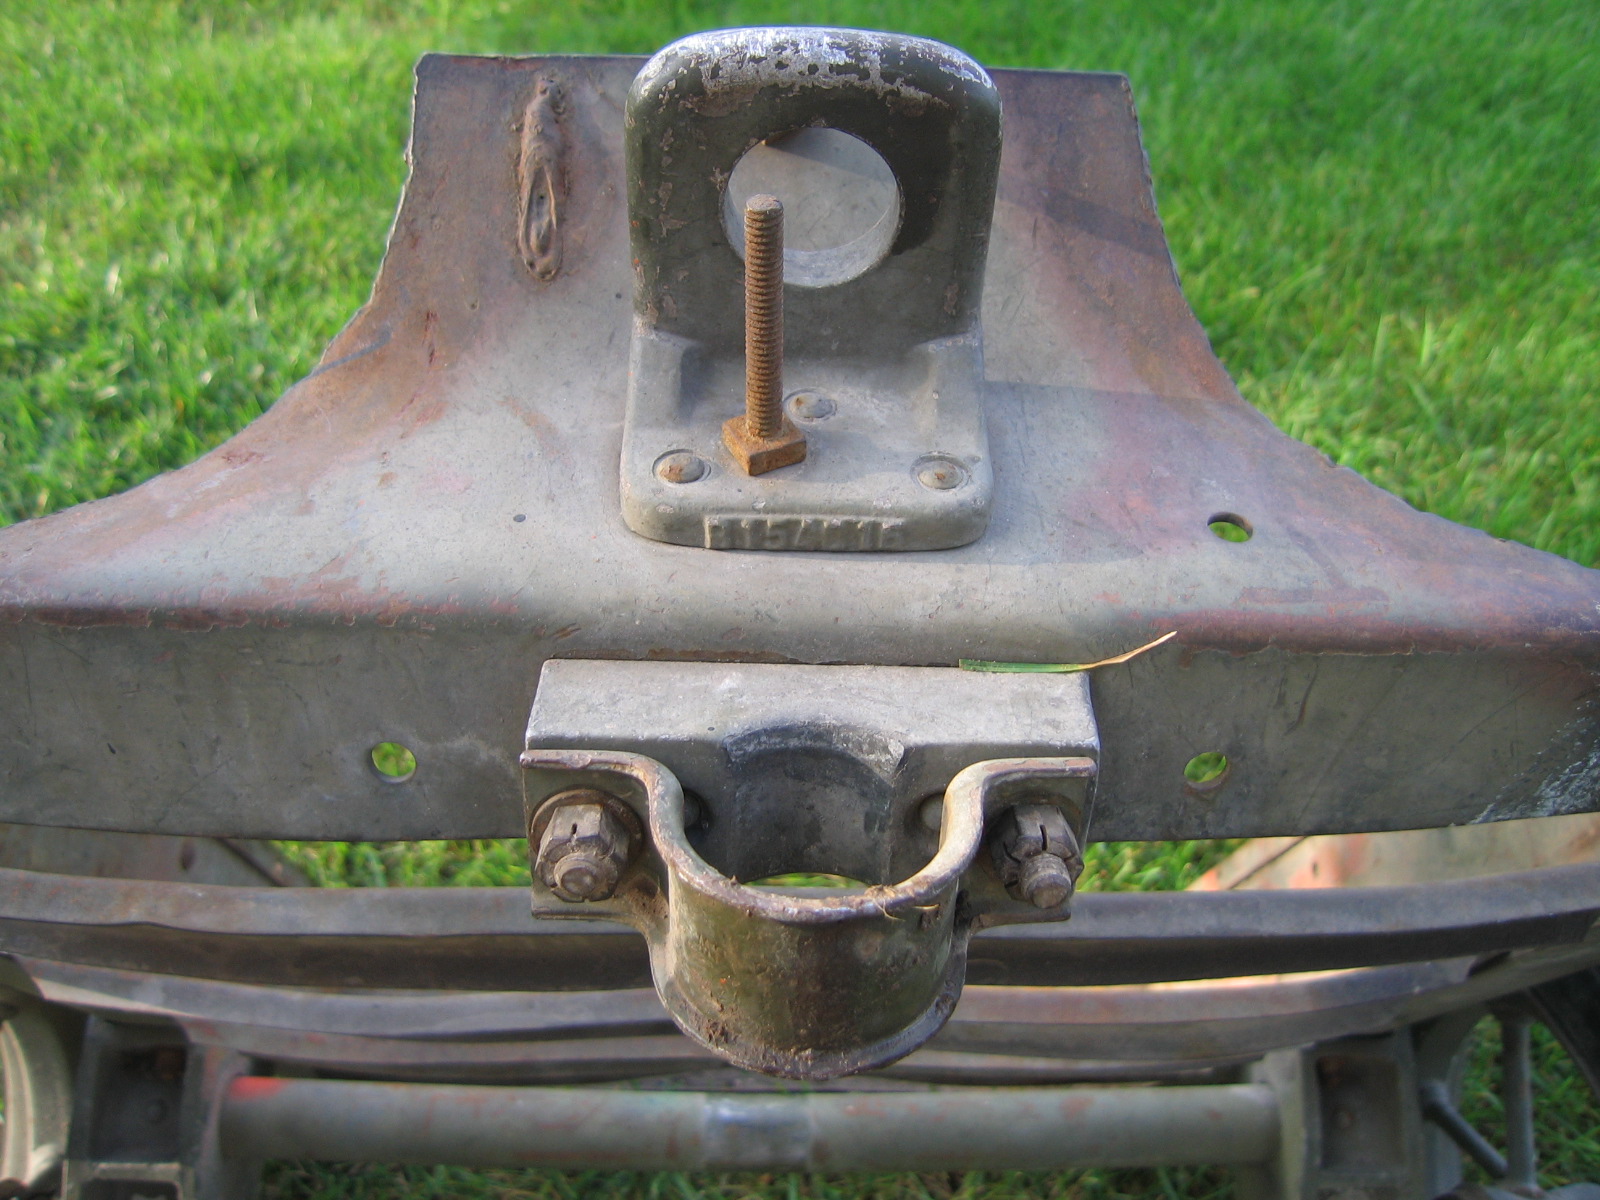
While in the shop, I ground much of the welding slag off of the lunette and rounded out the eye the best I could. The drawbar now fits on the lunette.
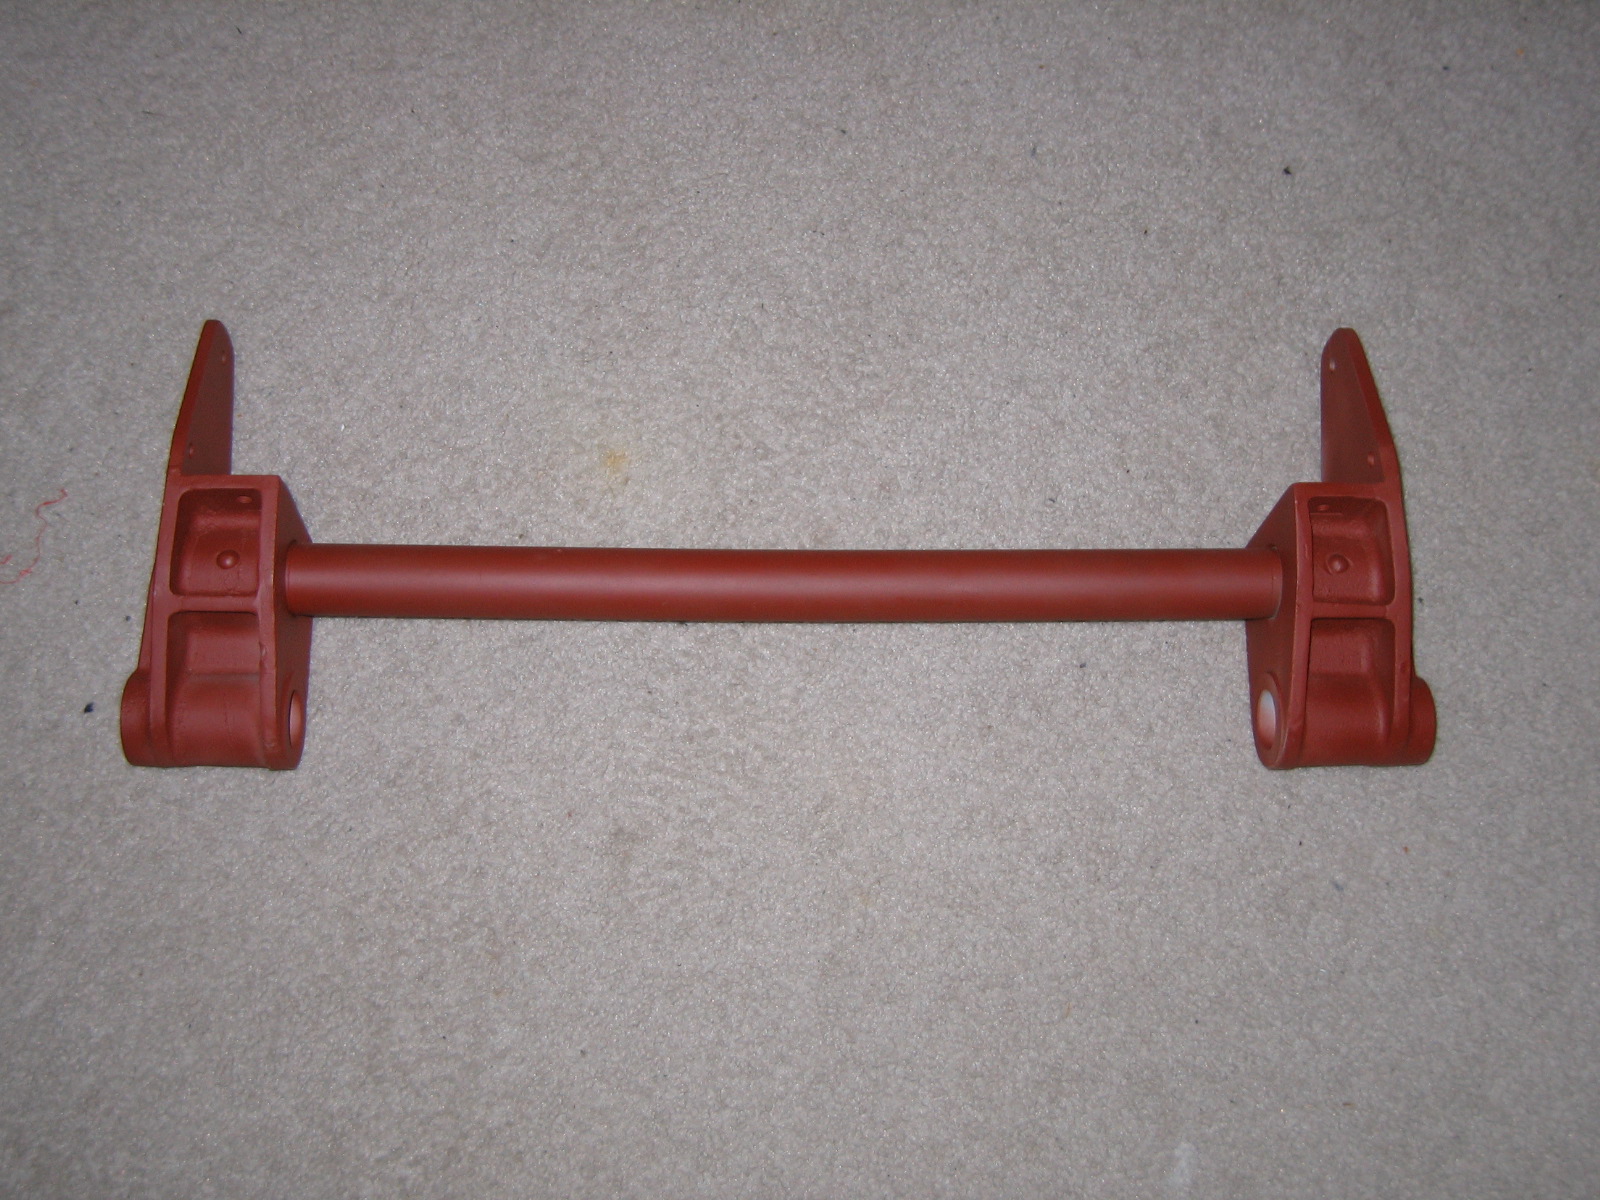
The section that I removed:
This section had the drawbar holding bracket and the tongue spacer block riveted to it. I had to drill out the rivets then punch them out – this turned out to be harder than I had expected. If and when you do this – take your time, and use small drill bits and work larger as you go. Working from the back to the front.
I disassembled the axle assemblies. The wheels were removed from the axles, and the axles from the axle brackets and tube. The axles and wheel assemblies were exceptionally well greased which made the removal very sticky and messy. I highly recommend having gloves, Gojo, lots of paper towels and Simple Green on hand when you remove the wheel from the axles. The 1 inch 14NF castle nuts that held the axles to the axle brackets were exceptionally difficult to remove, since the exposed threads were quite dirty and rusty. I had to go out and get a much larger adjustable wrench to handle these large castle nuts. A couple of wraps of gaffers tape and a firm hold with a pipe wrench combined with the very large adjustable wrench was able to break the castle nut free.
I cleaned up all of the hardware that I removed by dumping all of them into a plastic bottle of naval jelly. Laziness prevailed, and I left the hardware in the naval jelly for about a week, or until the bottle looked like it was about to burst. I poured out all the hardware and washed them off – pristine and free of paint or rust. All of the hardware, screws, nuts and washers appear to have a zinc oxide (parkerized) finish on them.
November 2007
I was able to get out to the shop and sandblast the axle bracket assemblies. It took the better part of an hour to get into all the nooks and crannies of the brackets and remove the thick hard paint that was on the cart. Once sandblasted, I primed the bracket with the 96 cent a can Walmart Red Oxide primer. I’ve used this primer on several other projects – and I’m very happy with its color and properties.
January 2008
I took the handcart wheels and tires to the local tire shop and had the tires removed. I had deflated the tubes and pushed the beads away from the rim to realize quite how thick and stiff the rims were. I could have used motorcycle tire tools and attempted to remove the tires myself, but I had no desire to risk tearing the tires, tubes, damaging the rims or otherwise buggering them up. To take the tires off the rims would have been a multiple person job and would have required some thinking in how to hold the wheel securely.
The local tire shop charged me $18.00 in total to remove the tires from the rims. I was able to drop the wheels off, go grocery shopping and come back an hour later and pick them up.
I ordered paint from Rapco http://www.rapcoparts.com/ for my cart and Steve’s cart. Steve is doing a parallel restoration. I ordered several colors of rattle cans for various projects, OD 33070, OD 319, and OD23070. The color we’re planning on using for our carts is OD 33070, Early WWII Lusterless Olive Drab. The paint came in quickly – shipped by UPS ground – the order was quick and painless.
February 2008
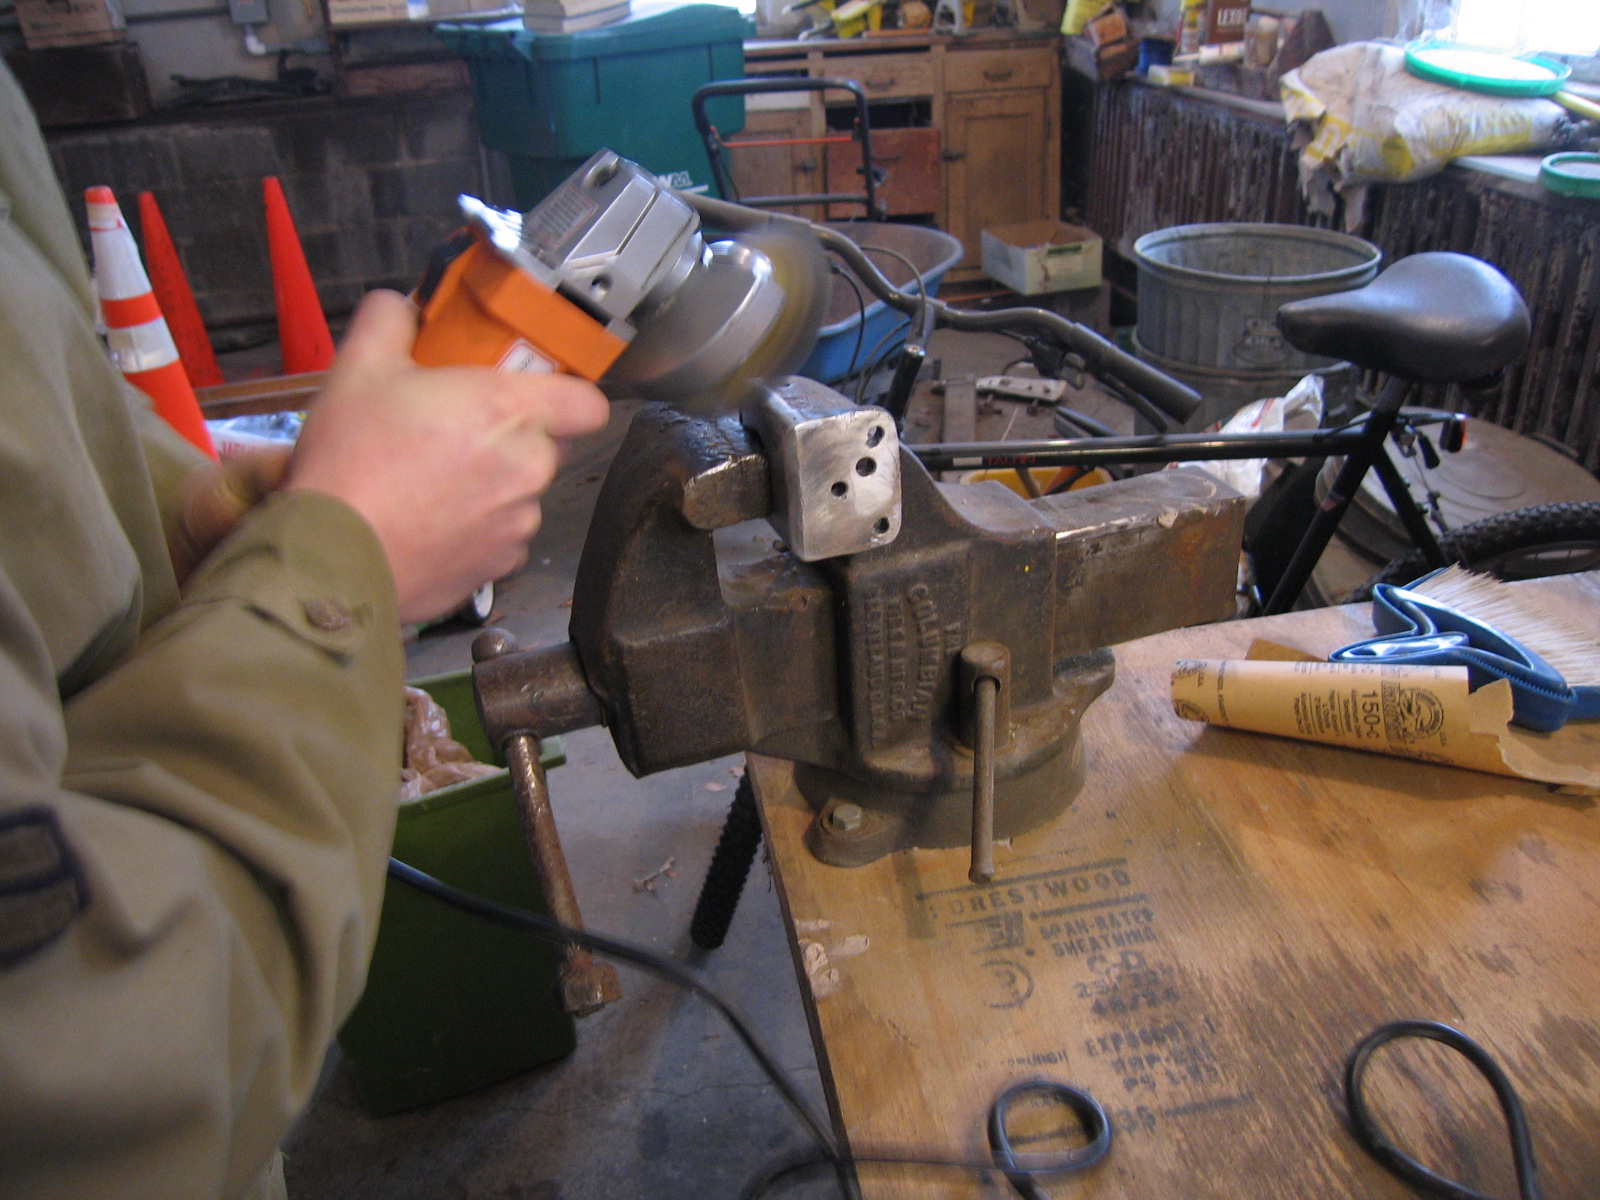
During our February work party at Rick’s workshop, I was able to clean up and prime most of the remaining small parts from the cart. All of the parts were very dirty and some greasy – which made using a cup brush on them an interesting experience since I didn’t have access to a blast cabinet at Rick’s.
Rick working on the drawbar bracket.
After everything was wire wheeled, it was degreased with “Purple Power” degreaser, which worked reasonably well, but took time to really cut most of the old crusty grease.
All of the small parts and brackets can be viewed in the supplemental gallery for this section
After being de-greased, the parts got a coat of red oxide primer.
I attempted to clean up the wheels with a knotted steel cup brush to little avail. The paint on the rims was so hard and tough that the knotted cup brush simply wasn’t removing paint at any reasonable speed. After 15 frustrating minutes, I gave up and gave the wheels to mike so he could take them into the shop and sandblast them.
In late February, after several conversations with Craig Johnson – I was able to source several different types of reproduction tires for the cart. I decided on two different patterns that I would like for my cart and for Steve’s cart. The tires are a whole separate article in and of themselves.
Additional photos are available in the supplemental gallery.
M3A4 Handcart Restoration Log - Intro
M3A4 Handcart Restoration Log - Tires
M3A4 Handcart Restoration Log - Drawbar