Bazooka Rocket Safety Wires - Bending Your Own
Date Written: 7/16/2008
Author: Chris Guska
Background:
So now that you've repainted and re-stamped your bazooka rockets from the previous article, you're pretty close to having your rockets fully restored.
One of the more commonly missing items is the wire safety clips that would have been standard on all rockets. Originals are difficult to get, and making them by hand is simply a pain in the butt and very difficult to reproduce consistently.
The Fixture:
This is a project for the guy in the unit who has a lathe and mill in his garage, or has access to one at work as it involves making a simple fixture.
Many thanks go out to Tim Gane of the 4th Armored Division Historical Group (Ohio) for his careful design and work in producing the fixture.
I'm sure there’s many different ways of engineering a fixture to bend these wires, all of which producing suitable results - this just happens to be one way that works exceptionally well.
The fixture itself is very straightforward, provided that you have the tools to make one. The fixture is a single turned piece of round stock that has had a flat milled on the top, and a single hole bored in it.
Technical Drawing:
Using the Fixture
Tools needed:
Vise Grip Locking Pliers, one or two - it’s nice to have a two.
Wire Cutters
Needle Nose Pliers, one or two - it’s nice to have two.
Hammer
Piece of flat steel (flathead screwdriver could work)
Sharpie Marker or Razor blade to use as a scribe
Supplies needed:
0.072 Steel Wire (13 AWG / 15 SWG)
This is really pretty simple - but takes some practice and fitting.
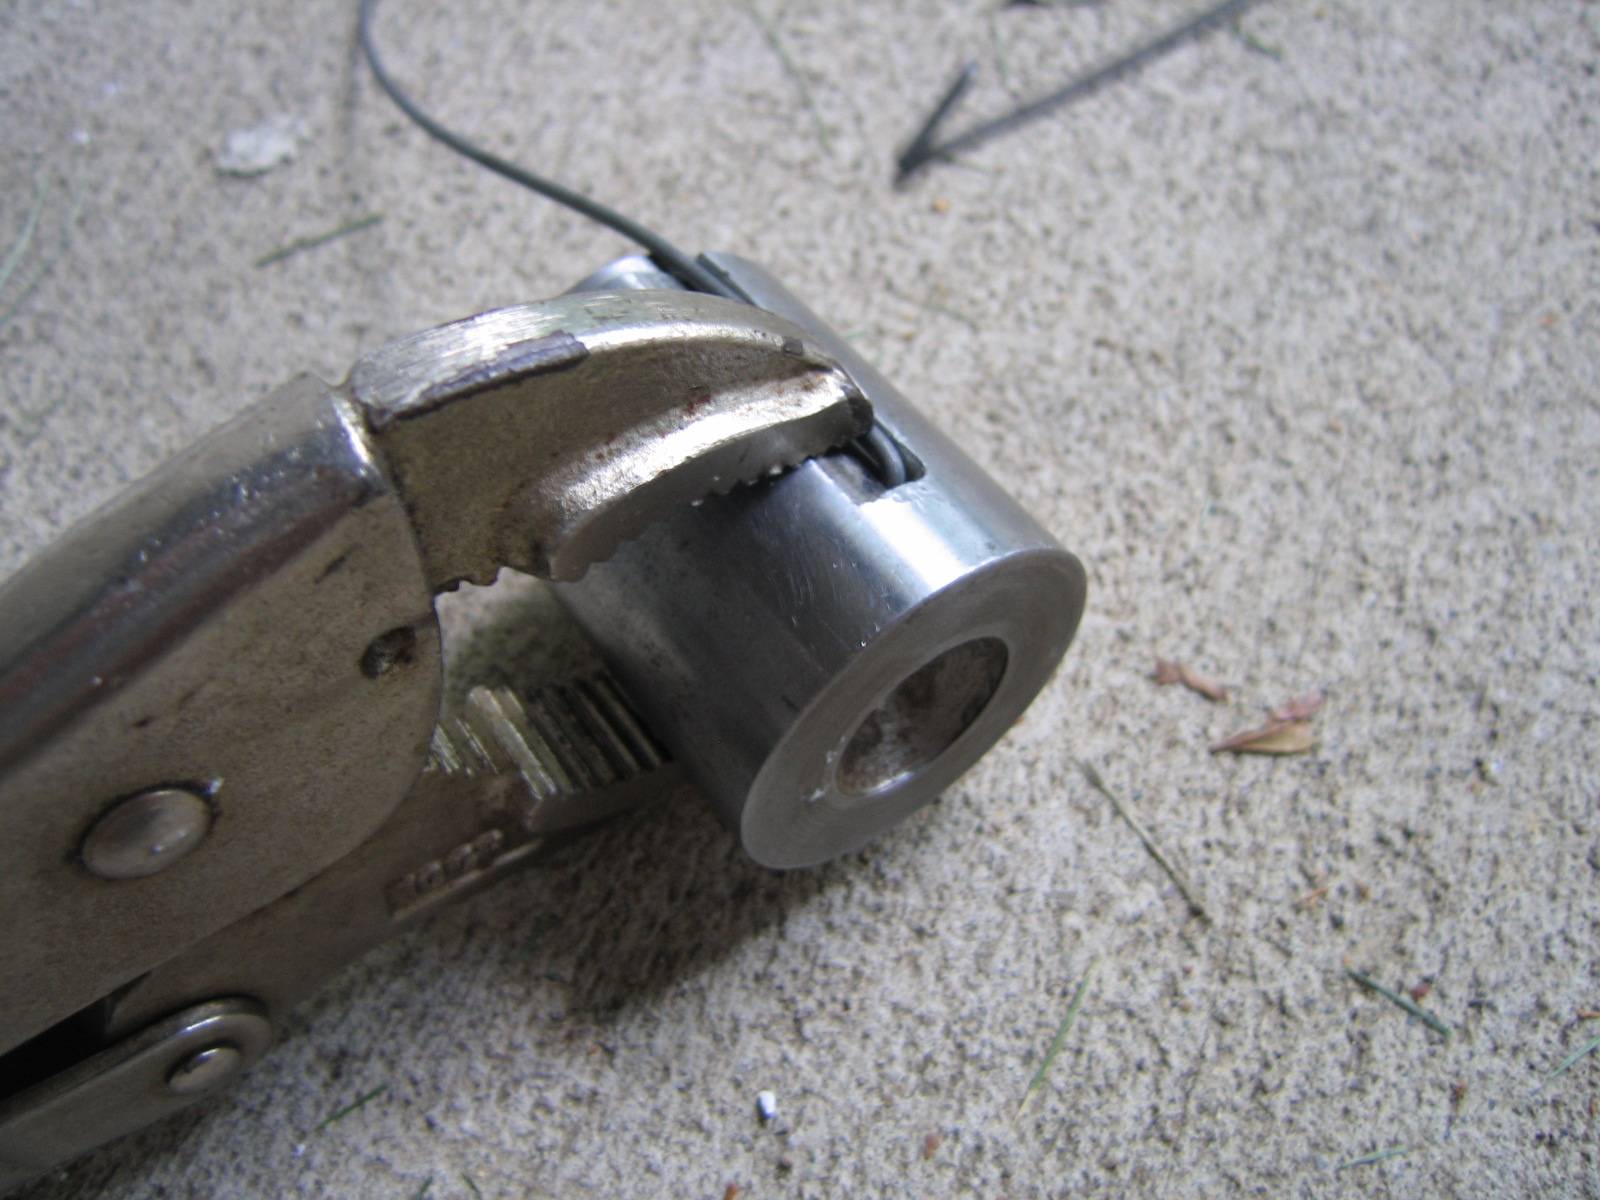
Uncoil the wire, insert one end into the hole drilled in the fixture, bend the wire over 90 degrees and run the wire up the channel following the milled edge.
Use the hammer and flat of the screw driver to flatten over the 90 degree bend so that it’s "clean". Or, use the vise grips and flatten the edge over.
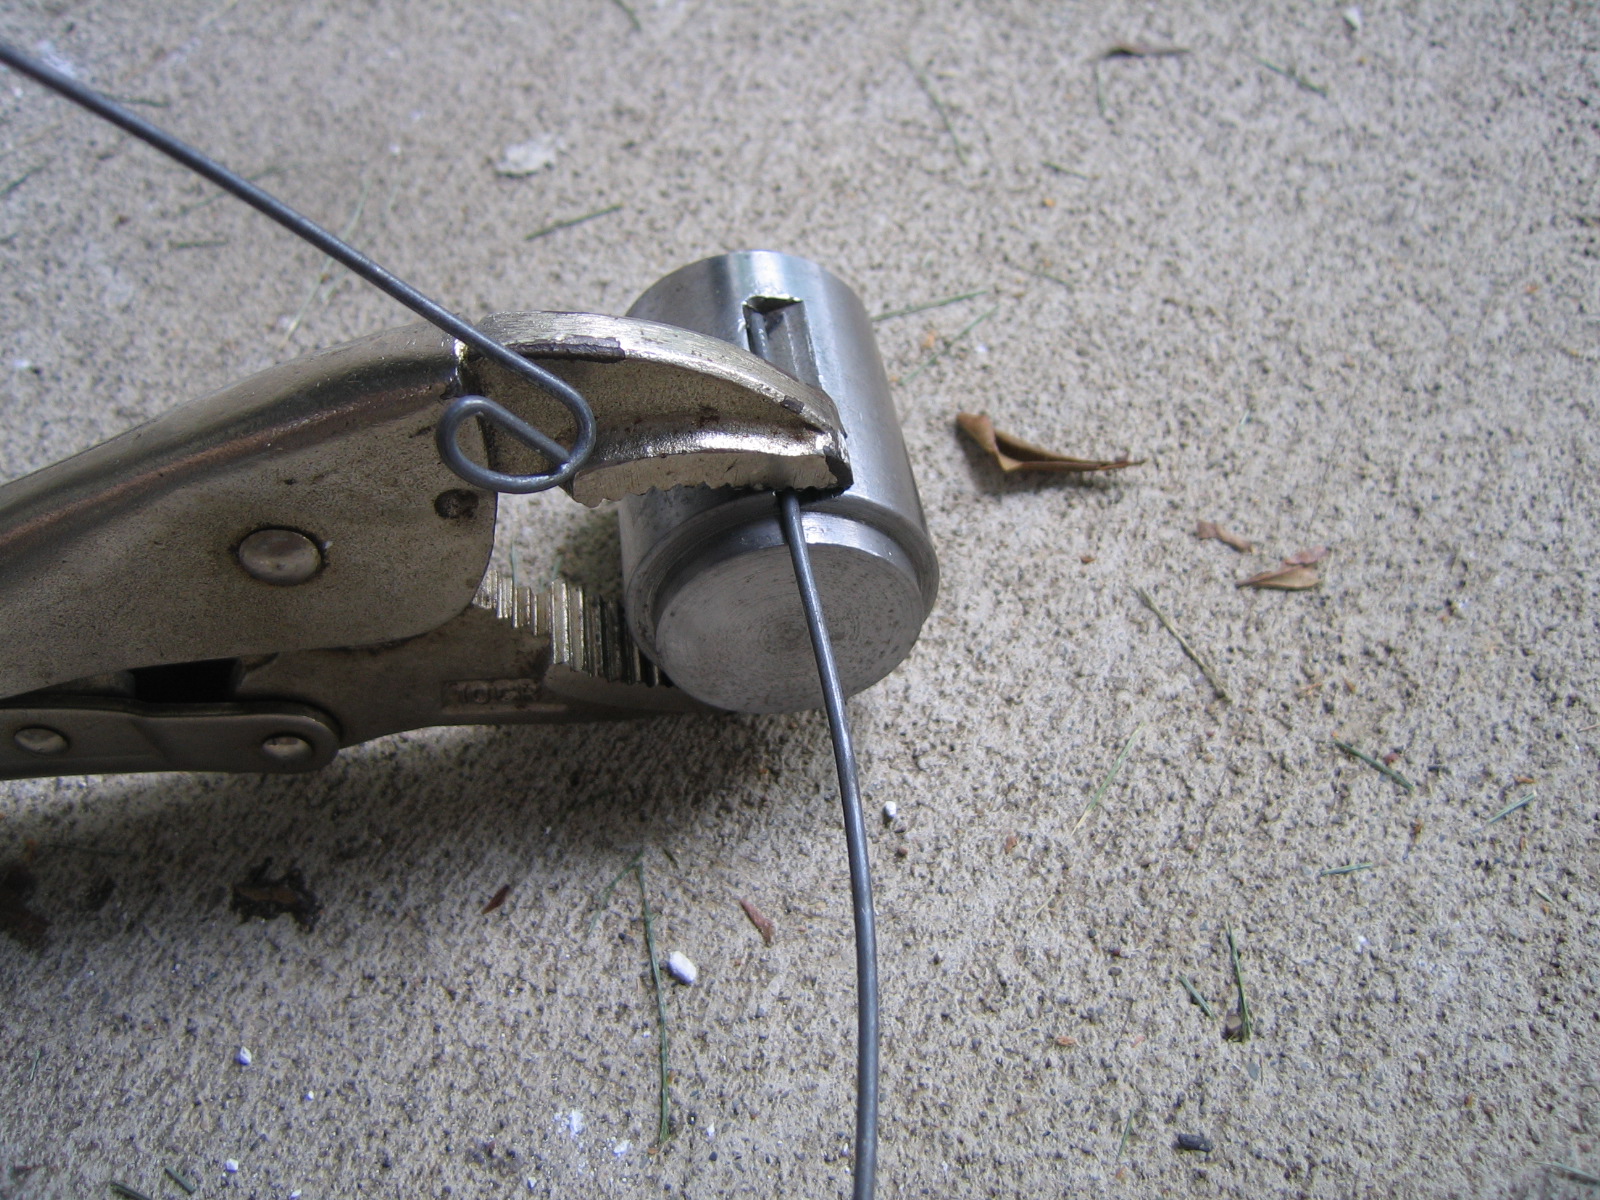
Use your vise grips; two is better than one, to hold the wire down and against the wall of the milled channel - preferably at the top and bottom of the wire.
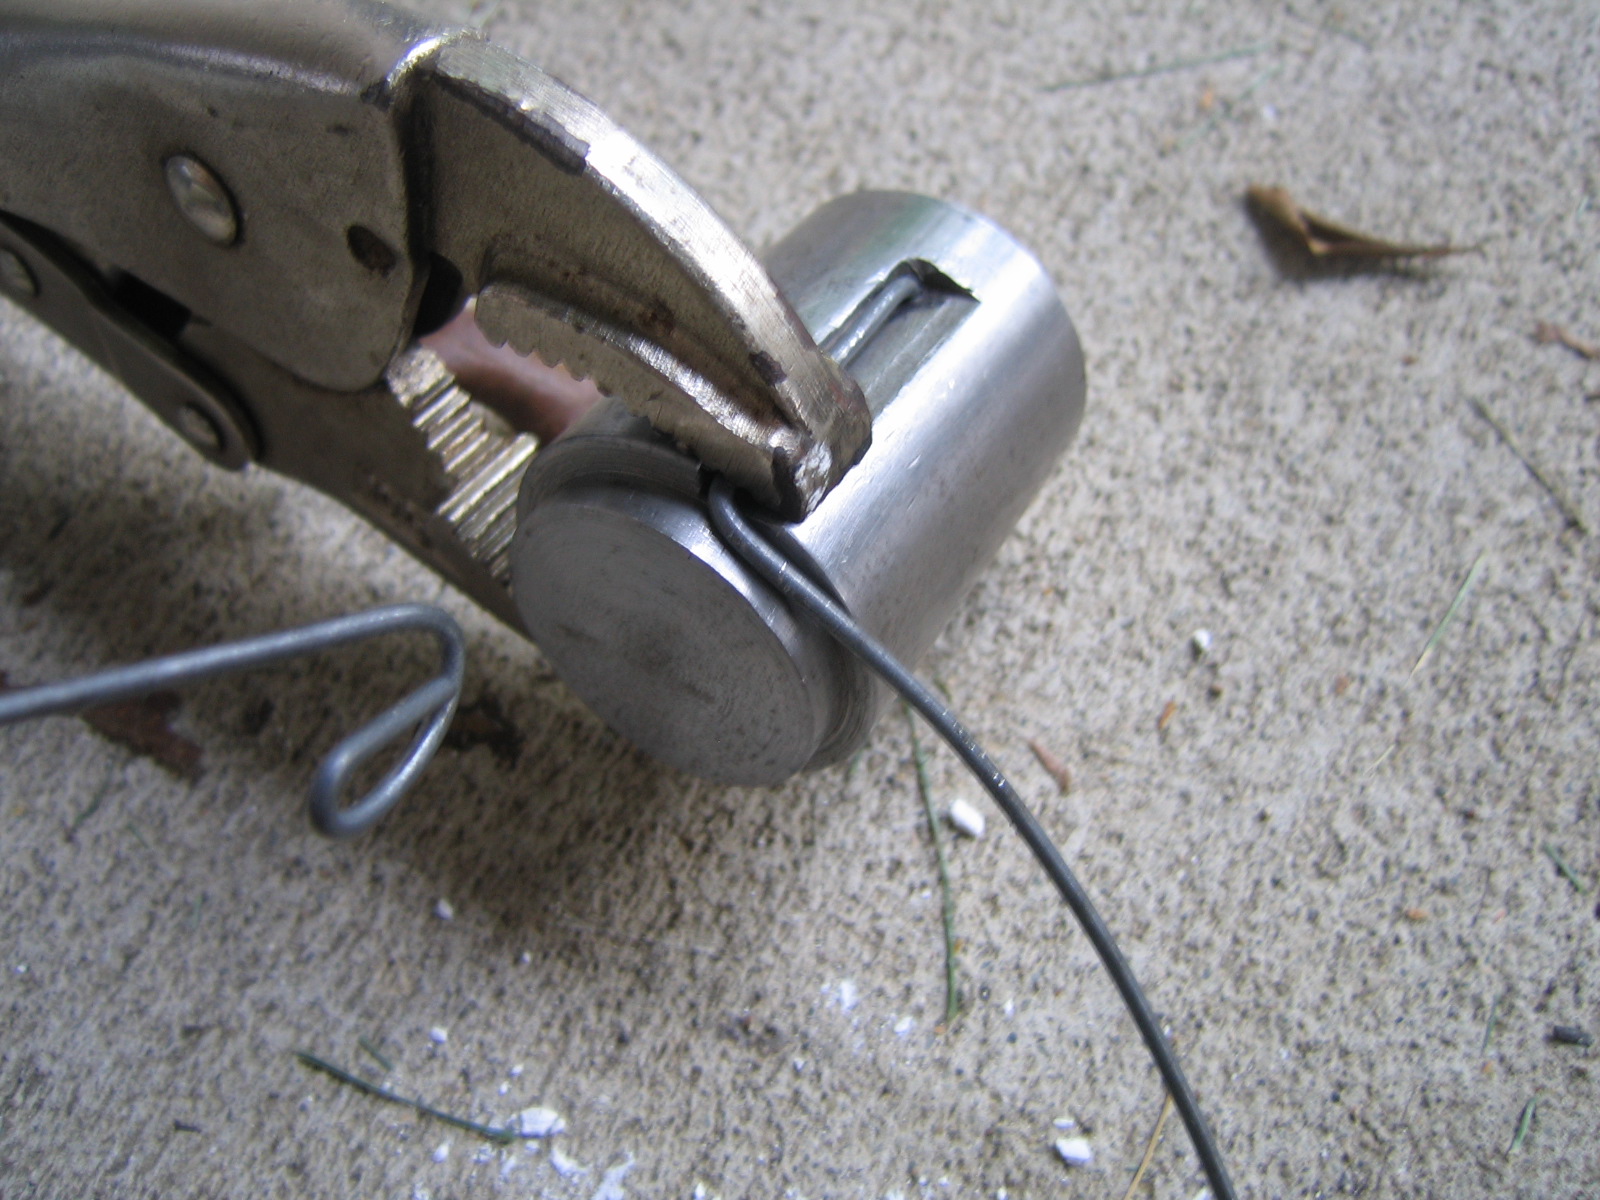
Bend the wire over 90 degrees, and begin to wrap the wire around the smaller radius of the fixture in a clockwise direction.
Wrap the wire around the smaller radius until it is about to cross over itself, and cut off the excess wire.
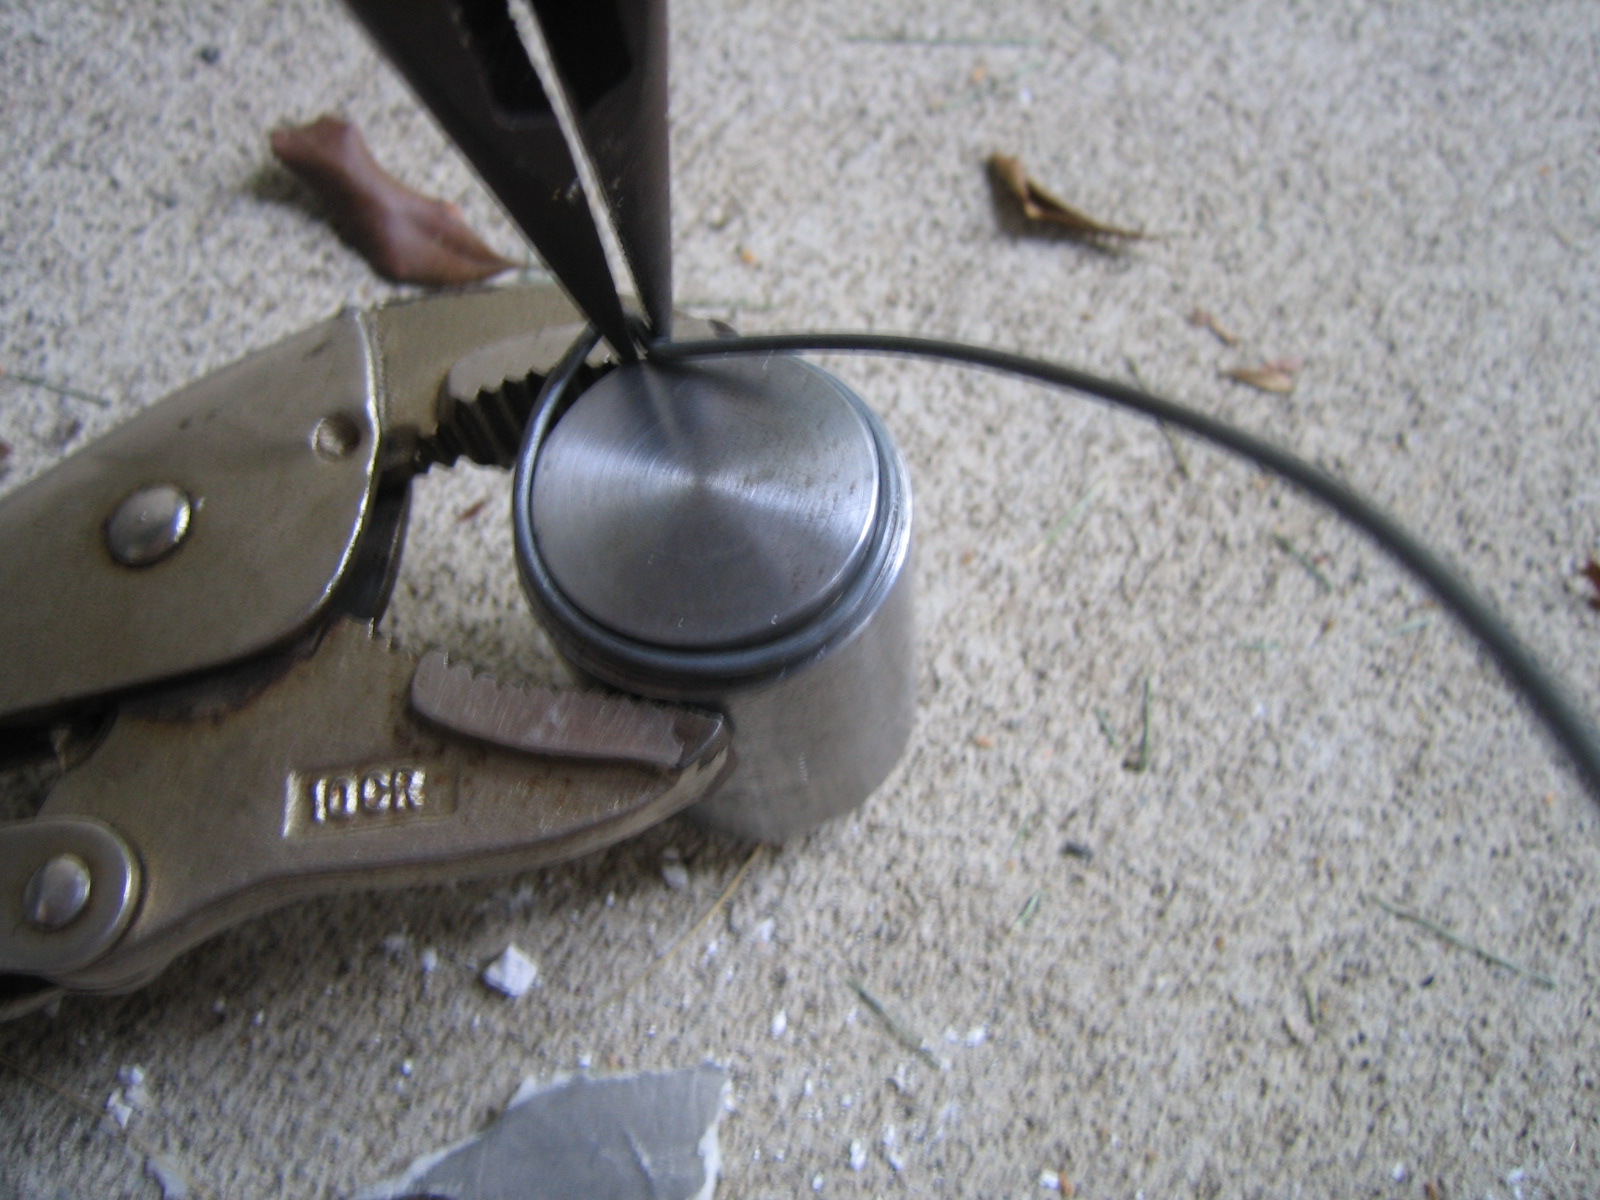
Mark the wire with the Sharpie or razor blade at the position where the 90 degree bend needs to be put in for the "thumb tab".
Remove the wire from the fixture. Use both your pairs of needle nose pliers to bend a 90 degree bend in the wire at the point where you just marked.
Use your wire cutters and cut off the excess wire about 1/2 to 5/8 inch from the 90 degree bend you just made. Somewhere in the middle of the piece use your pliers again to bend the wire and fold it back onto itself to look like this:
By this point, you have the general shape of the safety wire bent and you just need to do some final fitting to get it to snap onto the rocket nicely and hold. Get out your rocket that you intend to use it on, fit it on and see where any gaps may be. What you need to do is to "over bend" the radius of the circle of the wire so that it is slightly smaller than that of the rocket itself, so that it will open up and "spring" to the shape of the rocket. This can be a bit of a fiddly process, which you can use your fingers, or both pairs of needle nose pliers to do. Once you get the hang of it, it goes rather quickly.
With some time and patience you can consistently produce very nice copies of a hard to find item for virtually no money at all.