Installing Lockbars on the M1 Garand
Written: 1/27/2012
Author: Chris Guska
Background:
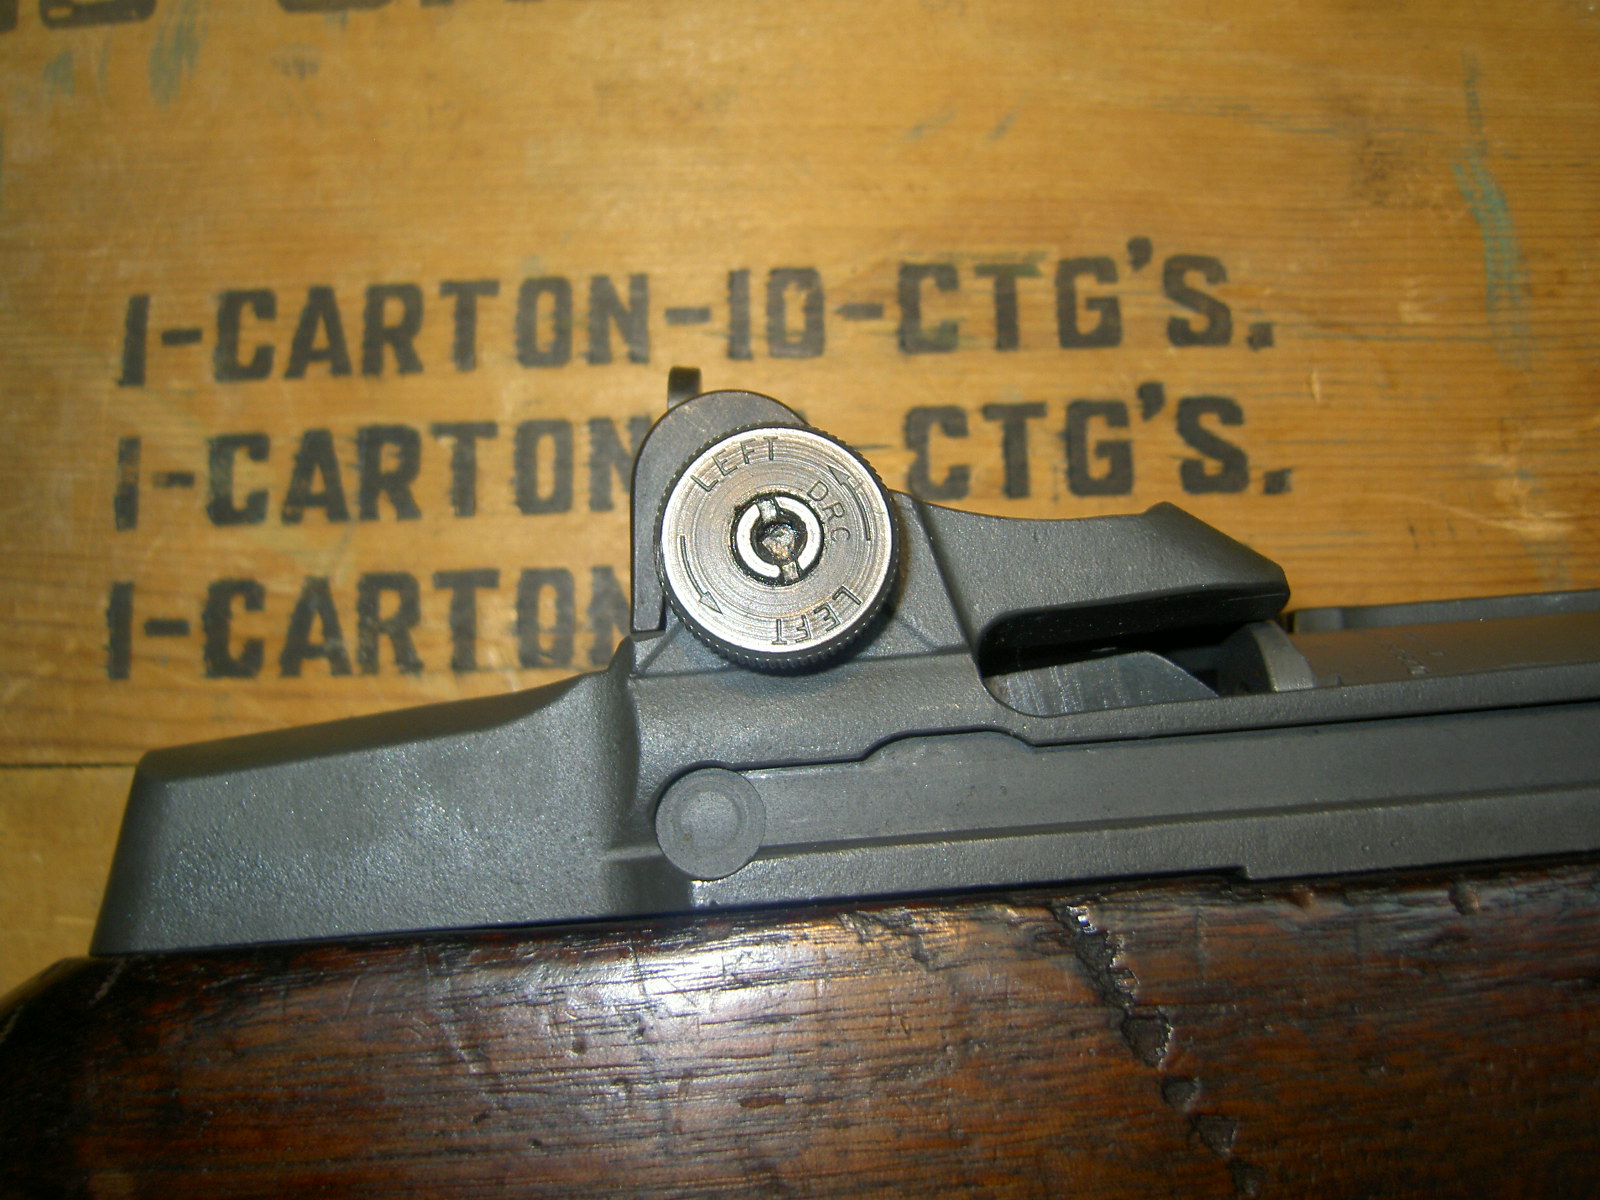
We'll be swapping out a T105 rear sight pinion for a reproduction Type 2 Lockbar pinion. This is the common post WW2 rear sight assembly found on most Garands that come from the CMP.
Just in case you forgot what a T105 looks like...
Installation:
This is a quick and simple process that only requires a flathead screwdriver or garand combo tool.
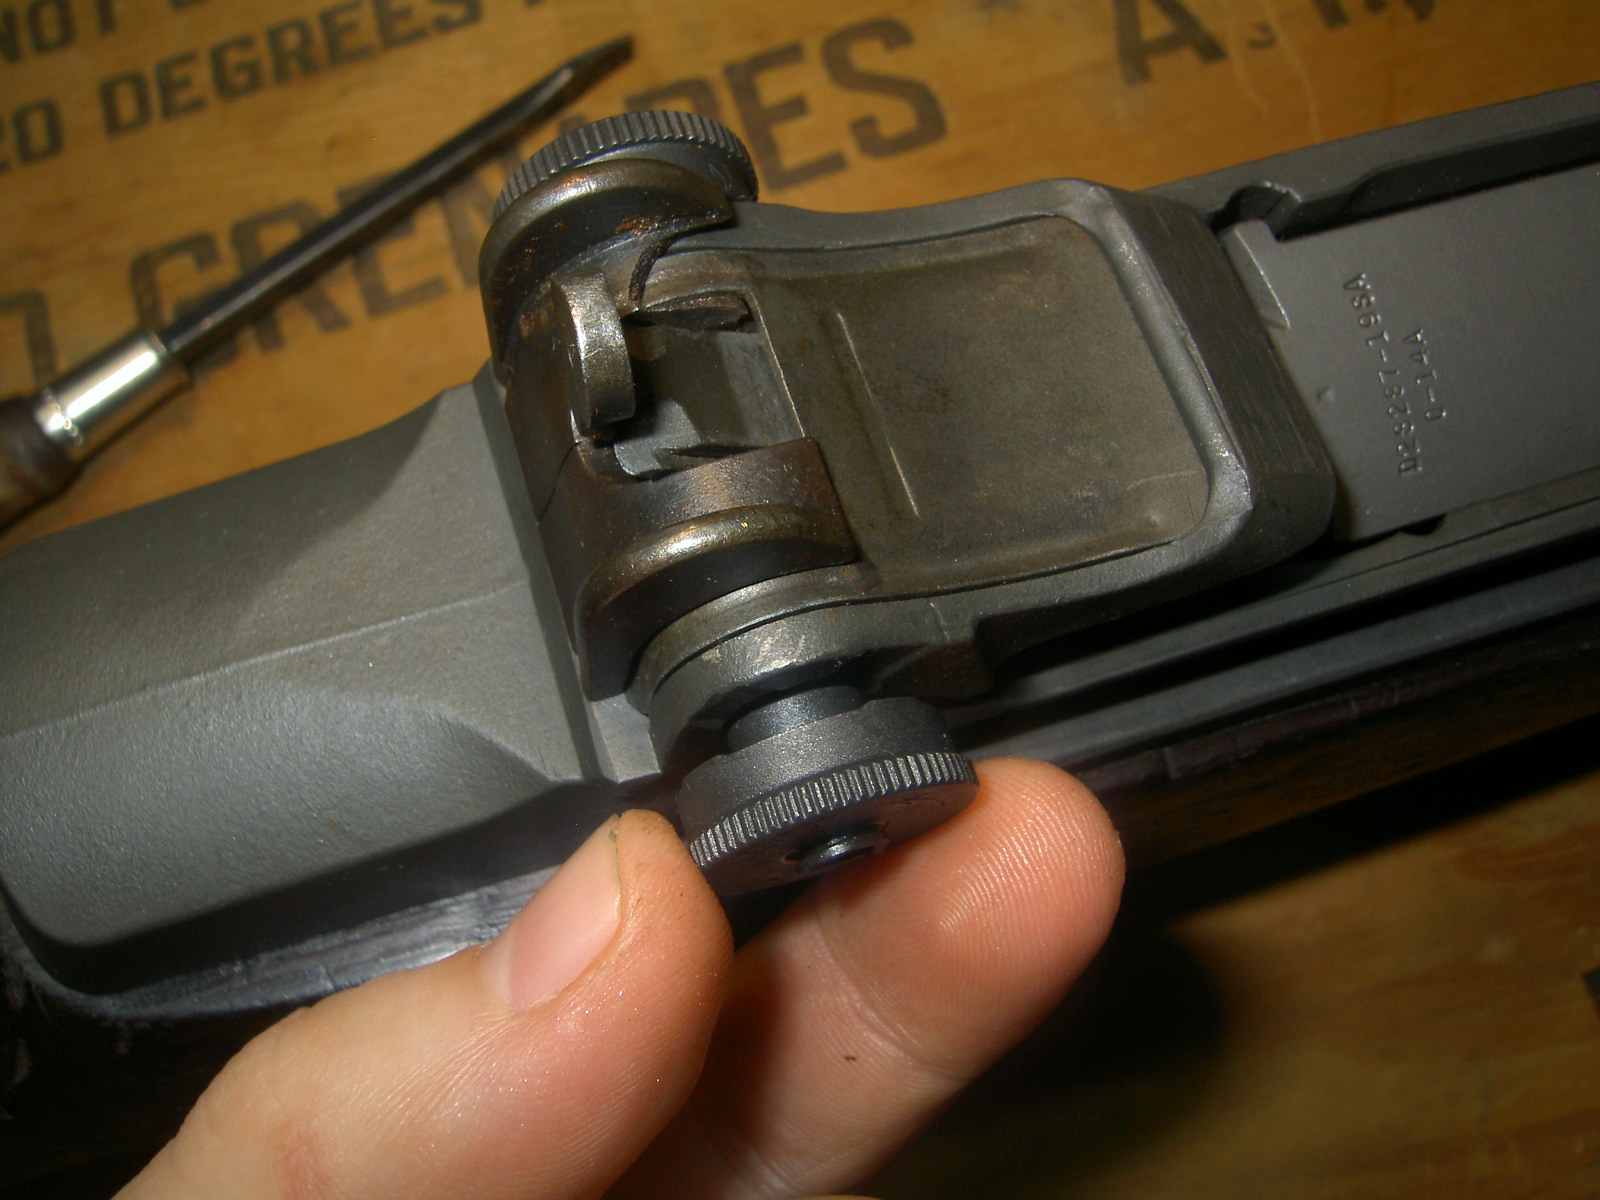
Start by unscrewing the windage nut. It will not unscrew all the way out of the windage knob.
Unscrew the windage knob from the rear sight base.
Remove the pinion from the sight base.
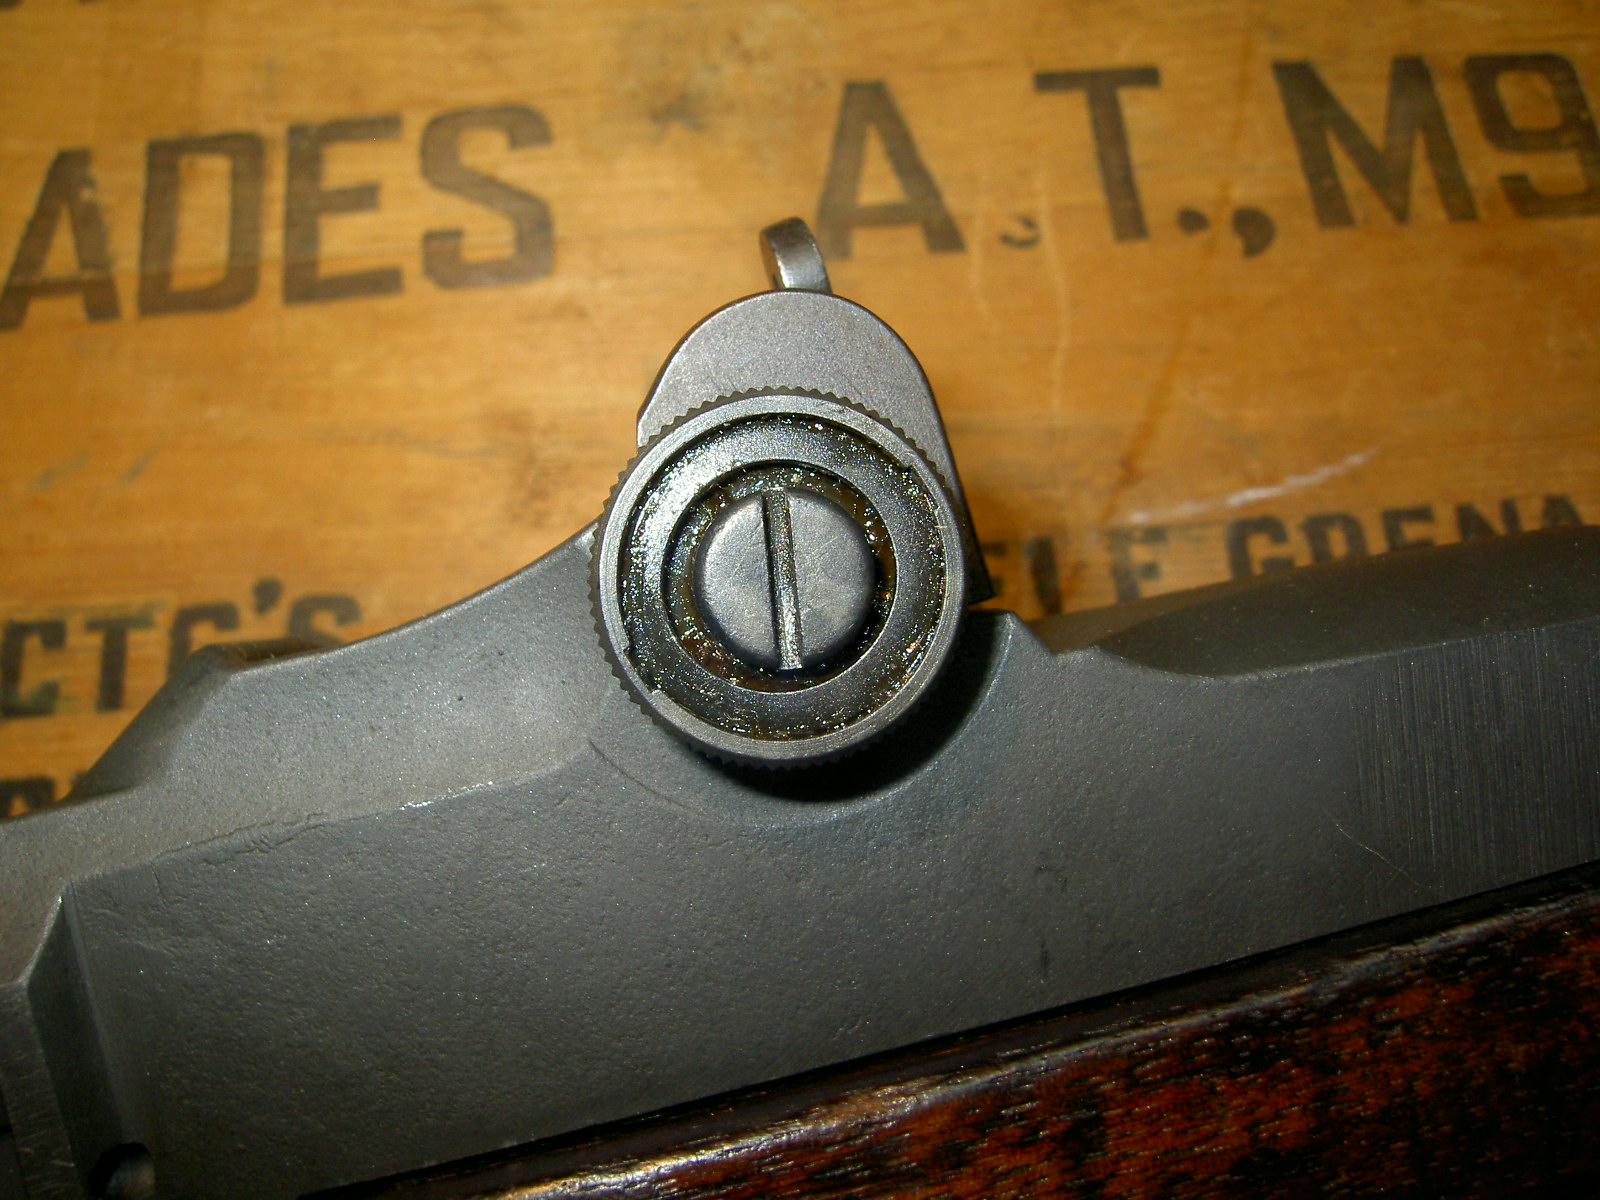
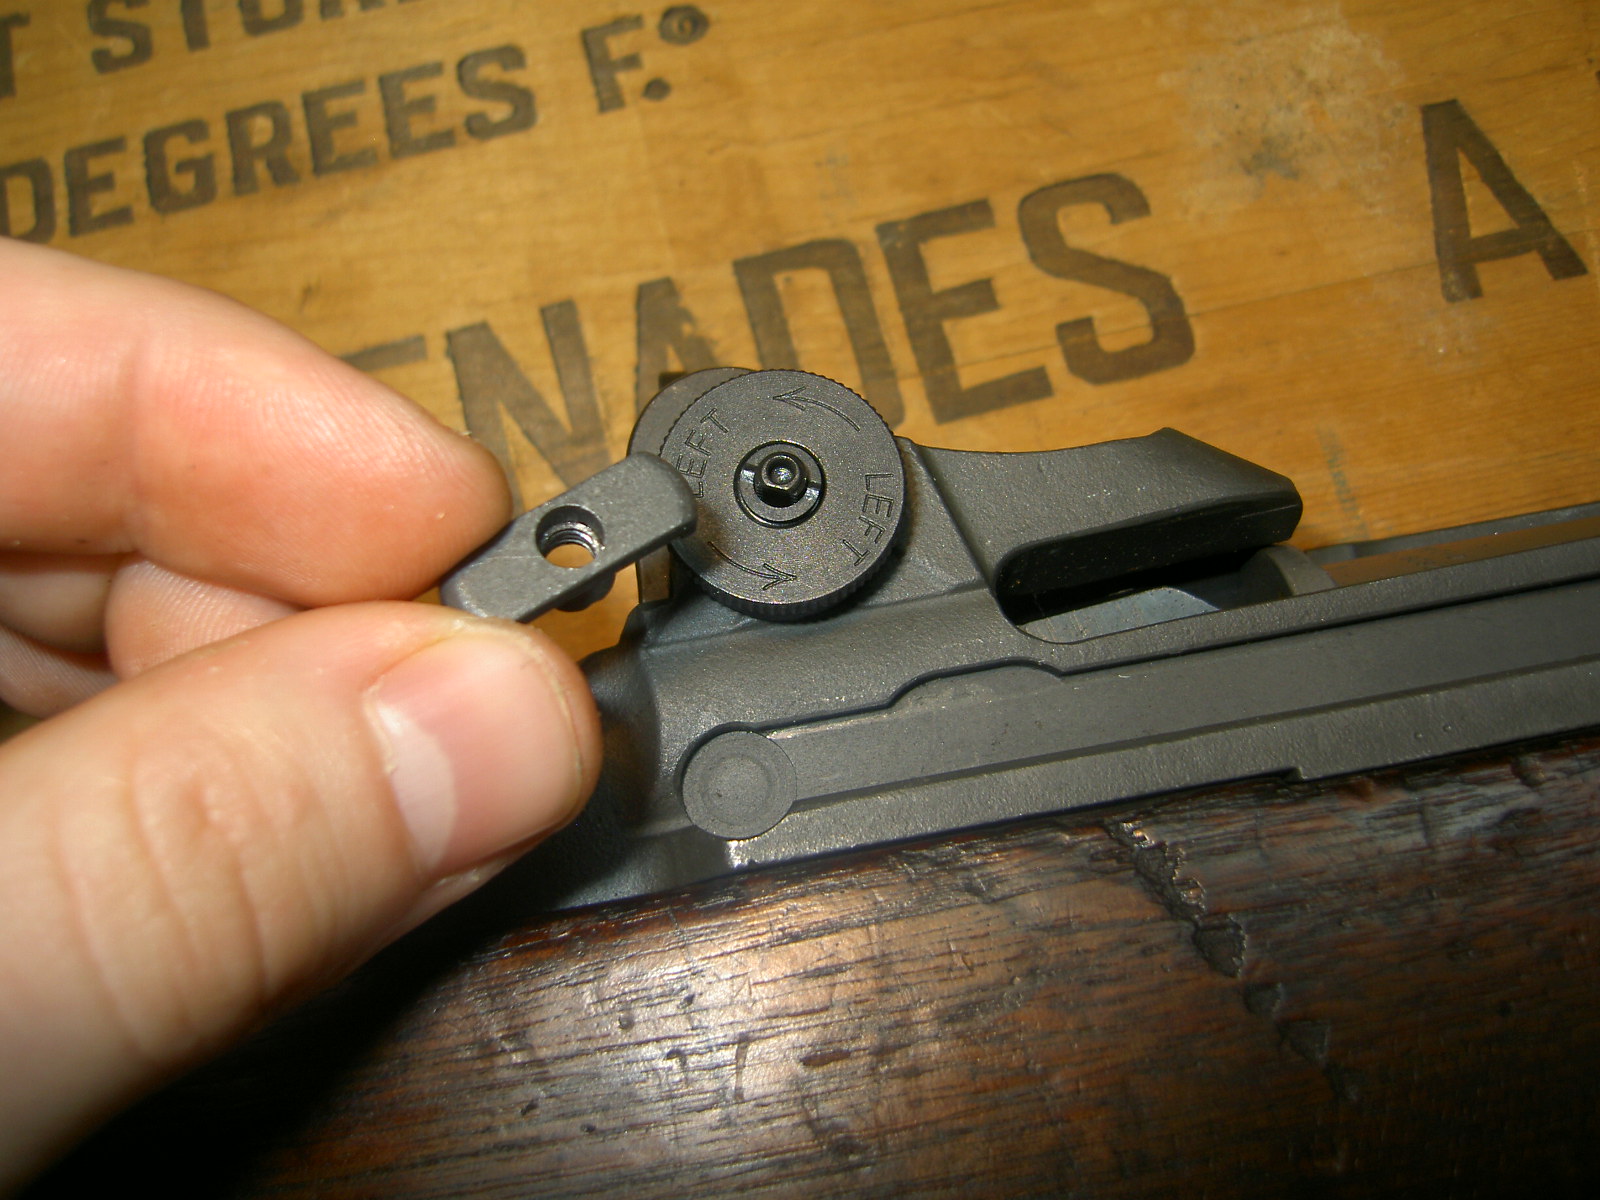
Time for the lockbar pinion, with the windage knob and lockbar removed.
Insert the lockbar pinion into the rear sight base.
Remove the detent from the windage knob and set aside. The spring can come out, or stay in the knob, your choice.
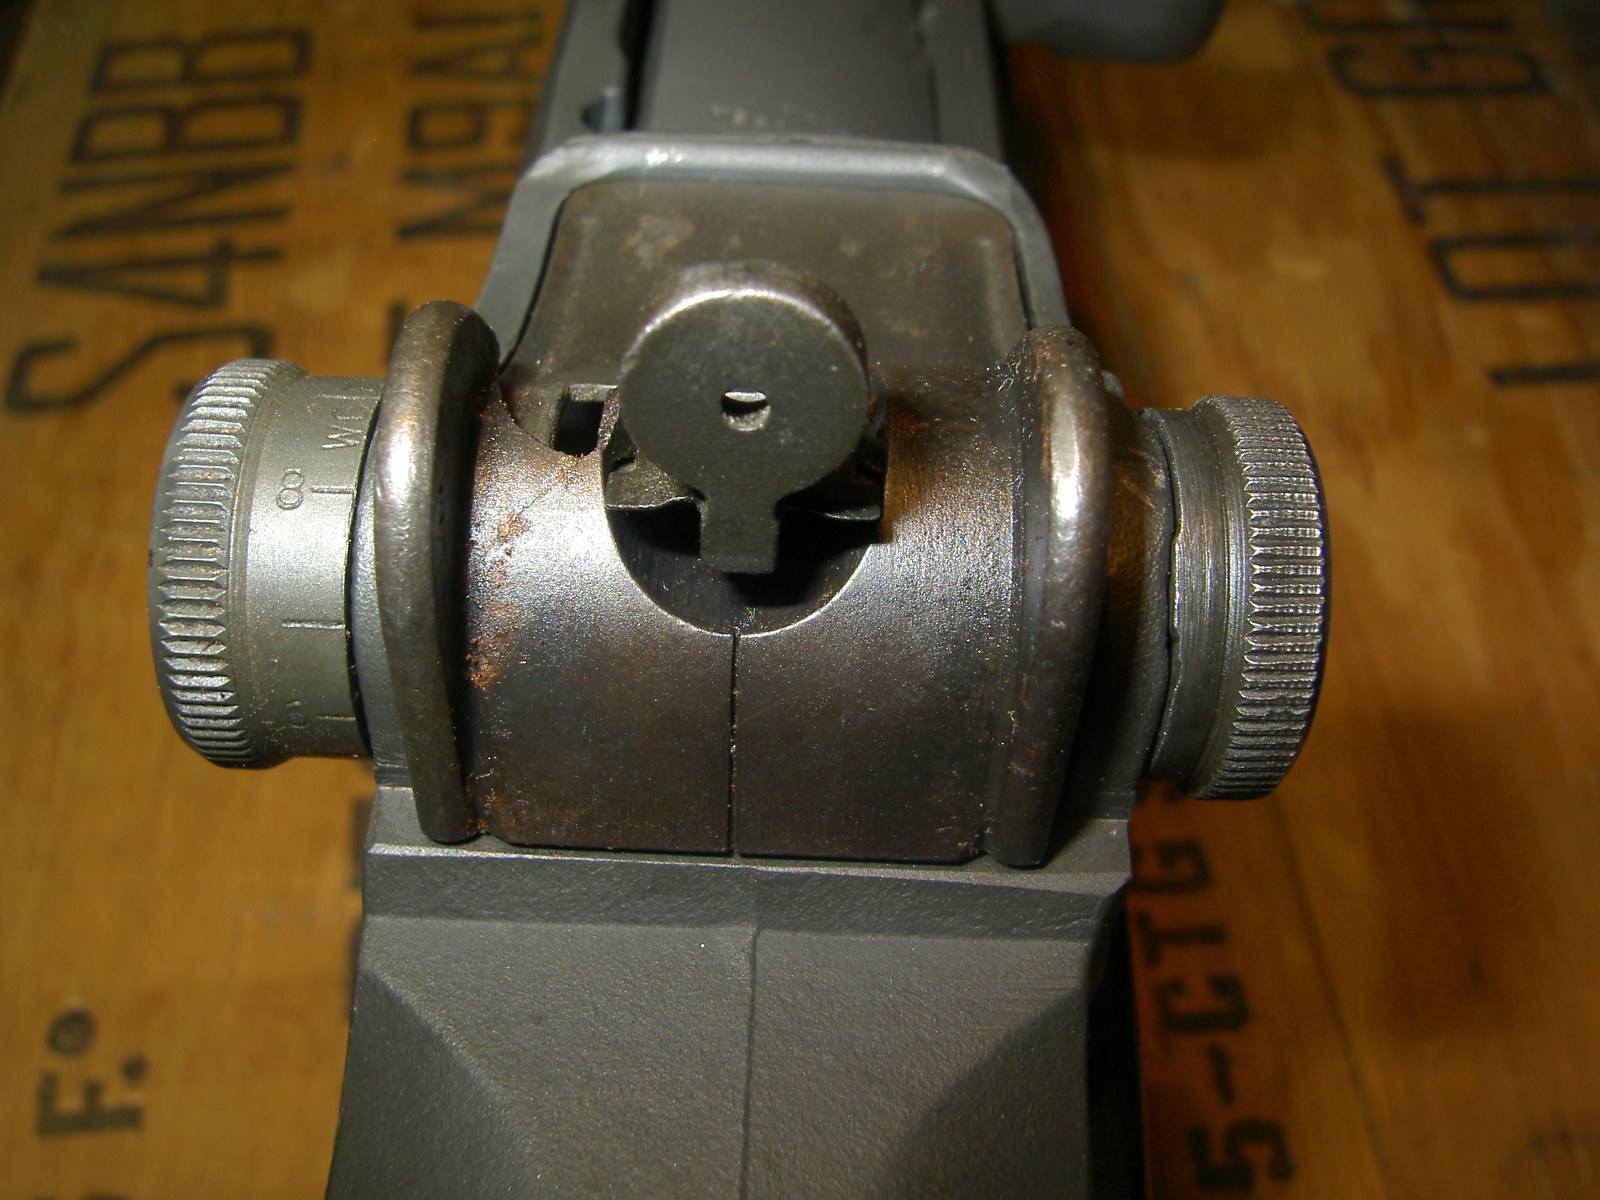
Screw the windage knob in till its on all the way, while the base is roughly centered on the receiver.
Install the windage knob detent and spring. There is a flat on the detent that aligns with a flat on the pinion.
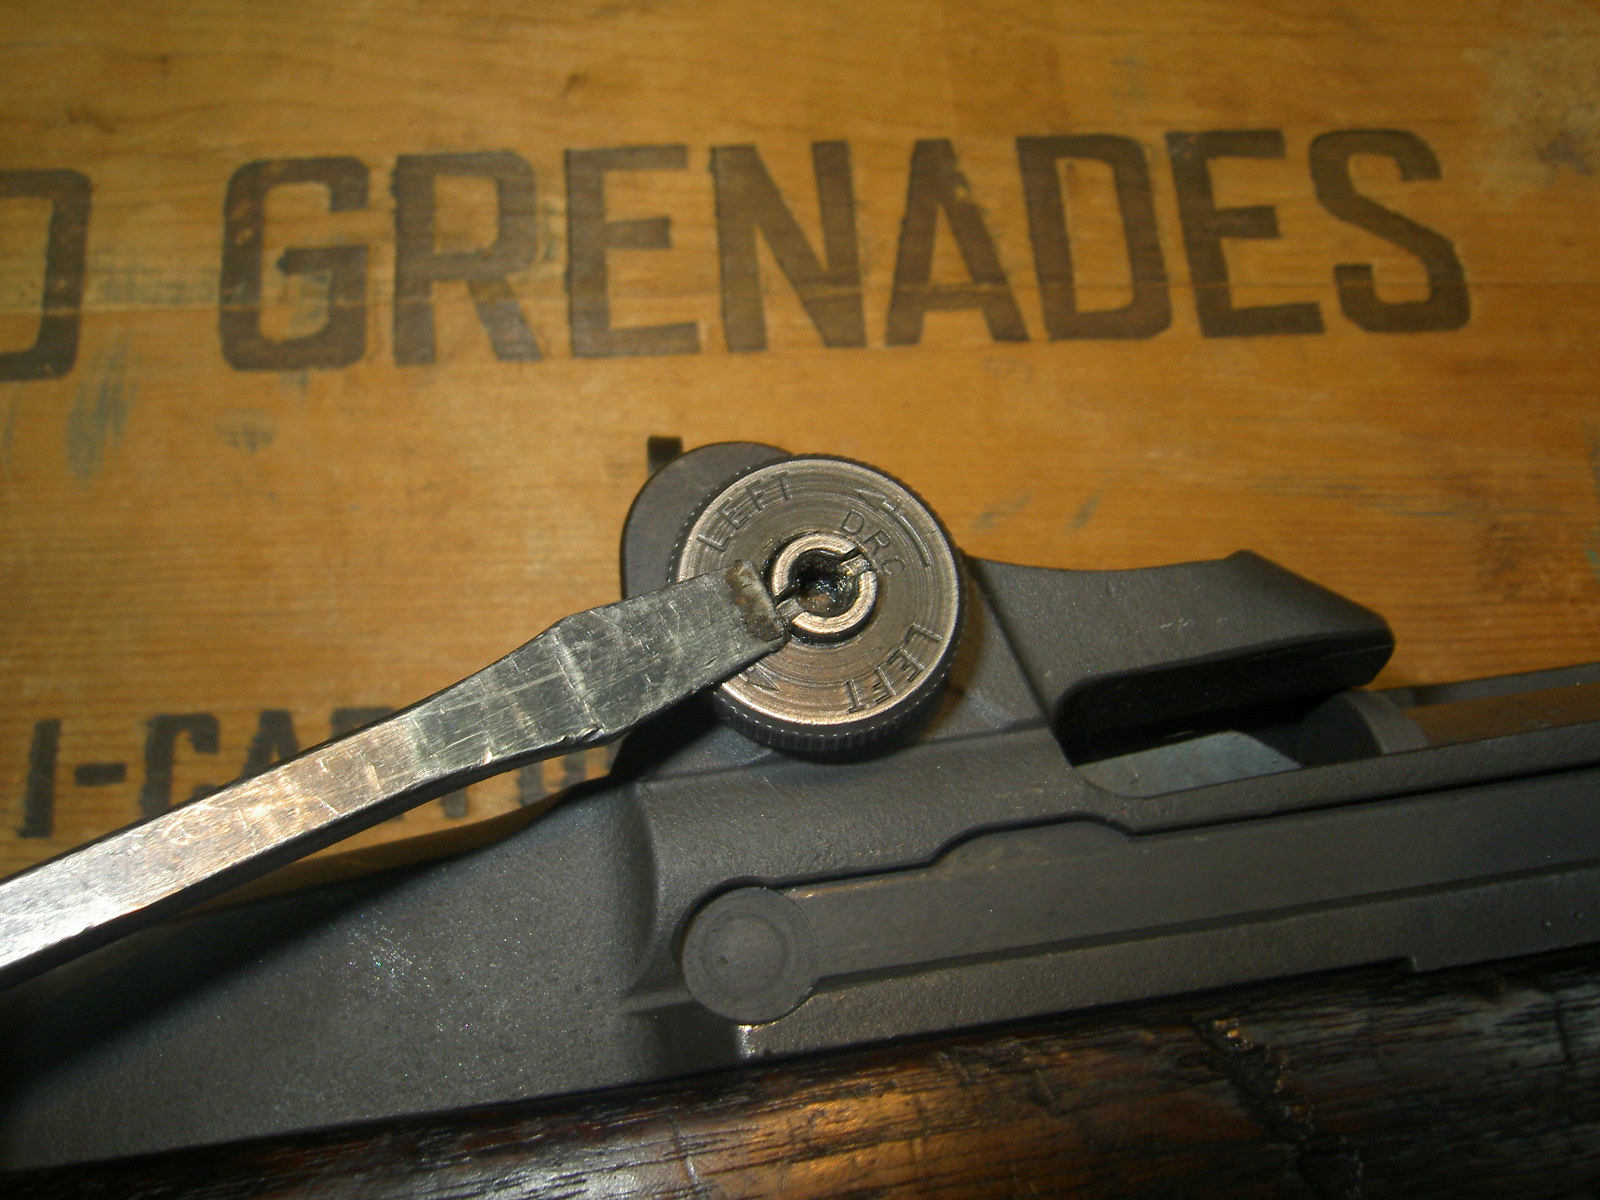
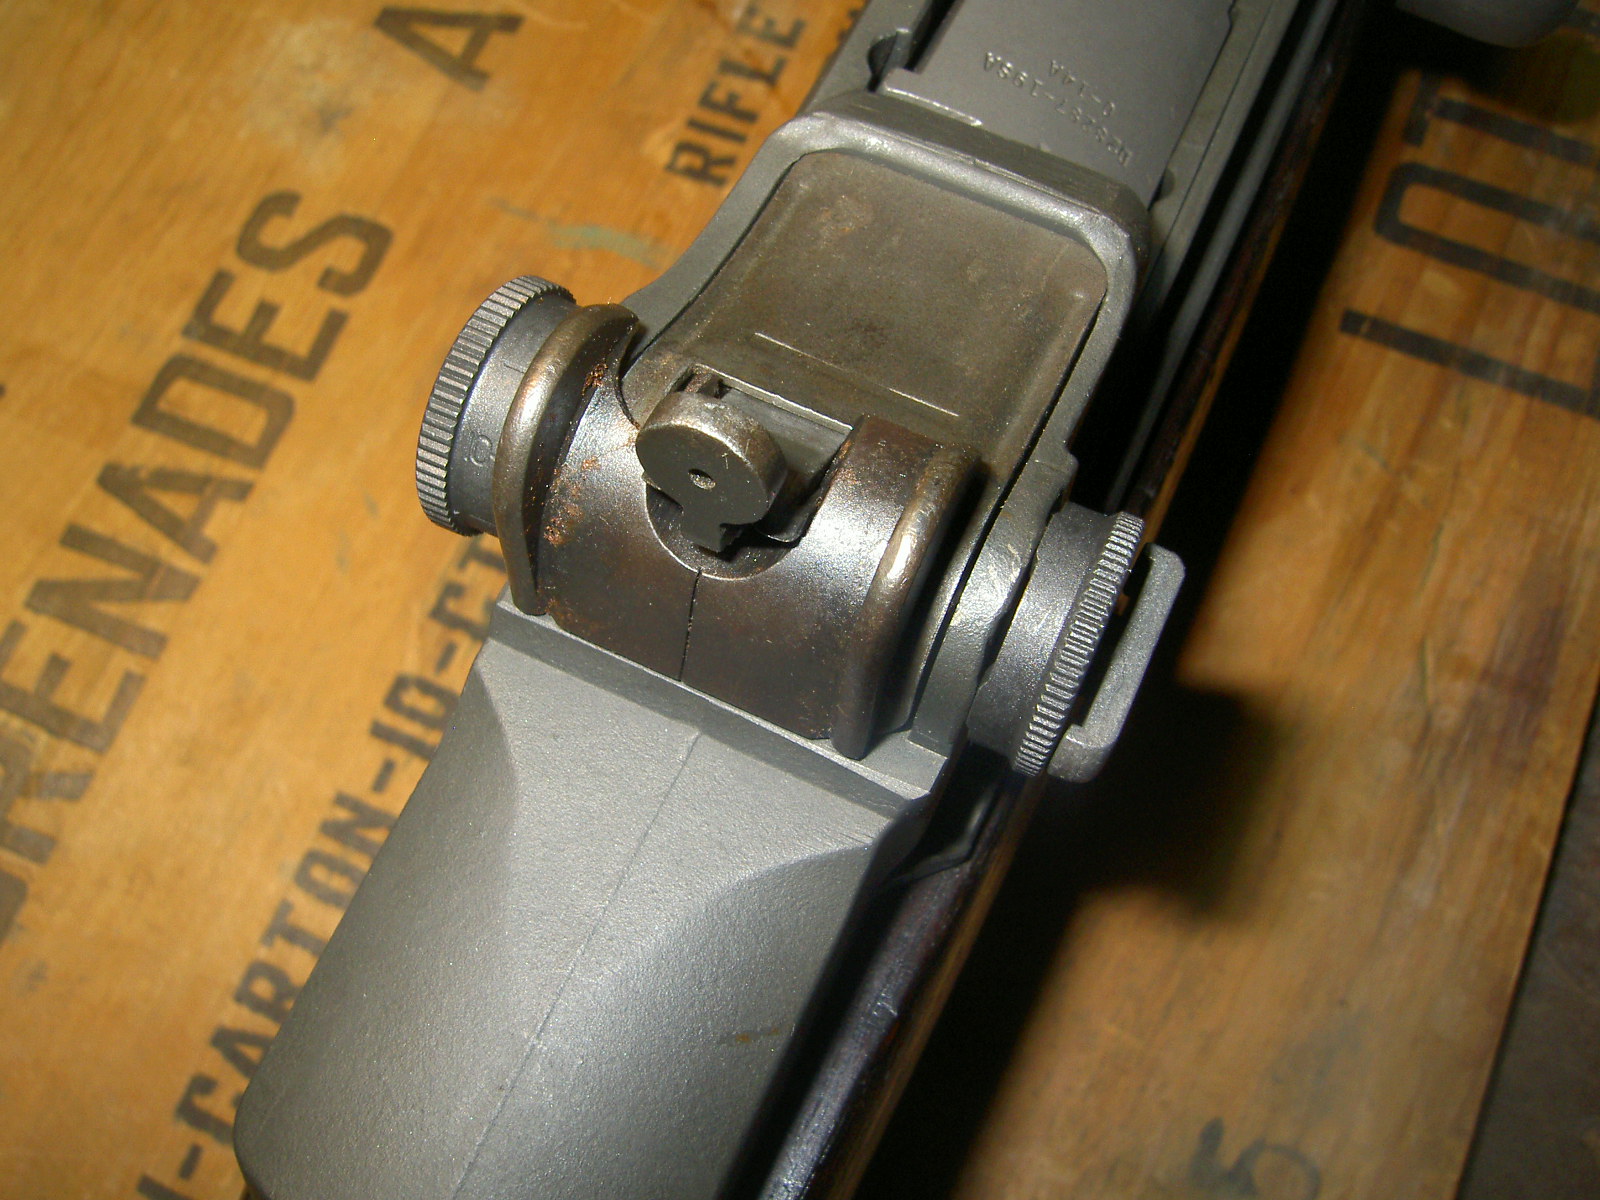
Install the lockbar.
The basic installation is now complete. If the lockbar is loosened a turn, the windage and elevation knobs should turn under spring pressure.
Tips:
If you intend to keep the lockbar on for reenactment use and have no desire to swap back to the T105 I recommend the following:
Using a center punch, flare (stake) the pinion end so that the lockbar can be operated, but does not fall off.
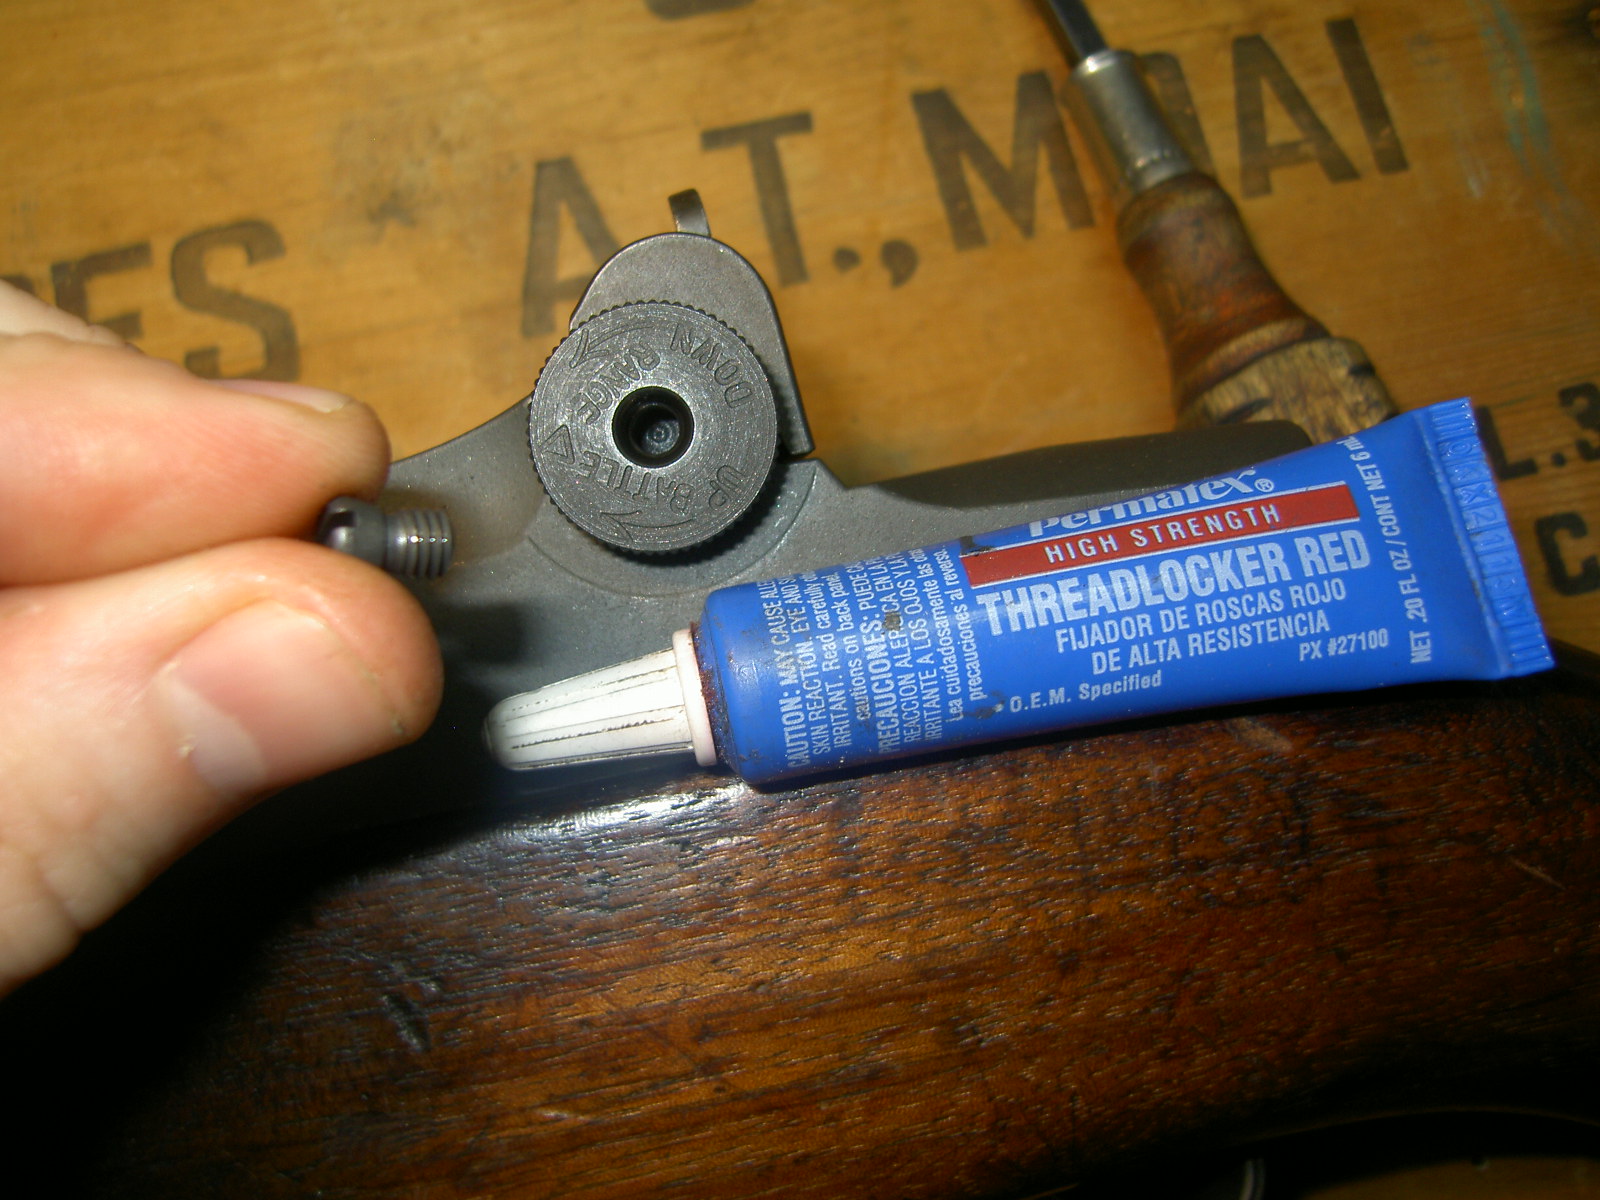
I strongly recommend using red loctite on the elevation cap screw. This screw tends to walk itself loose under fire causing the knob to fall off. Cranking down with a screw driver is only likely to mess up the slot since it is a mild steel screw.